
To achieve quick wins in outdoor prep and proofing within 15 minutes, start by choosing a weather-resistant prep box with compartments for easy access to your gear. Organize supplies by use and label everything clearly for quick identification. Secure equipment with stakes and weatherproof covers, and create a simple proofing checklist to ensure critical elements are covered. Setting up a scenic location and streamlining your packing routine will help you stay efficient—keep going, and you’ll master more tips to simplify your outdoor shoots.
Key Takeaways
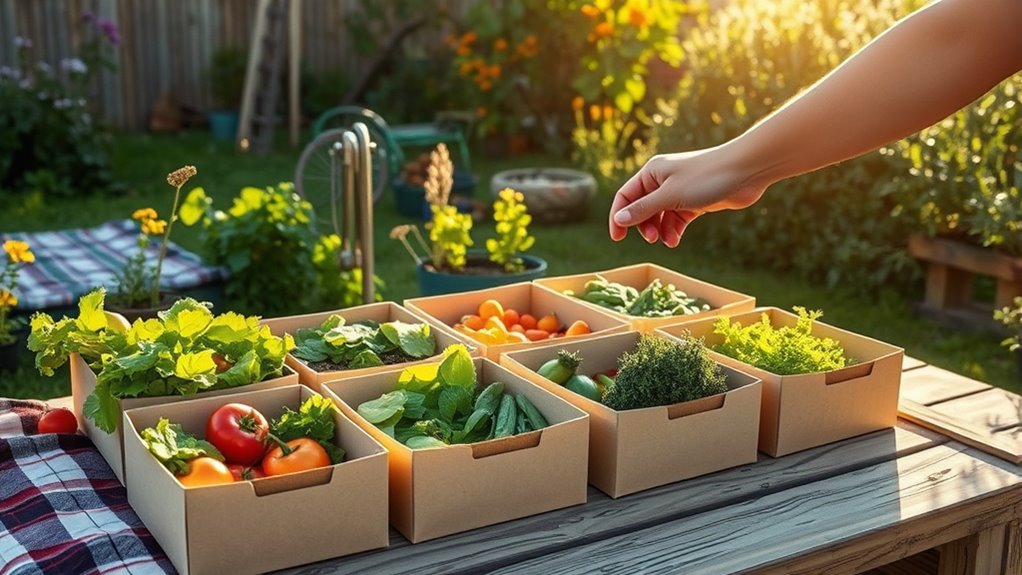
- Select weather-resistant prep boxes with compartments to organize gear efficiently for quick access.
- Categorize supplies by activity and label containers for rapid identification outdoors.
- Use clear storage bins to easily view contents and streamline packing and unpacking processes.
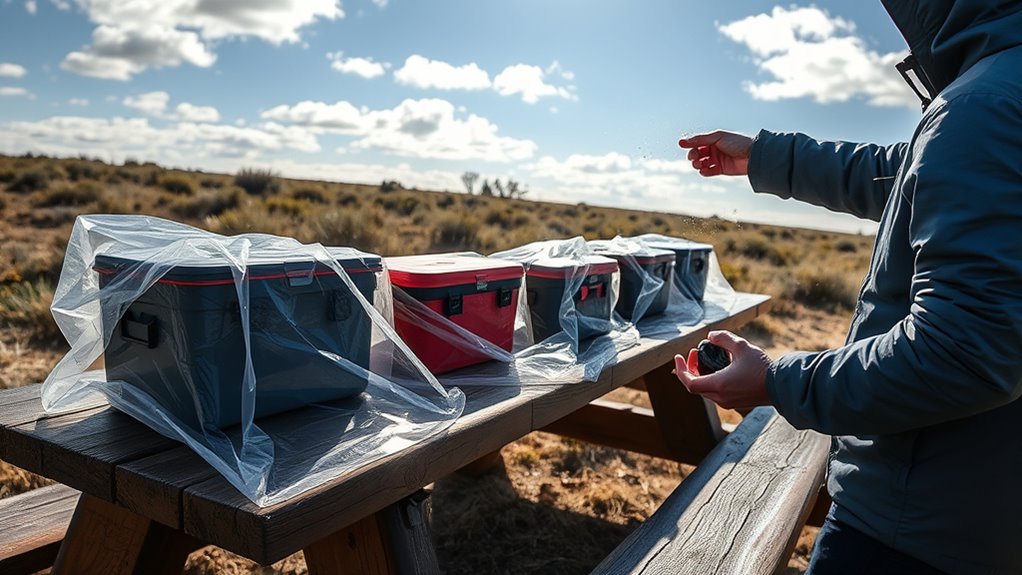
- Secure equipment with weatherproof covers, anchors, and cable clips to protect against outdoor elements.
- Plan and prepare a checklist focusing on essential gear, weatherproofing, and setup to save time within 15 minutes.
Selecting the Right Prep Box for Your Needs
Choosing the right prep box depends on your specific outdoor activities and storage needs. If you’re capturing outdoor scenes, consider how camera angles can influence your shot; a well-chosen box can help position your gear for ideal angles. Additionally, think about lighting techniques—select a prep box with reflective or adjustable features to manage natural light, preventing glare or shadows on your equipment. Durable, weather-resistant containers protect your gear from the elements, guaranteeing you don’t miss a shot due to damage. Small compartments help organize accessories like batteries or lenses, making quick adjustments easier. For vehicle-related activities, understanding tuning options can optimize your vehicle’s performance and handling in outdoor conditions. Ultimately, picking a prep box tailored to your activity ensures your gear stays safe, organized, and ready for any outdoor shot.
Organizing Your Supplies for Quick Access

To access your supplies quickly, start by categorizing them based on their use. Use clear storage containers so you can see what’s inside at a glance. Label everything clearly to save time when you’re grabbing what you need. Incorporating proper organization techniques can further enhance efficiency and reduce stress during busy moments.
Categorize Supplies Effectively
Organizing your supplies into clear categories is essential for quick access when time is limited. Effective categorization techniques help you find what you need fast and avoid wasting precious minutes. Start by grouping items based on their use or location, such as tools, outdoor gear, or prep materials. Use storage solutions like labeled bins or baskets to keep similar items together. Consider color-coding or numbering systems for even faster identification. Keep frequently used items at the front or top of your storage area for immediate access. Regularly review and adjust your categories to ensure everything remains organized and accessible. Incorporating color-coding can further enhance your ability to identify supplies rapidly. These simple steps streamline your setup, so you spend less time searching and more time preparing efficiently.
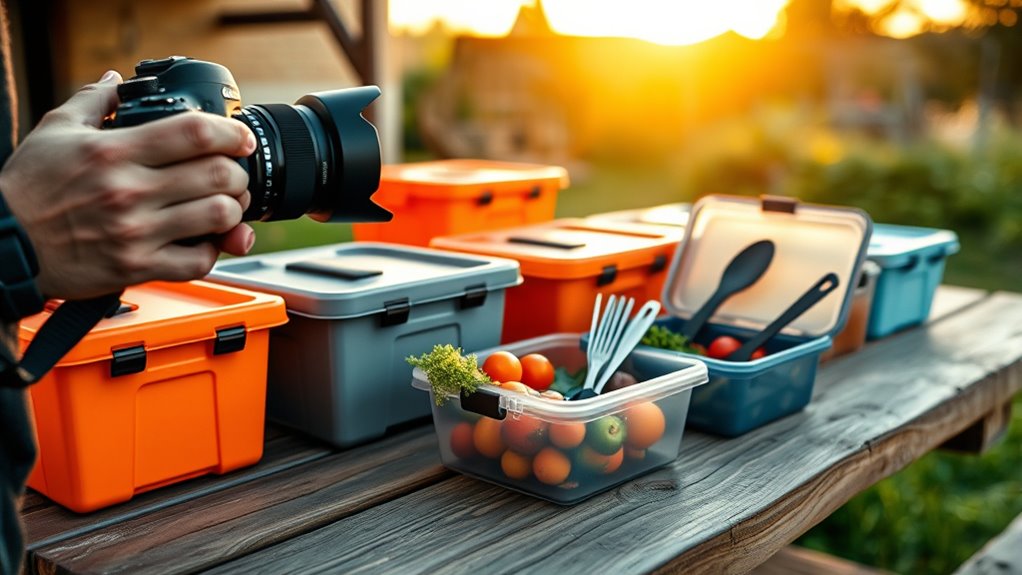
Use Clear Storage Containers
Using clear storage containers makes it easy to see and grab what you need quickly. These storage solutions keep your supplies organized and accessible, saving you time during busy outdoor proofing or prep sessions. Opt for containers with durable designs that can withstand handling and outdoor conditions without cracking or warping. Durable containers ensure your supplies stay protected and intact, even if they’re moved around frequently. Clear containers also help you identify contents instantly, reducing the need to open multiple boxes or search through clutter. Choose a variety of sizes to accommodate different items, from small tools to larger supplies. Well-chosen, durable, clear storage solutions streamline your process and keep your outdoor workspace tidy and efficient. Proper storage in airtight containers can also prevent spoilage or contamination of your supplies.
Label for Quick Identification
Labeling your supplies is essential for quick identification, especially when time is limited outdoors. Clear labels help you find what you need fast, whether you’re adjusting lighting techniques or changing camera settings. To stay organized, consider using waterproof labels or color-coded tags for different categories like lenses, batteries, or filters. Keep frequently used items front and center with bold labels, so you don’t waste time searching. Use a marker or label maker to guarantee legibility in various lighting conditions. Remember, efficient organization minimizes missed shots and delays, making outdoor proofing or quick setups smoother. Proper labeling ensures you stay focused on capturing the perfect shot rather than rummaging through your gear, saving valuable time during spontaneous outdoor shoots. Additionally, understanding juice detox side effects can help you prepare better for outdoor shoots involving physical activity or extended hours.
Securing Your Equipment for Outdoor Conditions
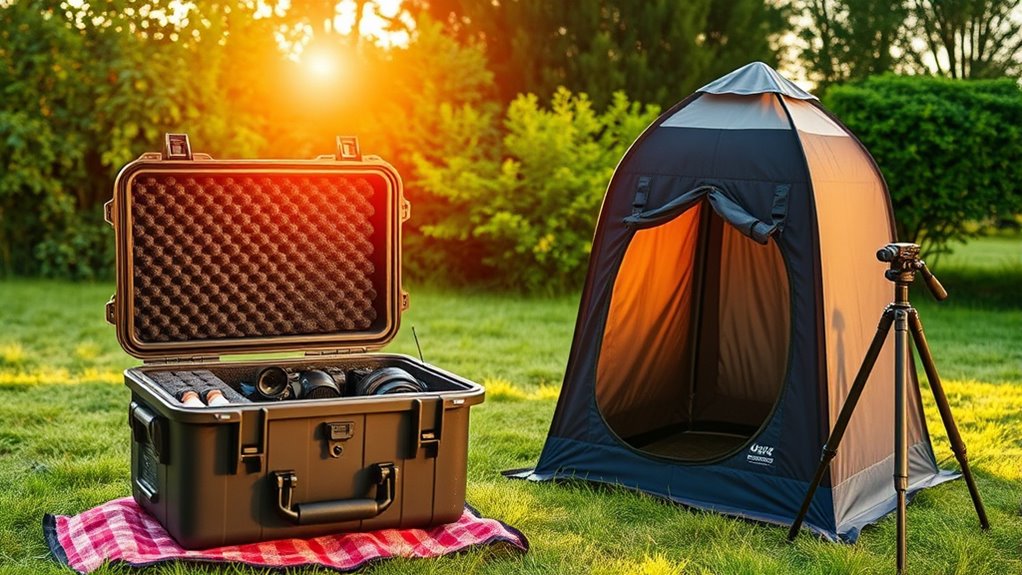
To guarantee your equipment stays safe and functional during outdoor shoots, you need to secure it properly against wind, rain, and other environmental factors. Start with equipment maintenance by inspecting gear beforehand, ensuring everything is in good condition. Use sandbags, weights, or stakes to anchor tripods and light stands, preventing them from tipping over in gusts. Cover sensitive gear with weather-resistant covers or plastic wraps to protect against rain and moisture. Consider weather considerations like sudden showers or wind gusts, and plan accordingly. Secure cables with clips or tapes to prevent tripping hazards and damage. Utilizing weather-resistant gear can further enhance protection against unpredictable outdoor conditions. Taking these precautions keeps your equipment safe, minimizes risks, and ensures smooth operation throughout your shoot, regardless of outdoor challenges.
Creating a Simple Proofing Checklist

Creating a simple proofing checklist helps you stay organized and guarantees no step gets missed. Focus on essential proofing steps and outdoor-proofing essentials to keep your process efficient. With a clear list, you’ll be ready to proof outdoors confidently in just 15 minutes. Remember to consider waterproofing materials during your planning to ensure durability and protection against moisture.
Essential Proofing Steps
Developing a simple proofing checklist helps guarantee your baked goods rise perfectly every time. It guarantees you follow essential proofing steps consistently, especially when considering outdoor conditions. By sticking to a clear process, you can adapt proofing techniques to varying environments without guesswork.
Here are key proofing steps to include:
- Check dough temperature and adjust proofing time accordingly
- Cover dough properly to prevent drafts and uneven proofing
- Monitor ambient humidity and outdoor conditions
- Use a proofing container or box for consistent results
- Gently poke the dough to test if it’s ready, avoiding overproofing
Following these steps helps you stay in control and achieve reliable rises in any outdoor setting, making your baking process smoother and more predictable.
Outdoor Proofing Essentials
When proofing outdoors, having a simple checklist keeps your process organized and guarantees consistent results. Focus on key elements like waterproof covers to protect your materials from rain and moisture. Guarantee outdoor lighting is sufficient for visibility during early mornings or late evenings. Use the following checklist to stay on track:
| Proofing Essentials | Purpose |
|---|---|
| Waterproof Covers | Shield materials from weather elements |
| Outdoor Lighting | Provide clear visibility for adjustments and checks |
| Surface Stability | Ensure a flat, stable area for accurate proofing |
| Equipment Check | Confirm all tools and supplies are ready |
| Time Management | Allocate specific time slots to stay on schedule |
This simple list helps you stay prepared, avoid surprises, and get the best outdoor proofing results. Ensuring proper planning can make all the difference in outdoor projects.
Setting Up Your Outdoor Photography Spot
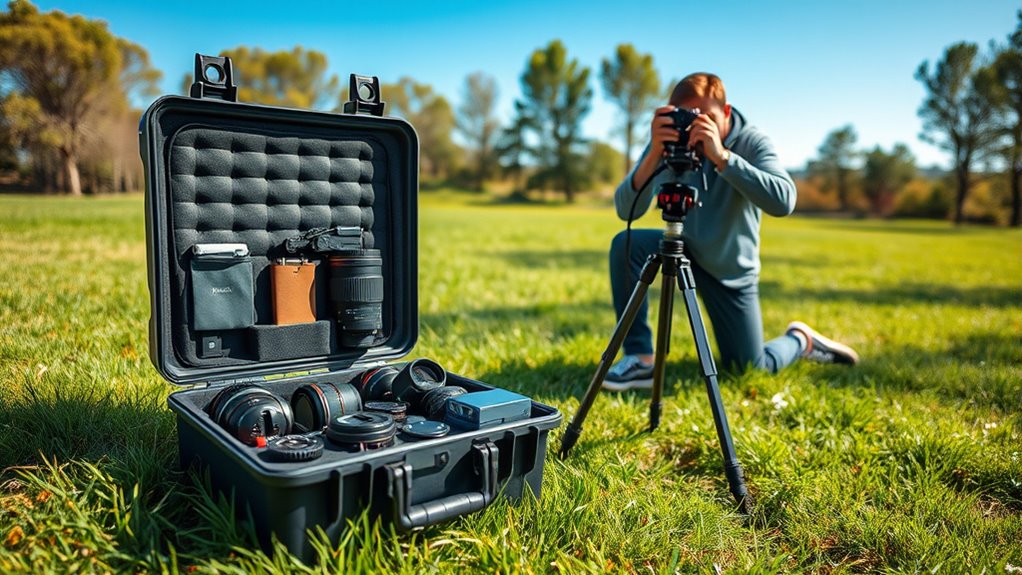
To set up your outdoor photography spot effectively, start by scouting a location with good lighting, interesting backgrounds, and minimal distractions. Look for spots where natural light enhances your subject, using lighting techniques like golden hour or diffused sunlight. Pay attention to composition strategies—frame your shot with leading lines, balanced elements, and a clean background. Keep an eye out for clutter or distracting objects that could detract from your main subject. Additionally, consider the best beaches with scenic vistas and unique features to find the perfect setting for your photos.
Basic Tips for Weatherproofing Gear and Supplies
Weatherproofing your gear and supplies is essential for successful outdoor photography, especially in unpredictable conditions. Applying weather resistant coatings to your equipment creates an extra layer of protection against moisture, dust, and dirt. Regular outdoor gear maintenance ensures that zippers, seams, and closures remain intact and functional. Before heading out, inspect your gear for any damage and reapply protective coatings if needed. Store your equipment in waterproof containers or bags to prevent accidental water exposure. Using rain covers or custom weatherproof covers can also shield your camera and accessories during sudden downpours. Additionally, understanding the importance of contrast ratio can help you optimize your image quality in varying light conditions. By staying proactive with weatherproofing, you reduce the risk of equipment failure, extend the life of your gear, and can focus on capturing great shots without worry.
Streamlining Your Packing Routine for Efficiency

Streamlining your packing routine can save you time and reduce stress before outdoor shoots. With better time management, you’ll spend less time searching for gear and more time focusing on your shoot. Start by planning your meals ahead of time, packing only what’s necessary to avoid last-minute overpacking. Create designated zones for your gear, so everything has a specific place, making loading and unloading faster. Use prep boxes organized by activity or item type to keep supplies tidy and accessible. Prepare a checklist that you review each time, ensuring nothing gets forgotten. Finally, pack with efficiency in mind—think compact, versatile gear, and streamline your process to get out the door quickly and confidently.
Frequently Asked Questions
How Can I Adapt Prep Boxes for Different Outdoor Environments?
To adapt prep boxes for different outdoor environments, you should consider seasonal adjustments and container versatility. Use weather-resistant materials for harsh conditions and switch plant selections based on seasonality. Incorporate drainage options for rainy areas and choose versatile containers that can be easily moved or modified. This approach guarantees your prep boxes thrive year-round, no matter the environment, giving you a flexible, sustainable gardening solution tailored to your outdoor space.
What Are Quick Troubleshooting Tips for Common Outdoor Proofing Issues?
A stitch in time saves nine, so start troubleshooting outdoor proofing issues early. Check your gear maintenance regularly to make certain everything’s functioning properly. Keep an eye on weather prediction alerts, as sudden changes can cause proofing problems. If you notice leaks or drafts, reseal seams or adjust your setup promptly. Staying proactive helps you avoid bigger issues and keeps your outdoor proofing reliable and effective in any conditions.
How Do I Prioritize Gear When Time Is Limited?
When time’s limited, prioritize gear by focusing on essential items first, like your proofing box and outdoor setup tools. Use gear organization to quickly locate what you need, saving valuable time. Practice efficient time management by preparing your gear in advance and arranging it logically. This way, you can seamlessly set up and troubleshoot outdoors, ensuring you’re ready without wasting precious minutes on search or setup delays.
What Safety Precautions Should I Take During Outdoor Setup?
To stay safe during outdoor setup, you should always have a fire extinguisher nearby and make certain it’s easily accessible. Be aware of weather hazards like sudden rain or wind, and monitor forecasts regularly. Secure your gear to prevent accidents caused by gusts. Keep an eye on changing conditions and have an emergency plan ready. Prioritizing fire safety and weather awareness helps you set up confidently and avoid potential dangers.
How Can I Customize Proofing Routines for Varying Weather Conditions?
You can customize proofing routines by adjusting for seasonal changes and weatherproofing techniques. When it’s cold or rainy, increase humidity and extend proofing time to prevent dough from over-fermenting. During hot, dry weather, reduce humidity and shorten proofing to avoid over-proofing. Use insulated proof boxes or damp cloths for seasonal adjustments, ensuring your dough stays ideal regardless of weather, so your baking stays consistent and perfect every time.
Conclusion
Think of your prep box as a trusty backpack, ready to carry everything you need at a moment’s notice. Just like a seasoned hiker preps their gear before a trek, organizing and weatherproofing your outdoor photography setup guarantees you’re always ready for the unexpected. With these quick wins, you’ll capture stunning shots without stress, even in a sudden rain or gust of wind. Get your gear ready, and let your passion lead the way!