
To avoid common mistakes in yeast vs. sourdough pizza, guarantee you let your dough ferment properly and for the right amount of time, as rushing hampers flavor and texture. Use correct ingredients, such as high-protein flour and precise water temperature, and don’t skip autolyse or mix incorrectly. Proper oven setup, like preheating and using a pizza stone, makes a huge difference. Master these tips, and you’ll improve every batch—more precise steps ahead can elevate your pizza skills even further.
Key Takeaways
- Use proper fermentation timing and avoid rushing to develop flavor and dough strength.
- Maintain correct water temperature (100-110°F) to ensure active yeast and sourdough fermentation.
- Choose the right flour with appropriate protein content for desired crust texture and elasticity.
- Properly preheat and calibrate your oven with a baking stone or steel for even, crispy results.
- Avoid overmixing or undermixing dough to ensure optimal gluten development and elasticity.
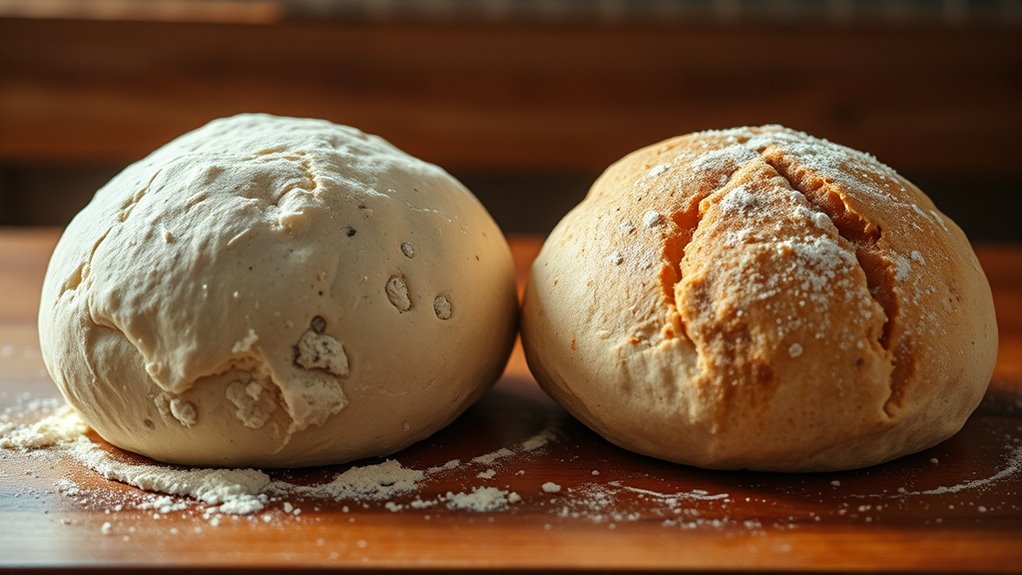
Not Allowing the Dough to Properly Ferment
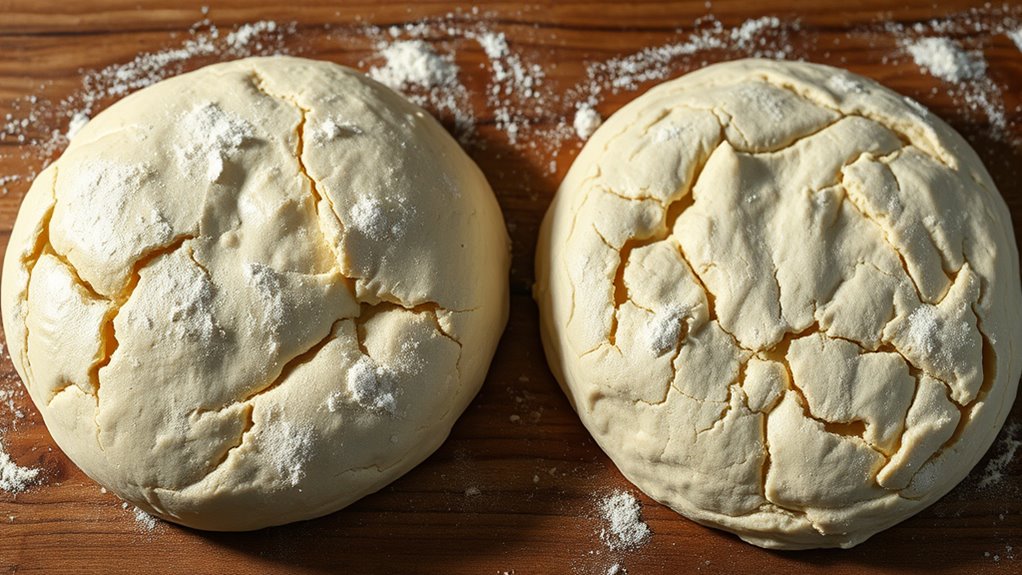
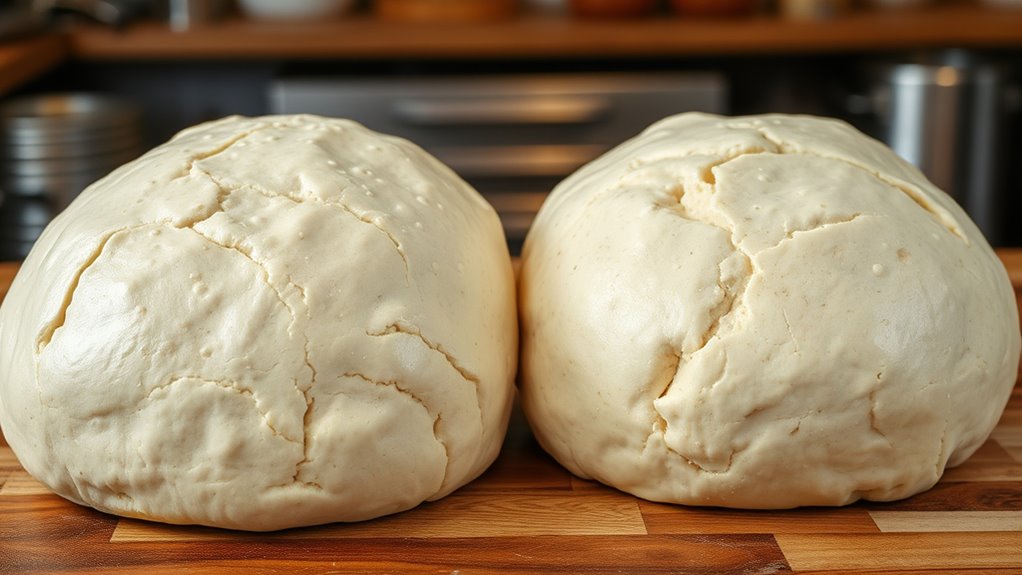
If you don’t let your dough ferment long enough, your pizza won’t develop the full flavor and texture it should. Fermentation timing is vital because it allows the dough to undergo proper dough maturation. When you skip or rush this step, you miss out on complex flavors that develop during fermentation, resulting in a bland crust. Proper fermentation also improves dough elasticity, making it easier to stretch and shape. Keep in mind that the ideal fermentation time varies depending on the recipe and environment, but generally, longer fermentation leads to better flavor and texture. Rushing this process can leave your pizza dough underdeveloped, affecting the final bake. Additionally, understanding the fermentation process can help you optimize timing for the best results. Patience during fermentation ensures your pizza has the depth of flavor and ideal consistency you’re aiming for.
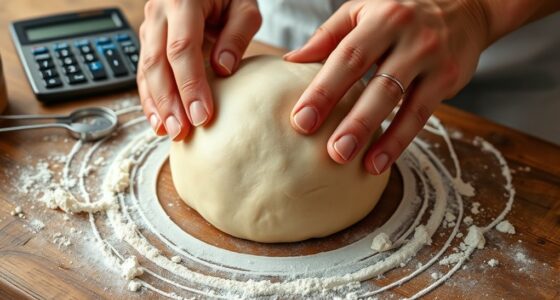
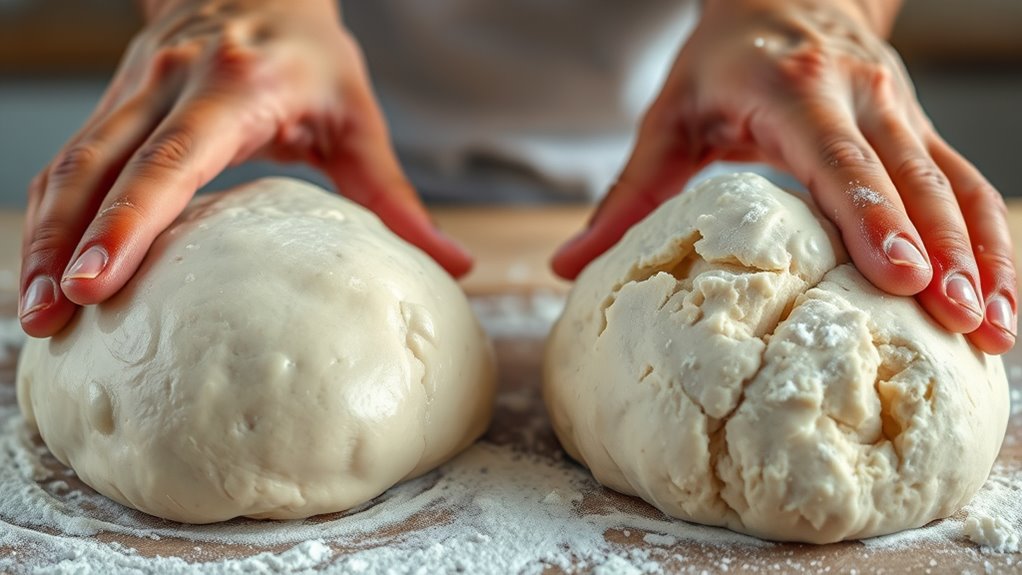
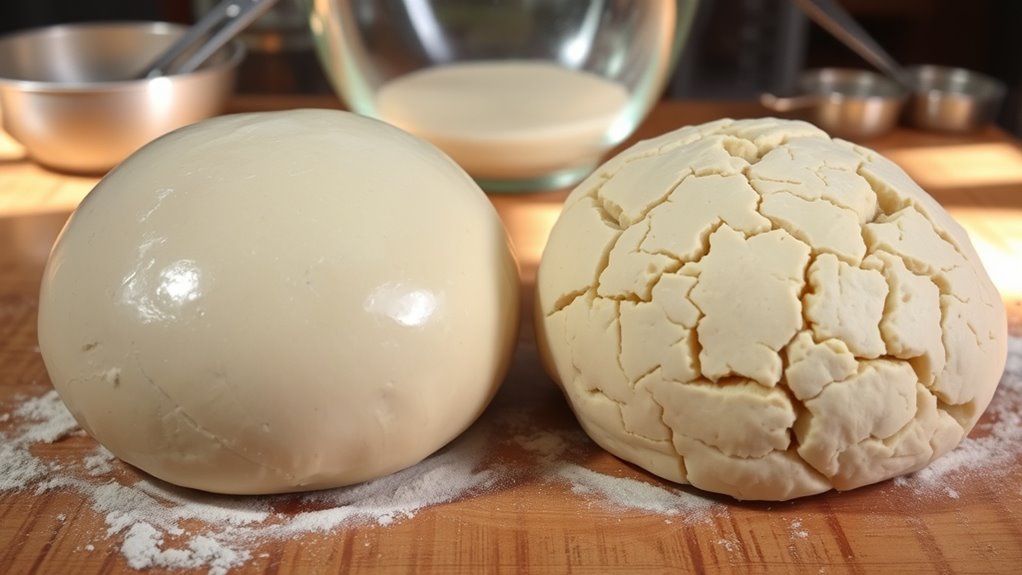
Using Incorrect Flour Types for Your Dough
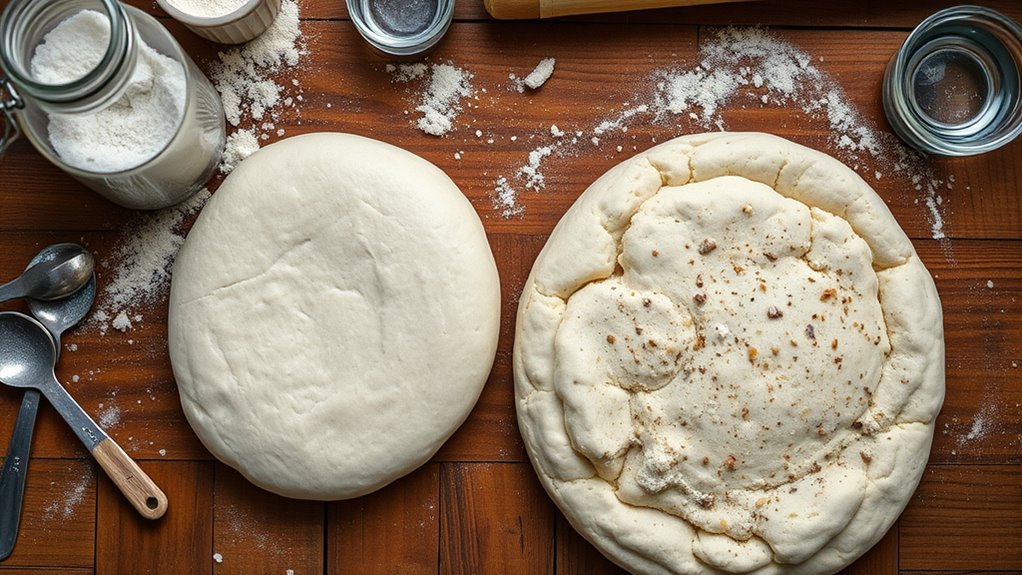
Choosing the wrong type of flour can substantially impact your pizza dough’s texture, flavor, and overall quality. Flour protein content directly influences gluten development, which is essential for creating a strong, elastic dough. Using low-protein flour, like cake or pastry flour, results in a tender crust that lacks chewiness, while high-protein flours, such as bread flour, promote better gluten formation for a sturdy, airy crust. Sourdough and yeast-based doughs benefit from selecting the right flour to develop structure and flavor. If you use the wrong flour, your dough may be difficult to work with, won’t rise properly, or produce a flat, dense crust. Pay attention to flour protein levels to guarantee optimal gluten development and achieve the desired pizza texture. Additionally, understanding the role of AI in cybersecurity can help protect your digital assets from vulnerabilities that could compromise your online recipes or personal data.
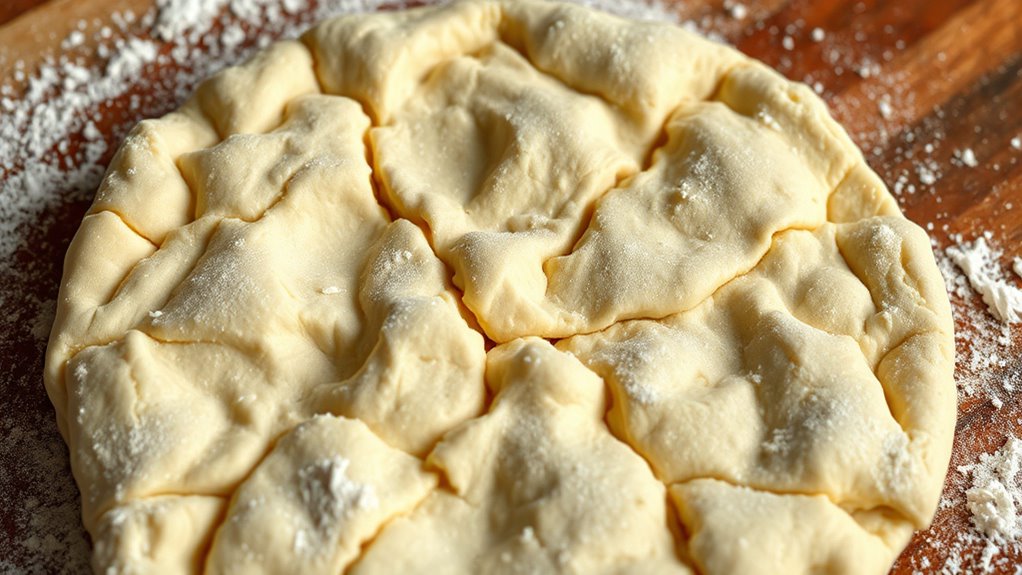
Skipping the Autolyse Step
Skipping the autolyse step can hinder your dough’s gluten development and hydration, leading to a less elastic and more difficult-to-shape crust. Autolyse benefits include improved dough extensibility and stronger gluten strands, which make handling easier. When you skip this step, you miss out on these advantages, resulting in dough that’s tougher to work with and less airy. Proper dough hydration is essential for a light, open crumb, and autolyse helps maximize this by allowing flour and water to fully combine before adding other ingredients. This process encourages better hydration and gluten formation, producing a dough that’s more resilient and easier to shape. Additionally, understanding the flour’s protein content can help optimize your autolyse process for even better results. Don’t overlook autolyse—it’s a simple step that considerably improves your pizza dough’s texture and handling.
Overmixing or Under-mixing the Dough
Getting the dough just right requires striking a balance between overmixing and undermixing. If you overmix, the dough develops a tough dough texture and loses its elasticity, making it difficult to stretch. Under-mixing, on the other hand, leaves ingredients unevenly distributed, resulting in inconsistent fermentation and texture. To master your mixing technique, pay attention to how the dough feels and looks. Use this guide to refine your process:
| Mixing Stage | Dough Texture | Common Mistakes |
|---|---|---|
| Under-mixed | Lumpy, uneven | Poor gluten development |
| Proper mix | Smooth, elastic | Achieves ideal dough consistency |
| Over-mixed | Tough, sticky | Gluten overdeveloped |
Achieving the perfect dough depends on your technique and attention to dough texture throughout mixing.
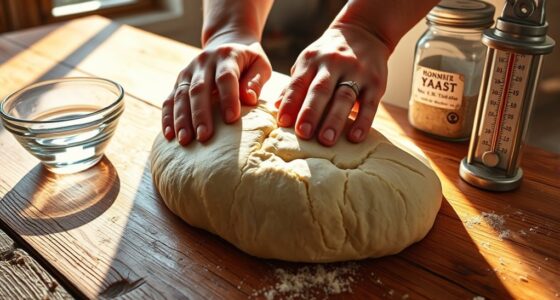
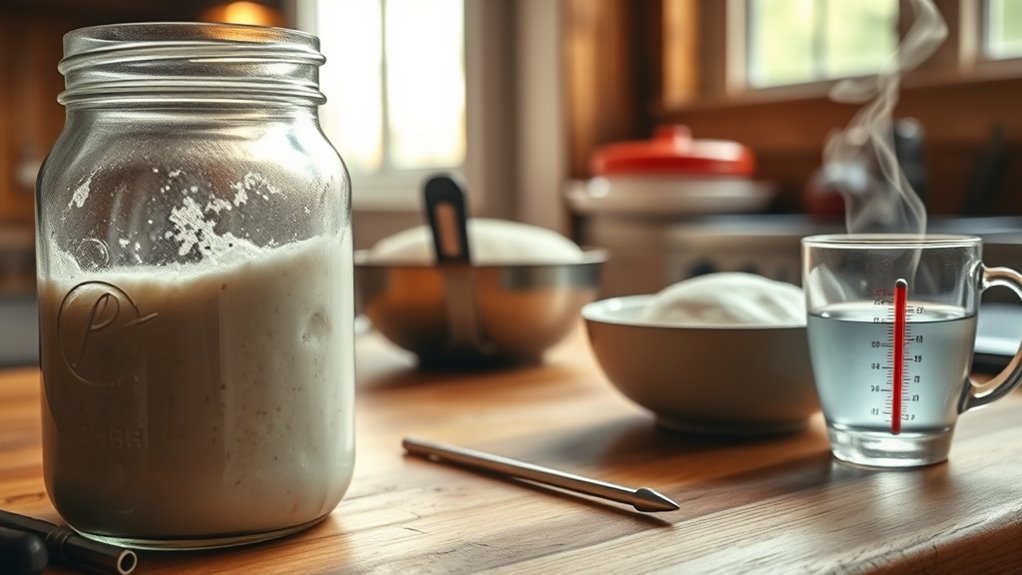
Using Water at the Wrong Temperature
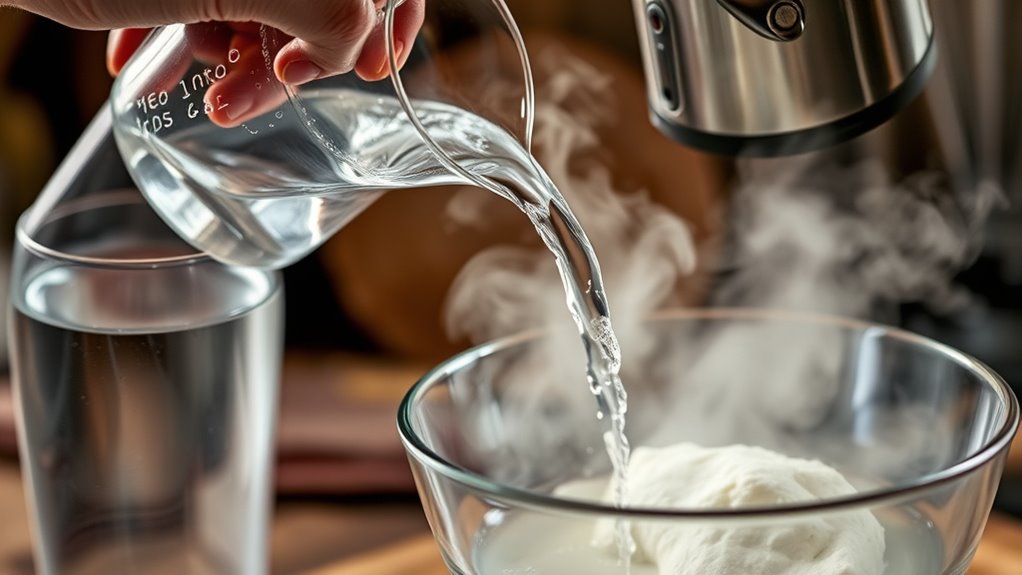
Using water at the wrong temperature can considerably affect your pizza dough’s rise and texture. Water temperature directly influences how quickly yeast or sourdough starter activates, impacting fermentation. Too hot, and you risk killing the yeast or sourdough microbes, leading to a flat, dense crust. Too cold, and the dough may ferment slowly or not at all, resulting in a dough that won’t develop properly. Always verify your ingredient temperature aligns with your recipe’s instructions. For yeast, warm water around 100-110°F (38-43°C) helps activate it without damaging it. For sourdough, use room temperature or slightly warmer water to encourage natural fermentation. Proper water temperature ensures consistent fermentation, better rise, and a pleasing crust. Avoid guesswork by measuring water temperature precisely. Regularly monitoring your projector bulb lifespan can help prevent unexpected issues during your baking process.
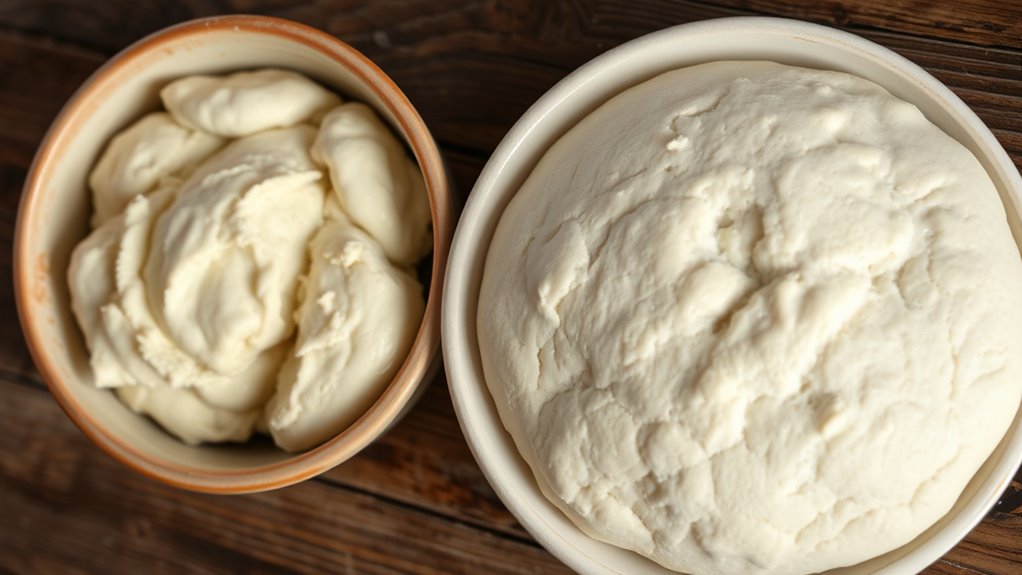
Neglecting Proper Hydration Levels
Neglecting proper hydration levels can considerably compromise your pizza dough’s texture and structure. Hydration control is essential to achieve the right dough consistency, whether you’re using yeast or sourdough. Too little water makes the dough stiff and difficult to work with, resulting in a dense crust. On the other hand, too much water creates a sticky, hard-to-manage dough that can spread unevenly. Proper hydration ensures the gluten develops correctly, giving your dough elasticity and strength. It also influences oven spring and crumb openness. To avoid these issues, measure water carefully and adjust based on flour type and environmental conditions. Paying attention to hydration levels helps you craft a dough that’s easy to shape and bakes into a light, airy pizza. Additionally, understanding the signs of spoilage in ingredients like lemon juice can help maintain ingredient quality and avoid compromised dough results.
Rushing the Proofing Process

Rushing the proofing process can undermine the development of flavor and the dough’s structure, resulting in a less desirable pizza. When you accelerate proofing speed, you cut short the fermentation timing needed for complex flavors to form. Proper fermentation allows yeast or sourdough cultures to produce gases gradually, creating a better rise and more flavorful crust. If you skip or shorten this step, the dough may be dense, lack depth, and not develop the ideal texture. Patience is key; avoid the temptation to rush. By giving your dough adequate time to proof, you ensure it gains strength, elasticity, and rich flavor. Remember, a well-proofed dough is the foundation of a delicious, well-structured pizza. Don’t compromise on fermentation timing for quick results. Understanding fermentation is essential to achieving optimal dough quality.
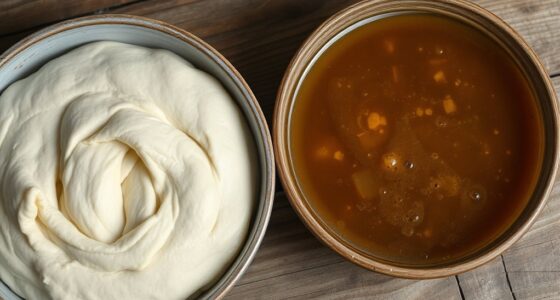
Not Accounting for Sourdough’s Longer Fermentation Time
Because sourdough requires a longer fermentation period than yeast, planning your timing accordingly is vital. If you overlook this, your dough may be under-fermented, impacting flavor and texture. Sourdough timing varies based on factors like temperature and starter activity, so adjusting your schedule is necessary. Use the table below to help manage fermentation duration:
| Fermentation Stage | Typical Duration | Key Considerations |
|---|---|---|
| Bulk Fermentation | 4-6 hours | Climate and starter strength |
| Proofing | 2-4 hours | Dough temperature |
| Cold Fermentation | 12-24 hours | Flavor development |
| Final Proof | 1-2 hours | Dough readiness |
Understanding these stages ensures your sourdough develops proper flavor and structure, avoiding common pitfalls in sourdough timing. Additionally, monitoring fermentation conditions closely can help you achieve optimal results.
Ignoring the Impact of Temperature on Yeast and Sourdough Activity
You might not realize how much temperature influences yeast and sourdough activity. When the dough isn’t kept within the ideal range, fermentation slows down or speeds up unexpectedly. Recognizing signs of temperature stress helps you adjust quickly and avoid flawed pizza dough. Maintaining the proper storage conditions ensures the microorganisms remain active and healthy during fermentation.
Optimal Temperature Range
Understanding the ideal temperature range for your dough is essential for achieving the best results, regardless of whether you’re working with yeast or sourdough. Maintaining this range helps optimize yeast activity and sourdough fermentation, ensuring proper rise and flavor development. Generally, the optimal temperature for yeast activity is between 75°F and 85°F, while sourdough prefers slightly cooler, around 70°F to 80°F. Too hot, and fermentation speeds up excessively, risking overproofing; too cold, and activity slows, leading to underdeveloped dough. Here’s a quick reference:
| Dough Type | Ideal Temperature Range | Effect on Fermentation |
|---|---|---|
| Yeast | 75°F – 85°F | Maximizes yeast activity |
| Sourdough | 70°F – 80°F | Promotes steady sourdough fermentation |
Additionally, understanding the temperature impact on fermentation can help you better control the process for optimal results.
Signs of Temperature Stress
Temperature stress can quickly become apparent in your dough through noticeable changes in texture and behavior. When there are temperature fluctuations, yeast activity may slow down or spike unexpectedly, leading to inconsistent fermentation. You might observe dough that feels unusually tight or sticky, or it may rise unevenly. Overly warm conditions can cause rapid fermentation, resulting in sour or off flavors, while cold temperatures slow yeast activity, causing sluggish rise and dense texture. Signs of temperature stress also include a lack of bubbles or a dough that doesn’t develop the expected elasticity. If your dough reacts unpredictably, it’s a clear sign that temperature fluctuations are affecting fermentation. Proper temperature control, which influences the fermentation process, is vital to prevent these issues and guarantee optimal yeast and sourdough activity.
Forgetting to Score or Properly Shape the Dough
Neglecting to score or properly shape your dough can lead to uneven baking and a less appealing crust. Proper dough scoring helps control expansion during baking, preventing blisters and blowouts. Shaping techniques determine the pizza’s structure and thickness, affecting texture and appearance. To get it right:
- Use dough scoring to create controlled vents, avoiding uncontrolled bursting.
- Apply shaping techniques that ensure even thickness and a smooth surface.
- Don’t skip pre-shaping to develop surface tension, which helps your crust hold its shape.
Mastering dough scoring and shaping techniques ensures your pizza bakes evenly with a beautiful, crispy crust. Skipping these steps results in uneven oven spring and a less professional look. Focus on these fundamentals for consistently perfect pizzas.
Overloading the Pizza With Toppings
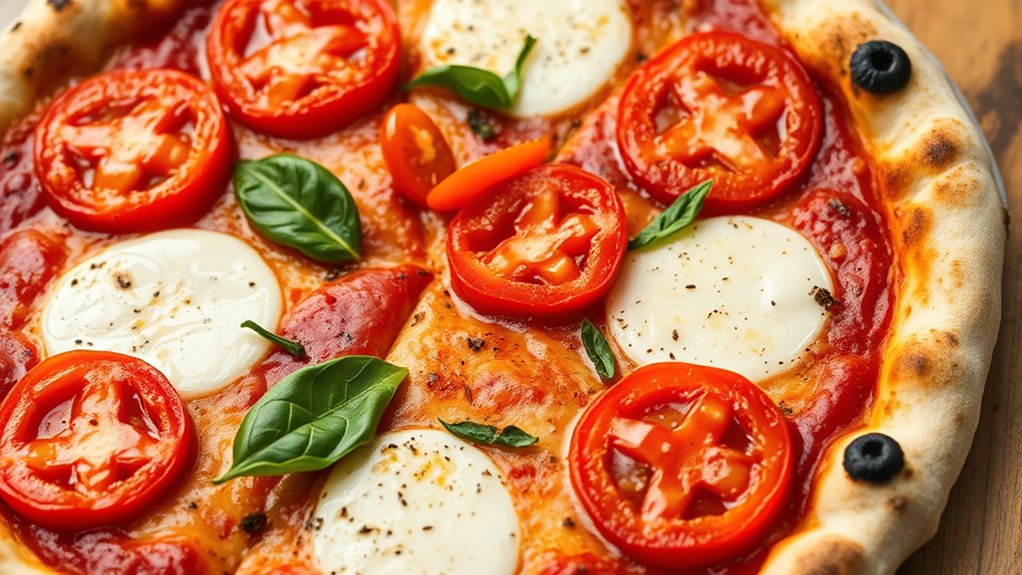
When you pile on too many toppings, your pizza can become soggy or difficult to handle. To keep it perfect, balance the amount of each ingredient and protect the crust’s structure. Remember, flavor harmony is key—less often means more in creating a delicious, well-rounded pie.
Balance Topping Quantities
Overloading your pizza with toppings can seem tempting, but it often leads to uneven cooking and a soggy crust. To prevent this, focus on balancing topping quantities. First, ensure your dough has good elasticity so it can support toppings without tearing or becoming soggy. Second, prioritize ingredient freshness; fresh toppings cook evenly and retain flavor. Third, distribute toppings evenly across the surface, avoiding thick piles in one area. This prevents excess moisture from overwhelming the dough and helps maintain a crisp crust. Remember, less is often more—overloading can hinder proper baking and ruin the texture. By managing topping quantities carefully, you’ll achieve a well-cooked, flavorful pizza with a balanced crust and toppings that shine.
Maintain Crust Integrity
To maintain crust integrity, it’s essential to avoid piling on too many toppings, which can weigh down the dough and cause it to sag or tear during baking. Overloading affects dough elasticity and can compromise crust thickness, leading to a soggy or uneven crust. Use toppings sparingly and evenly distribute them to support the dough’s structure. Consider the weight and moisture content of each topping to prevent excess strain. Here’s how different toppings influence crust quality:
| Topping Type | Impact on Dough Elasticity | Effect on Crust Thickness |
|---|---|---|
| Vegetables | Moderate | Slightly thickens |
| Meats | Heavy | Reduces flexibility |
| Cheese | Varies | Can thicken or weaken |
| Sauces | Adds moisture | May soften crust |
| Fresh herbs | Minimal | Little effect |
Prioritize Flavor Harmony
Balancing toppings is essential to achieve flavor harmony on your pizza. Overloading can overshadow the crust and mask the subtle flavors of your sourdough or yeast-based dough. To guarantee taste integration, focus on these key points:
- Limit toppings to 3-4 quality ingredients to maintain flavor balance.
- Distribute toppings evenly for consistent taste with every bite.
- Choose complementary flavors that enhance rather than compete with each other.
Using Cold Ingredients or Dough Straight From the Fridge

Using cold ingredients or dough straight from the fridge can hinder your pizza’s rise and texture. Cold ingredients, like water or toppings, slow down yeast activity, making it harder for your dough to develop properly. Similarly, fridge dough is usually too chilled, which can prevent proper fermentation and gluten development. When you handle cold ingredients or dough, you risk ending up with a dense, chewy crust instead of a light, airy one. To avoid this, let cold ingredients come to room temperature before mixing, and give your fridge dough time to warm up slightly. Warming the dough encourages yeast activity and gluten relaxation, resulting in better rise and improved texture. Always plan ahead so your ingredients and dough aren’t too cold when you start shaping your pizza.
Inadequate Baking Temperature or Incorrect Oven Setup

You need to guarantee your oven is properly calibrated so it reaches the right temperature for baking pizza. Always preheat your oven thoroughly to get consistent results. Using the correct baking mode, like convection or bake, also makes a big difference in achieving a perfect crust.
Proper Oven Calibration
Proper oven calibration is essential for achieving the perfect pizza crust, as even a slight temperature discrepancy can lead to undercooked or burnt results. To guarantee your oven is accurately set, consider these steps:
- Use an oven thermometer to check the actual baking temperature against the dial setting.
- Adjust the oven’s calibration settings if available, or schedule professional calibration if needed.
- Avoid relying solely on the oven’s display; actual temperature verification ensures consistent results.
Correct oven calibration helps you hit the ideal baking temperature, crucial for authentic yeast or sourdough pizza. Maintaining proper oven setup guarantees your dough develops the desired crust, color, and texture, avoiding common mistakes that compromise your pizza quality.
Preheat for Consistency
Preheating your oven thoroughly is essential for achieving consistent pizza results, especially when working with yeast or sourdough doughs. Proper preheat consistency ensures your oven reaches the optimal oven temperature, leading to better crust development and even baking. To improve your oven setup, consider the following:
| Oven Temperature | Preheat Duration | Baking Surface |
|---|---|---|
| 500°F (260°C) | 45 minutes | Pizza stone or steel |
| 475°F (246°C) | 40 minutes | Baking sheet |
| 450°F (232°C) | 35 minutes | Cast iron skillet |
Monitoring oven temperature and allowing sufficient preheat time guarantees your dough bakes evenly, preventing soggy or burnt spots. Use the right surface to maximize heat transfer and achieve the perfect crust.
Use Correct Baking Mode
Setting the right baking mode and temperature is key to achieving the perfect pizza crust. Your oven settings determine how evenly your pizza cooks and how crispy the crust becomes. To optimize your results:
- Use the “baking” or “convection bake” mode for consistent heat distribution.
- Set your oven to a high temperature, ideally between 475°F and 500°F, for a crispy crust.
- Preheat thoroughly, allowing the oven to reach the desired temperature before baking.
Avoid using the broil or low-temperature modes, which can cause uneven cooking or soggy crusts. Proper oven setup guarantees your pizza bakes evenly, giving you that perfect balance of chewy interior and crispy exterior. Remember, correct oven settings make all the difference.
Not Using a Pizza Stone or Steel for Baking
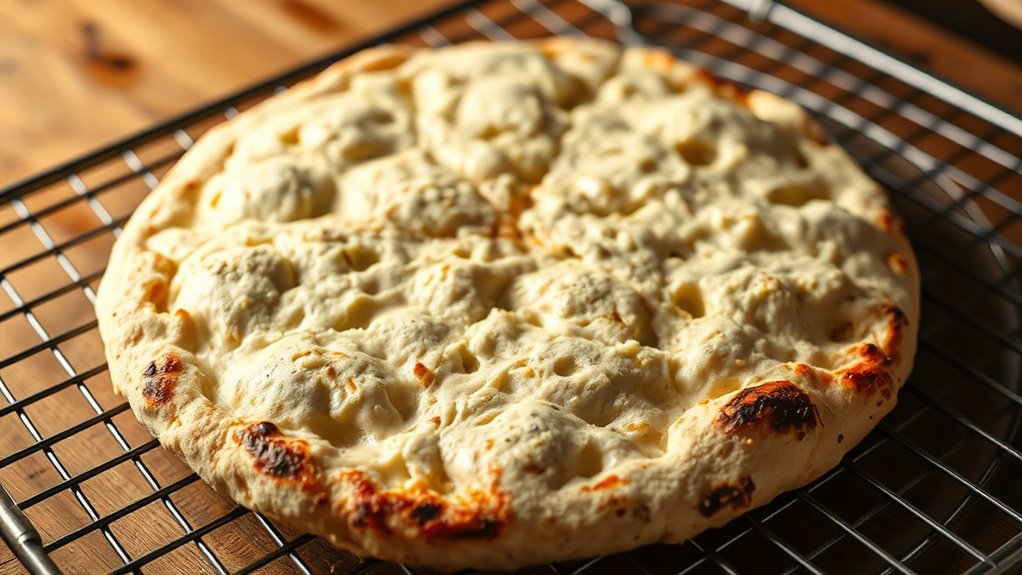
Skipping the use of a pizza stone or steel can markedly affect your crust’s texture and overall quality. Without these tools, your pizza may turn out soggy or unevenly cooked. A pizza stone or steel baking surface absorbs and retains heat better than a regular baking sheet, providing high, consistent heat that crisps the crust. They also help mimic a traditional brick oven environment, essential for authentic pizza.
| Benefit | Explanation |
|---|---|
| Crispier crust | Even heat transfer creates a crunch. |
| Better browning | Achieves a golden, flavorful crust. |
| Faster cooking | Higher heat speeds up baking time. |
Investing in a pizza stone or steel improves your pizza’s texture and elevates your baking game.
Failing to Practice and Adjust Based on Results

Without practicing and adjusting your technique based on your results, you might repeat mistakes and miss opportunities to improve your pizza. Consistent recipe experimentation helps you find the right balance of ingredients and fermentation times for your preferred crust. To optimize your process:
- Track your ingredient sourcing to verify freshness and quality, which impacts flavor and rise.
- Adjust fermentation times based on your dough’s behavior and flavor development.
- Test different hydration levels and kneading methods to improve texture and structure.
Frequently Asked Questions
How Does Hydration Level Affect the Texture of Yeast Versus Sourdough Pizza Dough?
Higher hydration levels increase the hydration impact, making your dough wetter and more elastic. For yeast dough, this results in a softer, airier crust, while sourdough benefits from higher hydration by developing a chewier texture with more open crumb. Adjusting hydration influences dough elasticity, so if you want a stretchier, more resilient dough, increase hydration; for a tender crust, keep hydration moderate.
What Are the Best Types of Flour for Sourdough Pizza Compared to Yeast-Based Dough?
Think of flour as the paint for your pizza masterpiece. For sourdough, opt for high-protein flours like bread or Manitoba, which develop strong gluten networks, giving your crust a chewy, airy texture. For yeast-based doughs, all-purpose flour works well, but if you want more structure, choose bread flour. The key is balancing flour protein content to achieve ideal gluten development, ensuring your pizza has the perfect bite.
How Can I Tell if My Dough Has Fermented Enough Without Overproofing?
To tell if your dough has fermented enough without overproofing, check the proofing timing and fermentation indicators. Your dough should have a slightly domed surface, feel airy but still hold its shape, and pass the poke test—gently press it, and if the indent slowly springs back, it’s ready. Avoid waiting too long, as overproofed dough becomes too soft, losing structure and flavor. Keep an eye on these signs for perfect fermentation.
What Are the Signs of Improper Shaping or Scoring That Affect Baking?
You’ll notice improper shaping or scoring by dough tearing or uneven cuts. If your dough tears easily, it’s too dry or not properly shaped. Scoring errors often include shallow cuts or inconsistent patterns, which can cause the dough to burst unpredictably during baking. To avoid this, handle the dough gently during shaping and use a sharp blade for scoring, ensuring cuts are deep enough to control the expansion without tearing the surface.
How Does Oven Humidity Influence the Final Crust of Yeast Versus Sourdough Pizza?
Oven humidity is the secret sauce for perfect crust development in both yeast and sourdough pizzas. Too much moisture can leave your crust soggy, while too little dries it out, making it tough. For sourdough, moderate humidity helps develop a crisp, airy crust, whereas yeast dough benefits from a drier environment for a golden finish. Adjust oven humidity accordingly to make sure your pizza crust turns out just right.
Conclusion
By avoiding these common pitfalls, you’ll open the secret garden of perfect pizza crust—crispy on the outside, tender within, like a warm embrace. Think of your dough as a living canvas, each step adding color and character. With patience and attention, you’ll craft a masterpiece that rises like a phoenix from the oven’s flames. Soon, your homemade pizza will sing a symphony of flavors, turning every bite into a delicious celebration.