
To master outdoor proofing, choose a durable, portable prep box with ventilation, insulation, and secure lids. Prepare your dough by ensuring proper hydration and gentle handling. Find a shaded, sheltered spot to keep the environment stable, and shield the dough from wind and direct sunlight using covers, barriers, or umbrellas. Regularly monitor temperature and humidity, adjusting as needed. Keep practicing these basics, and you’ll discover how to perfect your outdoor bread baking skills.
Key Takeaways
- Choose weather-resistant prep boxes with ventilation, secure lids, and handles for effective outdoor proofing.
- Maintain stable temperature (~75°F) and humidity using shading, wind barriers, and insulation.
- Cover dough with damp cloth or plastic wrap and shield from sun, wind, and drafts during proofing.
- Ensure dough is properly hydrated, gently folded, and uniformly stretched for consistent proofing results.
- Use timers and consistent setups to monitor proofing duration and oven conditions for reliable baking outcomes.

Amazon Basics Silicone Rectangular Baking Mat, Non-Stick, Reusable, Dishwasher Safe, Food Safe, Heat Resistant, 16.5" x 11.6", Beige/Gray, 2-Pack
Baking mat (2-pack) for easy and convenient baking, roasting, or food prep
As an affiliate, we earn on qualifying purchases.
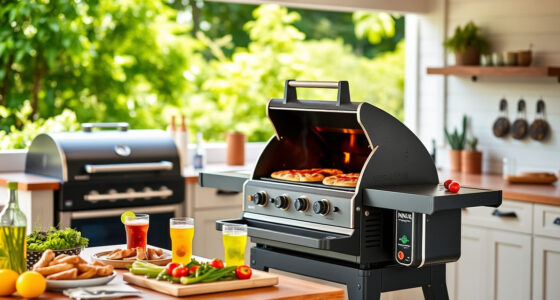
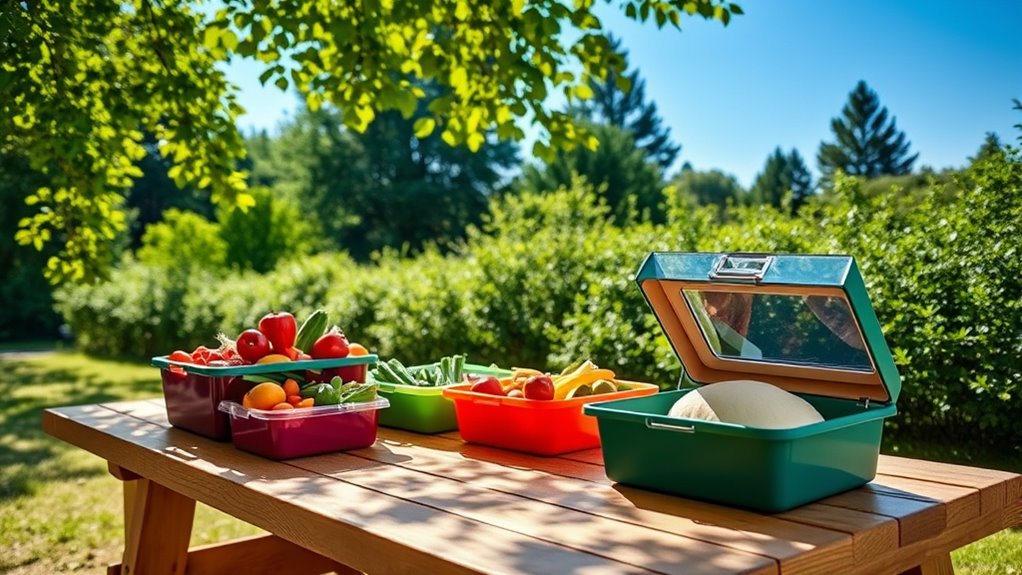
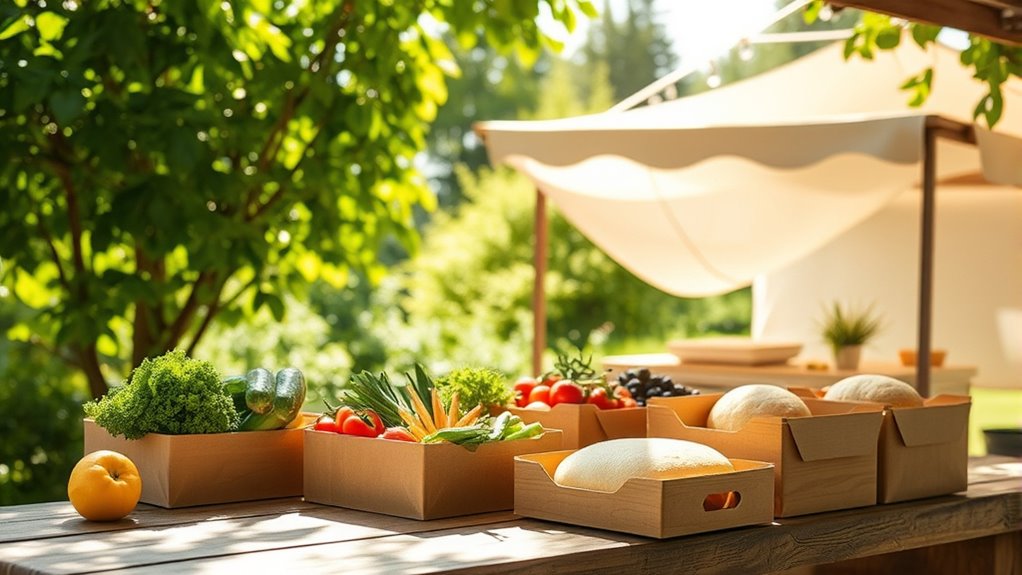
Choosing the Right Prep Box for Outdoor Baking
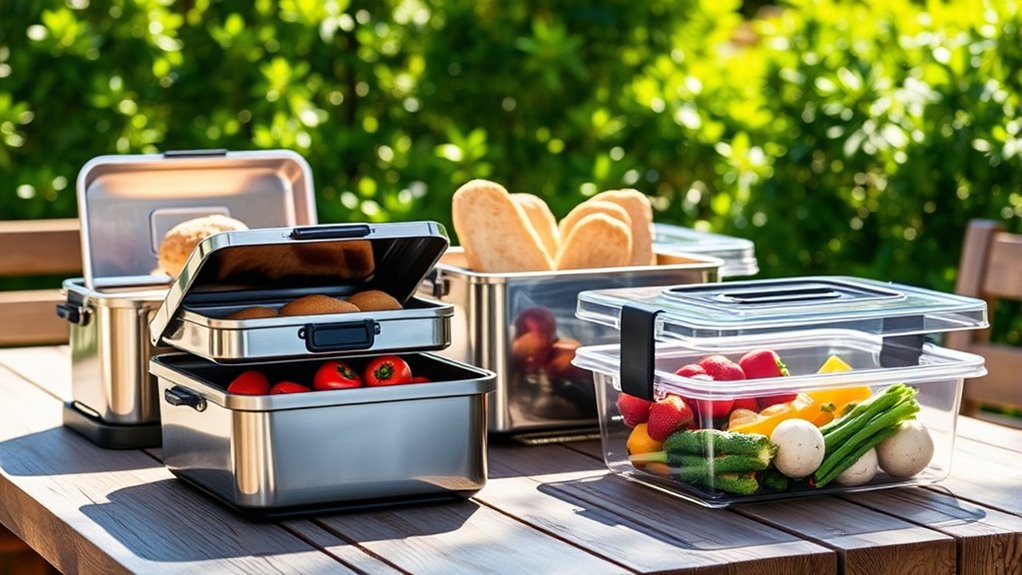
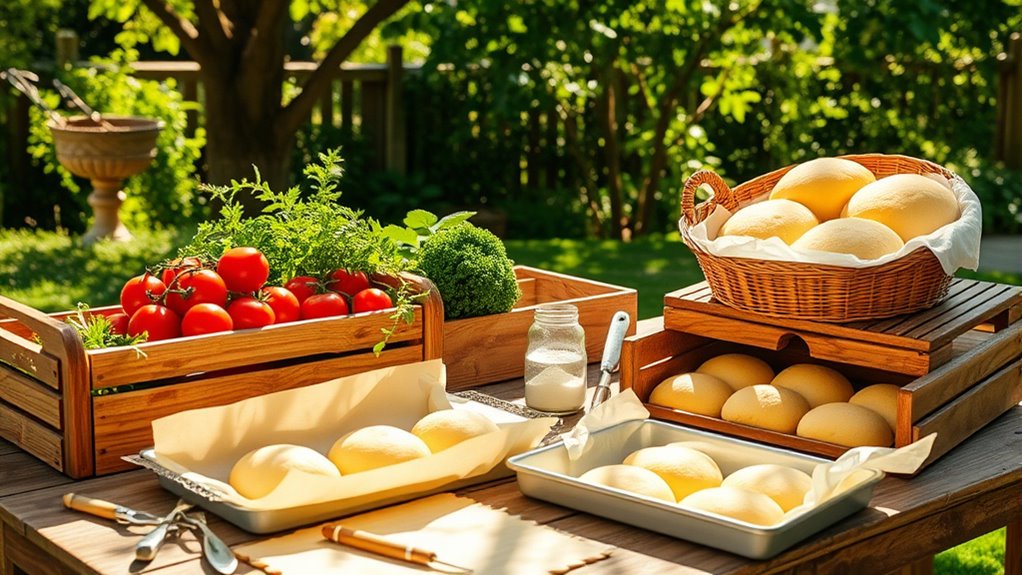
When selecting a prep box for outdoor baking, it’s essential to contemplate the size, material, and portability. Material selection is vital because it affects durability, insulation, and ease of cleaning. Look for sturdy, weather-resistant materials like plastic, stainless steel, or silicone that can withstand outdoor conditions. Design considerations also matter; choose a box with adequate ventilation, secure lids, and handles for easy transport. Compact sizes work best for portability, but make certain there’s enough space for your dough and tools. Think about whether you need insulation to maintain temperature or a transparent lid for easy monitoring. Overall, balancing these factors ensures your prep box meets your outdoor baking needs efficiently and reliably. Considering juice cleansing principles such as insulation and proper material choice can help keep ingredients fresh and at the right temperature during outdoor preparations.

Amazon Basics Non-Stick Silicone Baking Mat, Food Safe, Dishwasher Safe, Heat Resistant, 16.5" x 11.6", Beige/Gray, Rectangular, 4-Pack
Baking mat (4-pack) for easy and convenient baking, roasting, or food prep
As an affiliate, we earn on qualifying purchases.
Preparing Your Dough for Outdoor Proofing
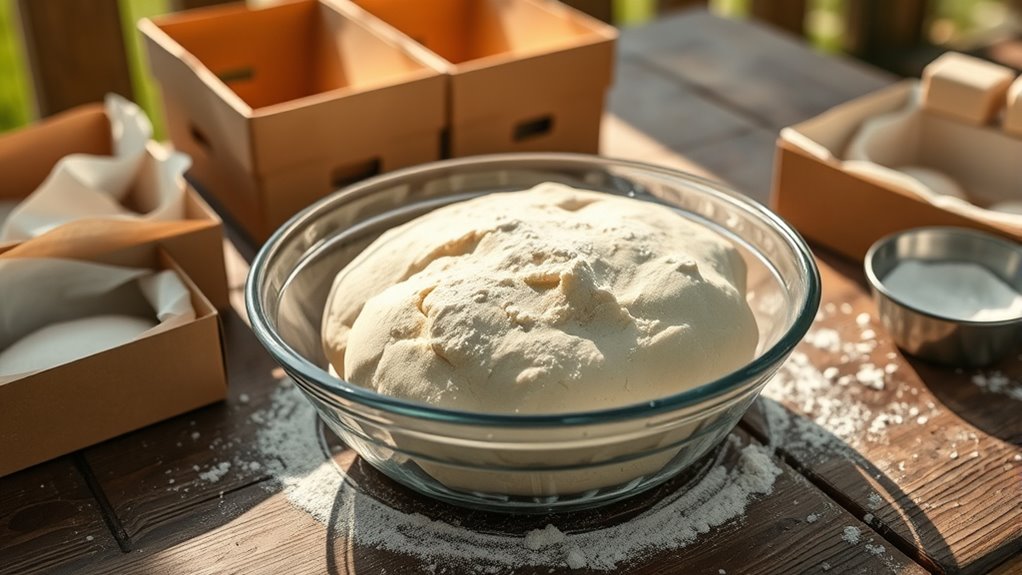
Preparing your dough properly is essential to guarantee successful outdoor proofing. Start by ensuring the dough has the right dough hydration—too dry, and it won’t expand well; too wet, and it may become sticky or collapse. Adjust your water content based on your recipe and environmental conditions. Next, consider fermentation timing; give the dough enough time to develop flavor and structure, but don’t overproof, which can weaken gluten. Use a gentle folding technique to strengthen the dough before proofing outdoors. Keep in mind that outdoor conditions can affect fermentation speed, so monitor the dough closely. Properly prepared dough will proof evenly, resulting in a better rise and crust. Using a vetted electric bike conversion kit can help you easily transport your ingredients or equipment to outdoor proofing locations. This preparation sets a strong foundation for successful outdoor proofing, regardless of weather or location.

whisrvival 4 Pcs Silicone Baking Mat, Non-Stick Baking Mat, Food Safe Silicone Mats for Baking Cookies, Macarons, Vegetables, 480℉ Heat Resistant (Grey)
2 Half (16.53 x 11.61 inches) & 2 Quarter sheet (11.81'' x 8.26'')Silicone Baking Mats, perfect for keeping...
As an affiliate, we earn on qualifying purchases.
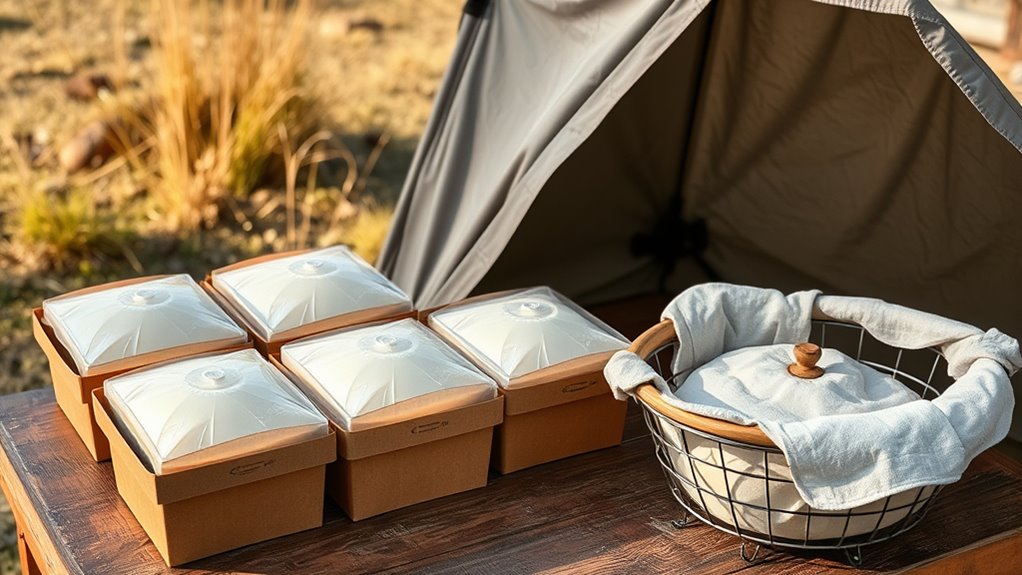
Optimal Conditions for Outdoor Proofing
Achieving the best results during outdoor proofing depends heavily on creating the right environment. Temperature fluctuations can cause your dough to rise unevenly or too quickly, so aim for a stable, moderate temperature—ideally around 75°F (24°C). Sudden changes in temperature can stress the dough, so avoid direct sunlight or drafts. Wind impact is another vital factor; strong winds can dry out your dough’s surface or disrupt the proofing process. Use a shaded, sheltered spot to minimize wind exposure and maintain consistent humidity. Covering your proof box with a damp cloth or using a prepped box can help stabilize conditions. Additionally, sensor-activated lighting can assist in monitoring your proofing environment during low-light conditions. By controlling these elements, you’ll guarantee your dough proof correctly, resulting in better texture and rise.

Luckyiren 2-Pack Silicone Baking Mats – Non-Stick Reusable BPA-Free Oven Liners, 100% Food-Grade Silicone, Fit Half Sheet Pans (16.54" x 11.62") for Cookies, Pastry & More
Perfect Fit for Half Sheet Pans: Sized at 16.54" x 11.62", these reusable silicone baking mats fit all...
As an affiliate, we earn on qualifying purchases.
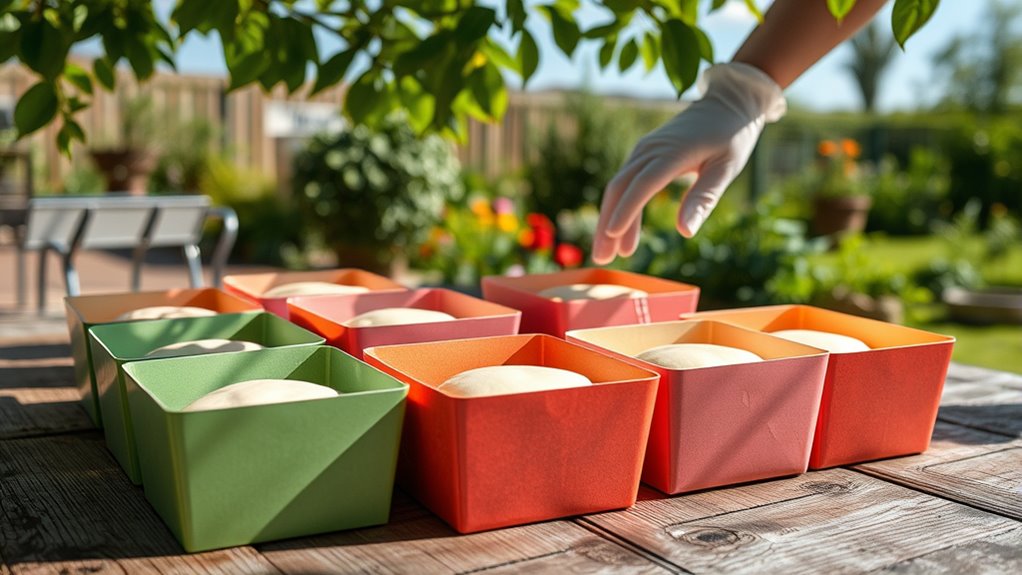
Techniques for Protecting Your Dough From Elements
Protecting your dough from the elements is essential to guarantee consistent proofing. To shield it effectively, consider these techniques:
- Use a cover or plastic wrap to keep out drafts and maintain humidity.
- Set up wind barriers, like tall screens or boards, to prevent drafts from disturbing the dough.
- Employ sun protection, such as umbrellas or shade cloths, to avoid overheating and uneven proofing.
- Adjust your proof box or prep area to block direct sunlight and gusty winds.
These methods help maintain stable temperatures and humidity levels, ensuring your dough proofs evenly. By controlling sun exposure and blocking wind, you reduce the risk of crusting or drying out, resulting in better rise and texture in your baked goods.
Monitoring and Managing Proofing Outdoors
Monitoring and managing your proofing environment outdoors requires close attention to changes in temperature and humidity. Fluctuations can affect dough fermentation, causing inconsistent rise or underproofing. You need to keep an eye on the ambient conditions and adjust your setup accordingly. For example, if it gets too warm, your dough may ferment too quickly, risking overproofing before baking. Conversely, cooler weather slows fermentation, extending proofing times. Maintaining stable oven temperature is essential for final proofing, so consider using insulated proof boxes or blankets to regulate heat. Regularly check your dough’s progress and adjust your environment as needed, ensuring ideal fermentation. Staying vigilant helps you achieve consistent proofing results outdoors, leading to better baking outcomes each time.
Tips for Successful Outdoor Baking Results
To get great outdoor baking results, focus on using quality ingredients and controlling environmental factors like temperature and humidity. Consistent techniques help guarantee your baked goods turn out the same every time, even outdoors. Mastering these points will boost your confidence and improve your baking success. Additionally, understanding free floating concepts can help you adapt your baking approach to changing outdoor conditions.
Use Quality Ingredients
Using high-quality ingredients is essential for achieving the best results when baking outdoors. When you prioritize ingredient quality, your baked goods will taste fresher and more flavorful. Consider these key points:
- Select fresh, organic produce to boost flavor and texture.
- Use premium flours for better rise and structure.
- Incorporate high-quality fats like butter or oils for richness.
- Opt for fresh yeast or leavening agents to ensure proper proofing and rise.
- For outdoor baking, choosing equipment like flat iron bikes can help you transport ingredients and tools easily to your baking site.
Choosing superior ingredients directly impacts flavor enhancement and overall success. Low-quality ingredients can lead to flat textures or dull flavors, making your outdoor baking less enjoyable. By investing in quality, you ensure your baked treats are delicious, visually appealing, and worth the effort. Remember, ingredient quality truly makes all the difference.
Control Environmental Factors
High-quality ingredients set the foundation for great baked goods, but outdoor baking also depends heavily on managing environmental conditions. Wind protection is essential; even a light breeze can deflate dough or disrupt proofing. Use barriers like windbreaks or shields to keep drafts at bay. Temperature control is equally important; fluctuating outdoor temperatures can affect yeast activity and baking times. Keep your proofing area in a shaded spot or indoors during extreme heat or cold. If needed, use a portable heater or cooling method to maintain consistent conditions. Monitoring and adjusting for wind and temperature helps ensure your dough rises properly and bakes evenly, leading to better results. Additionally, understanding the importance of ambient conditions can help you optimize your outdoor baking setup. By regulating these environmental factors, you set yourself up for successful outdoor baking every time.
Practice Consistent Techniques
Maintaining consistent techniques is crucial for achieving reliable results when baking outdoors, where variables can easily throw off your process. To do this, focus on a few key practices:
- Dough stretching: Always stretch your dough to a uniform thickness to ensure even baking and consistent texture.
- Scoring techniques: Use the same scoring pattern and depth each time to control how your bread expands and develops crust.
- Temperature control: Keep your oven or proofing environment at a steady temperature to prevent uneven proofing or baking.
- Timing consistency: Stick to your timing, whether for proofing or baking, to avoid under- or over-cooked results.
- Consistent equipment settings: Use the same settings on your outdoor oven or grill each time, similar to how performance tuning for Honda vehicles ensures reliable power output.
Frequently Asked Questions
Can I Use Any Type of Dough for Outdoor Proofing?
You can’t use any type of dough for outdoor proofing because different doughs require specific proofing temperatures for ideal fermentation. Some doughs, like sourdough, need a cooler, controlled environment, while others may tolerate warmer outdoor conditions. You should choose a dough that can handle the outdoor proofing temperature and ferment well. Monitoring dough fermentation is essential to ensure the dough develops properly without overproofing or underproofing during outdoor proofing.
How Long Can Dough Safely Stay Outdoors During Proofing?
Think of your dough as a delicate bloom—too long outdoors, and it risks wilting. Generally, you shouldn’t let it stay out over 2 hours, especially if temperatures rise above 75°F. During proofing, temperature control and humidity levels are your best friends; they keep the dough cozy and active. Keep an eye on the clock and environment, and your bread will rise beautifully without overdoing it.
What Are the Best Materials for a DIY Outdoor Proof Box?
You should choose weather-resistant materials like plastic or metal for your DIY outdoor proof box, as they withstand rain, humidity, and temperature changes. Insulation properties are also essential; foam-insulated boxes or thick-walled containers help maintain consistent temperatures, preventing dough from over-proofing or drying out. Using these materials guarantees your dough stays protected and at the right temperature, even in varying outdoor conditions.
How Do Weather Changes Affect Proofing Times?
Weather changes can turn your proofing process into a delicate dance, as humidity variations and temperature fluctuations influence proofing times markedly. When it’s humid or warm, dough may rise faster, while cold or dry conditions slow it down. You need to stay attentive, adjusting your schedule and environment to keep proofing consistent. By monitoring weather closely, you guarantee your dough develops perfectly, avoiding surprises that can spoil your baking masterpiece.
Is Outdoor Proofing Suitable for All Bread Types?
Outdoor proofing isn’t suitable for all bread types. You might find ingredient flexibility limited, especially with delicate doughs that require precise conditions. However, it can enhance flavor development in rustic and artisanal breads, thanks to natural temperature and humidity variations. For best results, choose sturdy doughs and monitor weather conditions closely. This way, you’ll optimize proofing and achieve the desired texture and flavor in your bread.
Conclusion
Now that you’re armed with all the outdoor proofing secrets, you’re basically a baking superhero ready to conquer any outdoor kitchen challenge. With the right prep box, perfect conditions, and a keen eye on your dough, your bread will rise like a mountain—unstoppable and magnificent. Just remember, patience and attention to detail turn outdoor baking from a tricky adventure into a delicious masterpiece. Get out there and let your baking skills shine brighter than the sun!