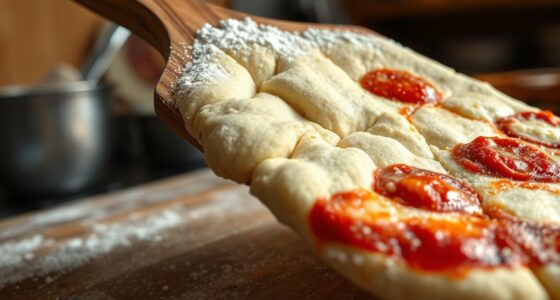

To fix overproofed dough, first spot early signs like loss of elasticity and large bubbles, then avoid rushing the resting process. Adjust hydration carefully, gently degas the dough, and consider a quick fermentation reset. Using cold proofing can revive the structure, but be gentle to preserve gluten. Patience with reproofing and always taste and test before baking. Stick with these steps, and you’ll discover more ways to restore perfect dough every time.
Key Takeaways
- Early detection through elasticity tests and visual cues prevents overproofing from worsening.
- Resting, adjusting salt and sugar, and controlling fermentation are essential for fixing overproofed dough.
- Proper hydration, gentle degassing, and resetting techniques restore dough structure effectively.
- Cold proofing and careful reproofing help re-establish balance and prevent overfermentation.
- Final checks on dough’s elasticity, taste, and timing ensure optimal baking results and consistent quality.
Victoria 8-Inch Cast Iron Tortilla Press HD Spherrous, Commercial-Grade Cast Iron Tortilla Maker, Roti Press, Pataconera Seasoned with Flaxseed Oil, Made in Colombia, Black
CAST-IRON TORTILLA MAKER: Our high-quality cast-iron press and quesadilla maker is seasoned with non-GMO, kosher-certified flaxseed oil, and...
As an affiliate, we earn on qualifying purchases.
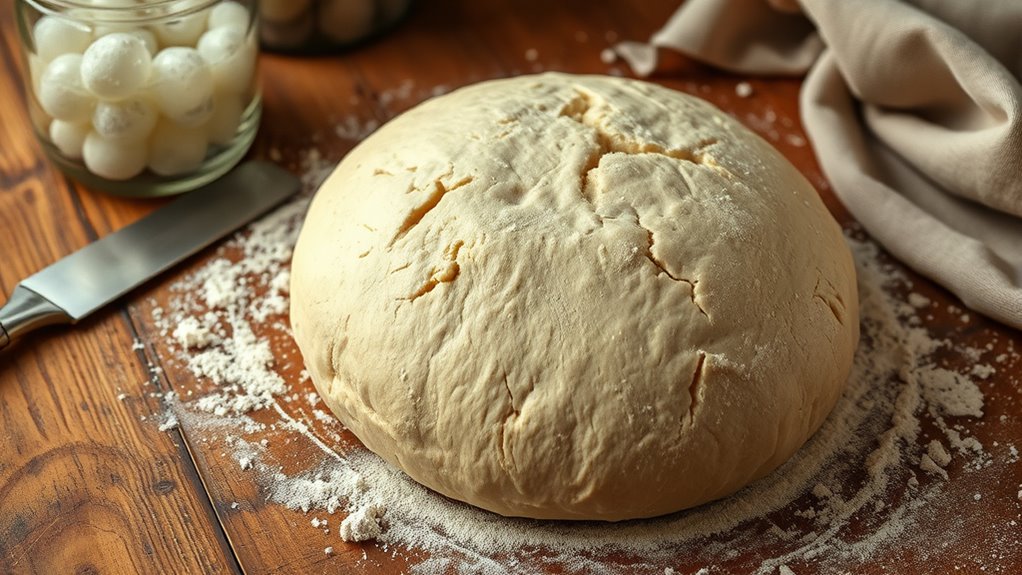
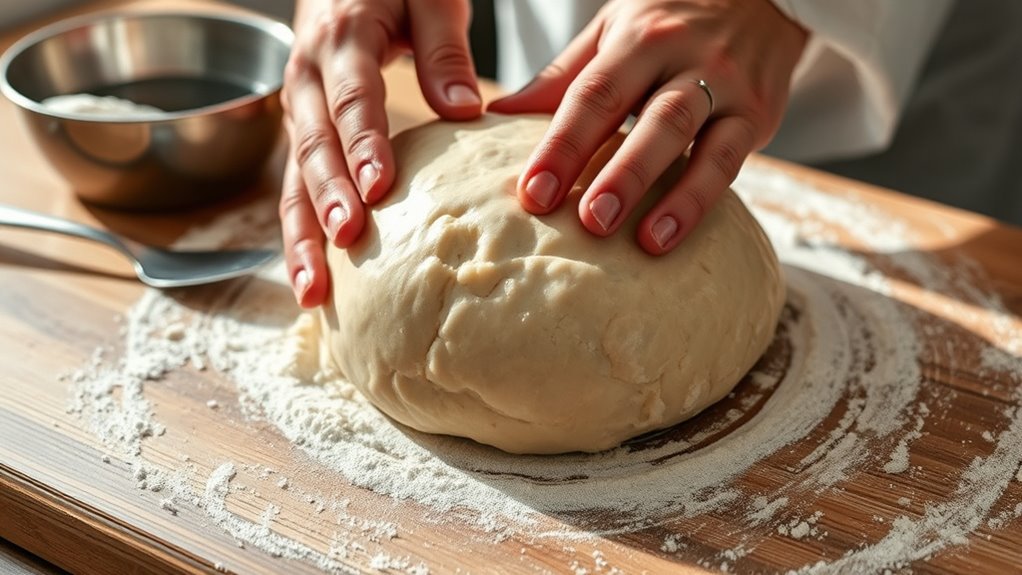
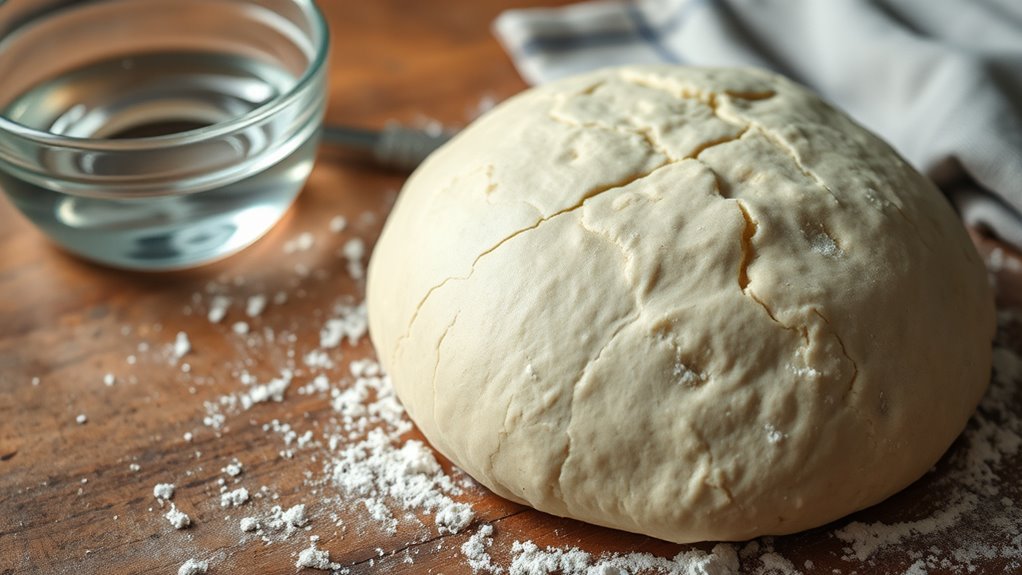
Recognize the Signs of Overproofing Early
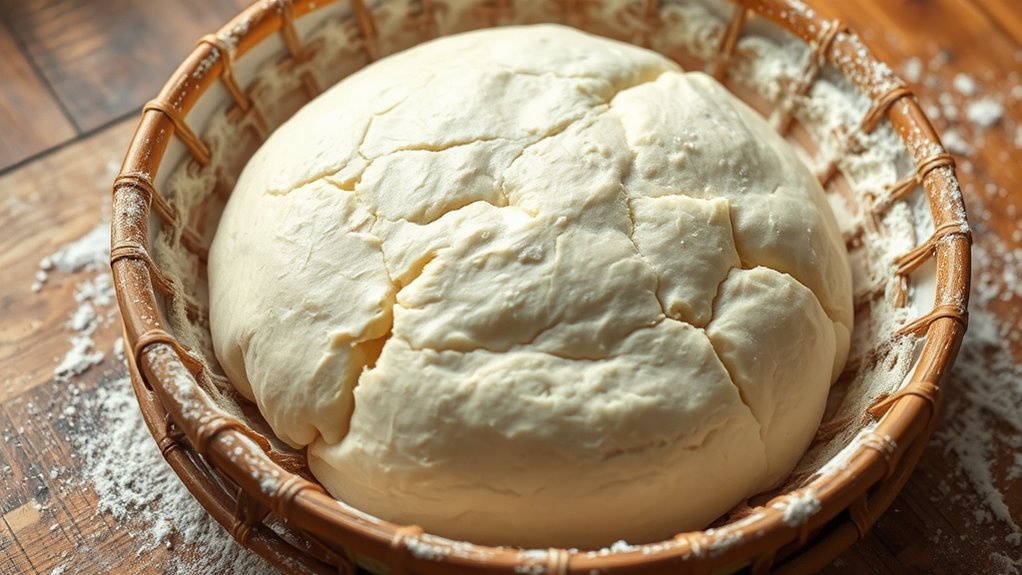
How can you tell if your dough is overproofed before it’s too late? The key is paying attention to signs that indicate fermentation control is slipping. Overproofed dough often shows decreased dough elasticity, making it feel overly soft or slack when you gently poke it. Instead of springing back, the surface might remain indented, signaling excess fermentation. You may also notice that the dough has expanded considerably, with large bubbles forming throughout. These signs suggest that the yeast has exhausted its activity, and the gluten structure is breaking down. Recognizing these early indicators helps you intervene before overproofing ruins your bread. Monitoring air quality and fermentation environment can also impact proofing times and outcomes. Keep a close eye on dough texture and volume to maintain control and ensure perfect results.

Uno Casa Cast Iron Tortilla Press 8 Inch - Tortilla Maker Press, Pre-Seasoned Roti Maker with 100 Pcs Parchment Paper - Heavy Duty Quesadilla Maker for Homemade Flatbreads, Rotis, Empanadas
HEAVY-DUTY & EASY-TO-PRESS - Manufactured from quality cast iron, the Uno Casa 8-inch tortillas press & chapati maker...
As an affiliate, we earn on qualifying purchases.
Never Rush the Resting Process
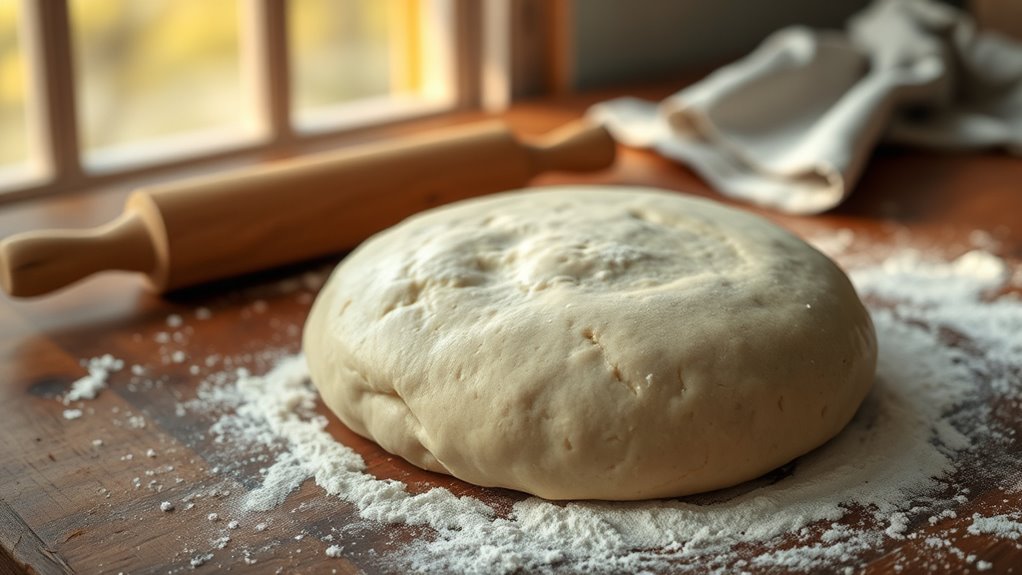
Resting the dough is an essential step that shouldn’t be rushed, as it allows gluten to develop fully and the yeast to activate properly. Patience during proofing ensures your dough ferments at the right rate, preventing overproofing or underproofing. Rushing this process cuts short the fermentation timing needed for flavor and texture development. When you give your dough enough time to rest, the yeast produces gases gradually, creating a stronger, more elastic gluten structure. Remember, proofing patience pays off with better rise and a more balanced crumb. Proper resting time helps you achieve consistent results and saves you from fixing overproofed dough later. Respect the resting phase for a perfect bake every time. Proper fermentation is crucial for optimal dough quality and flavor development.
1Pack Tortilla Crimper, 10-12” Flour Tortilla Sealer | DIY Make Sealed Tacos, Quesadillas, Burritos & More | Tortilla Press for Christmas Party | BPA-Free, Dishwasher Safe, Tortilla Press Maker
【Fun for the Whole Family】Turn mealtime into playtime! Our tortilla crimper is the perfect tool for creating engaging...
As an affiliate, we earn on qualifying purchases.
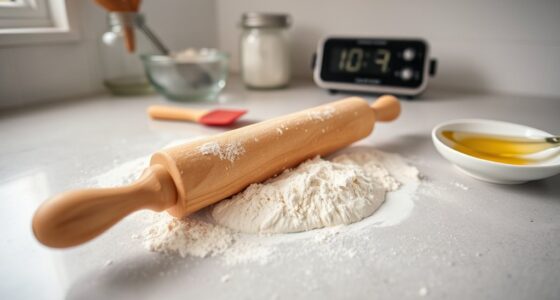
Adjust Hydration Levels Carefully
Adjusting hydration levels is essential because adding too much or too little water can compromise your dough’s structure and final texture. Achieving the right hydration balance depends on understanding dough absorption and how it reacts to moisture. To fine-tune your dough:
Proper hydration ensures optimal dough structure and texture for perfect baking results.
- Gradually add small amounts of water, kneading thoroughly after each addition.
- Observe how the dough feels—should be slightly tacky but not sticky.
- Test the dough’s elasticity; it should stretch without tearing easily.
- Consider the type of flour used, as different dog names have varying absorption qualities that can influence hydration needs.
Chef Tacos Authentic Cast Iron Tortilla Press, 8-Inch, Roti Maker Pre-seasoned Corn or Flour Tortilla Maker, Flour Presser, Durable Cast Iron Made, Pataconera, Roti Dough
MAKE AUTHENTIC CORN TORTILLAS AT HOME in just 5 minutes - from press to pan! Say bye bye...
As an affiliate, we earn on qualifying purchases.
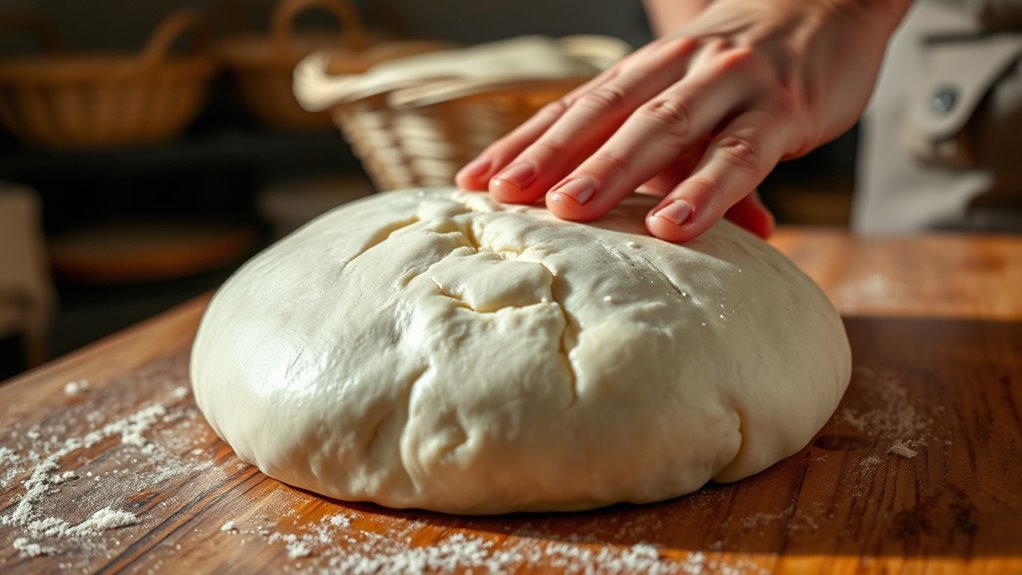
Gently Degas Before Reworking
Before reshaping or adding ingredients, it’s important to gently degas your dough to release excess air pockets. Overproofed dough can develop uneven dough elasticity, making it harder to handle. Degassing helps reset the dough’s structure, ensuring it maintains a good texture and shape during reworking. Be careful not to force out too much air, as this can affect fermentation timing and weaken gluten development. Use your fingertips to gently press and fold the dough, releasing bubbles without knocking out all the gases. This process redistributes the dough’s internal gases, preventing large holes and improving elasticity. Proper degassing helps you regain control over the dough’s consistency, making it easier to shape and ensuring a better final product. Developing attention to detail during this process is crucial for achieving consistent results.
Incorporate a Short Fermentation Reset
If your dough has overproofed and become too slack or overly fermented, incorporating a short fermentation reset can help restore its structure. This technique, known as a fermentation reset, resets the yeast activity and enhances dough revival. To do this effectively:
- Punch down the dough gently to release excess gas.
- Knead in a small amount of fresh flour and water to rehydrate and strengthen the dough.
- Let it rest briefly at room temperature for 15-20 minutes to initiate a controlled fermentation reset.
- Be mindful of symptoms of overproofed dough, such as a slack texture or overly sour smell, to assess whether a reset is necessary.
This process helps tighten the gluten network and improves elasticity, preventing the dough from collapsing during baking. Using a fermentation reset can save overproofed dough, giving you a fresh start for a better final product.
Use Cold Proofing Techniques to Revive
Using cold proofing techniques can effectively revive overproofed dough by slowing down yeast activity and allowing it to regain strength. Cold fermentation reduces the dough’s temperature, which helps stabilize its structure and prevents further overproofing. When you place the dough in the refrigerator, it halts fermentation temporarily, giving the yeast a chance to recover without over-expanding. This process promotes dough stabilization, ensuring it maintains its shape and texture. After chilling, remove the dough and let it warm slightly before shaping or baking. Cold proofing doesn’t reverse overproofing entirely but can improve the dough’s elasticity and flavor, making it more manageable. Use this method to extend your dough’s life and restore its baking potential effectively.
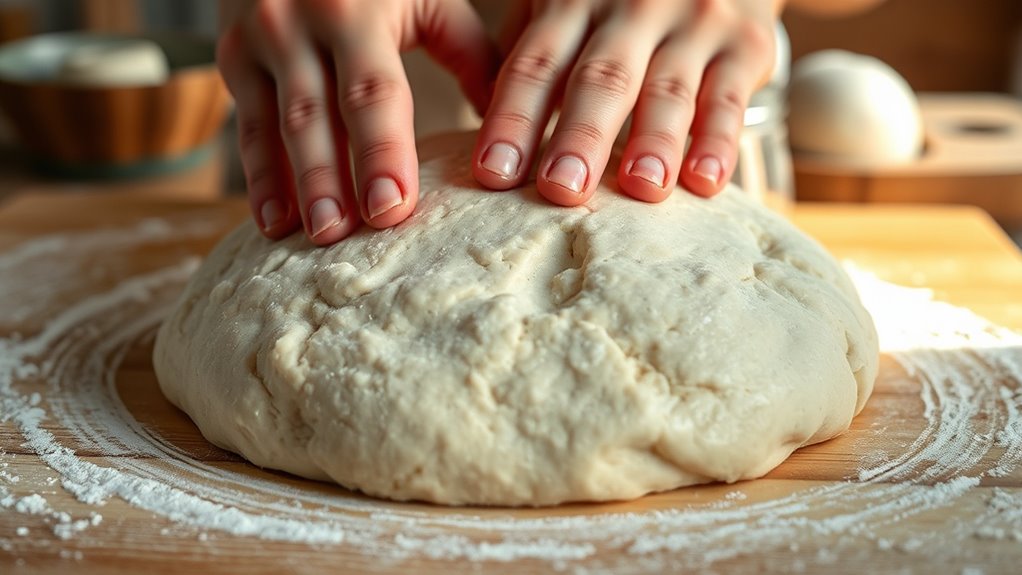
Avoid Overhandling to Maintain Structure

Overhandling dough can quickly lead to a loss of its delicate structure, making it tough and difficult to shape. To preserve dough elasticity, you need to handle it gently. Focus on these key points:
- Use minimal kneading techniques, stopping as soon as the dough is smooth and elastic.
- Avoid excessive folding or pressing, which can develop gluten too much and make the dough tough.
- When shaping, handle the dough lightly, supporting it rather than stretching or overworking it.
- Incorporating gentle handling techniques helps maintain the dough’s natural stretch and resilience.
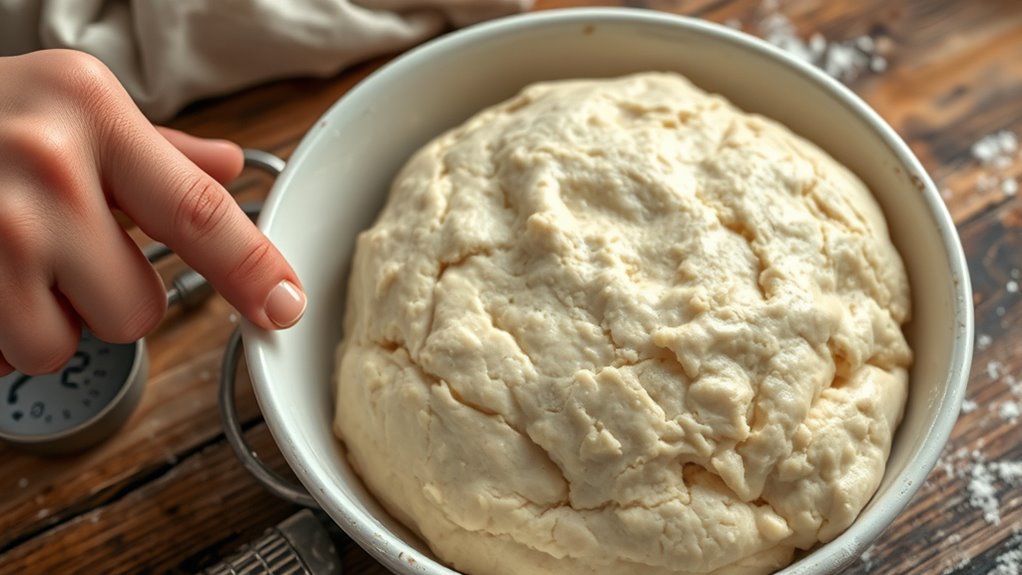
Be Patient With Reproofing Intervals
Patience is key when reproofing your dough; rushing the process can ruin your results. Give it enough time to properly rise again without overhandling, which can deflate the dough. Trust the timing, and you’ll achieve a better, more balanced bake.
Wait for Proper Rise
Waiting for the dough to properly rise is essential to achieving the best results. Patience guarantees you allow proofing temperatures to optimize yeast activity, which directly impacts the rise quality. Rushing this step can lead to dense or overproofed dough. To get it right, observe these key points:
- Check for a slight dome or bubbles on the surface—signs yeast is active.
- Maintain consistent proofing temperatures around 75-85°F to encourage steady activity.
- Wait until the dough has doubled in size, not just a little puffiness, for a proper rise.
- Utilizing proofing techniques like using a warm, draft-free environment can further enhance yeast fermentation and dough development.
Avoid Overhandling Dough
Handling your dough too much or rushing reproofing can cause it to become dense or tough. Overworking dough breaks down its gluten structure, reducing dough elasticity and making it harder to shape. Patience is key; allowing adequate reproofing time helps develop better flavor and promotes a proper rise. When you handle the dough gently and avoid unnecessary kneading during reproofing, you preserve its delicate gluten network, leading to a lighter, more airy texture. Rushing reproofing can also interfere with flavor development, as the dough needs time for fermentation to deepen taste. Additionally, maintaining appropriate temperature and humidity levels during reproofing can significantly influence the dough’s final texture and flavor. By giving your dough the patience it needs, you’ll ensure a more elastic, flavorful result, and prevent overhandling from sabotaging your baking success.
Always Taste and Test Before Baking
Before baking, always taste and test your dough to verify it’s just right. Check its consistency, and make quick adjustments to salt and sugar if needed. Confirm that fermentation has progressed properly so your bread will turn out perfect. Incorporating mindful decluttering strategies can help you organize your baking supplies for more efficient and stress-free preparation.
Check Dough Consistency
Always take a moment to taste and test your dough before baking, as this step helps you gauge its consistency and flavor. Check the dough’s elasticity by gently stretching it; if it snaps back smoothly, the gluten development is good. Pay attention to fermentation timing—if it feels overly sticky or slack, it may be overproofed or underdeveloped. To assess consistency, consider these points: 1. Is the dough elastic and easy to shape without tearing? 2. Does it hold a slight bounce when pressed, indicating proper fermentation? 3. Is the texture smooth and uniform, not overly sticky or dry? Additionally, using a headphone can help you listen for any irregular sounds when testing the dough’s texture, ensuring you catch subtle issues early.
Adjust Salt and Sugar
Tasting and testing your dough before baking is essential to guarantee the salt balance and sugar influence are correct. If the dough tastes bland, add a pinch of salt to enhance flavor without overpowering it. Too salty? Rinse your dough briefly or adjust in future batches. Sugar levels also impact taste and texture; too little leaves the bread flat, while too much can make it overly sweet or dense. Taste your dough and consider its natural sweetness—adjust accordingly. Remember, sugar influences yeast activity and crust color, so small tweaks can make a big difference. Always test a small piece first to prevent overcorrection. Properly balancing salt and sugar ensures ideal flavor, texture, and rise, especially in overproofed dough.
Confirm Fermentation Status
Confirming your dough’s fermentation status is a crucial step to guarantee it’s ready for baking. To do this effectively, consider these points:
- Check the fermentation timeline—most dough should double in size within 1-2 hours, but overproofed dough may look overstretched.
- Feel the dough’s elasticity—properly fermented dough should be soft yet resilient; if it’s overly sticky or slack, it might be overproofed.
- Taste a small piece—if it tastes sour or overly yeasty, it’s a sign fermentation has gone too far.
Always test before baking to avoid surprises. Proper fermentation ensures your dough has developed the right structure and flavor, making it easier to shape and bake perfectly. Skipping this step risks ending up with overproofed, flat bread.
Frequently Asked Questions
How Can I Prevent Overproofing in the First Place?
To prevent overproofing, you should follow proofing best practices and master proper dough handling techniques. Keep an eye on the dough’s size and texture, and avoid letting it rise too long. Use a timer, and proof in a cool environment if possible. These steps help control fermentation, ensuring you don’t overproof and end up with a perfect crust every time.
What Are the Best Tools for Monitoring Dough Proofing?
You should use proofing sensors and dough timers to monitor your dough proofing effectively. Proofing sensors provide real-time data on temperature and humidity, ensuring ideal conditions. Dough timers help you track fermentation time precisely, preventing overproofing. Combine both tools for accurate control, allowing you to adjust proofing environments as needed and achieve consistent, perfect results every time.
Can Overproofed Dough Be Saved After Baking?
You can’t reverse overproofed dough after baking, but don’t lose hope; every problem has a solution. Overproofed dough’s elasticity is compromised, leading to a dense texture. To salvage it, focus on proper fermentation timing and consider reshaping and baking it again, or turn it into croutons or bread crumbs. Remember, even in baking, patience and timely intervention make all the difference—sometimes, it’s about making the best of what you have.
How Do Temperature and Humidity Affect Overproofing?
Temperature fluctuations and humidity control critically impact overproofing. When the environment is too warm or humid, dough rises too quickly, leading to overproofing. You should maintain a consistent temperature and control humidity levels to prevent this. Keeping your dough in a cool, dry place helps slow fermentation, giving you better control. Adjust your environment as needed, especially during seasonal changes, to guarantee your dough proofs properly without overdoing it.
Are There Specific Types of Dough That Overproof More Easily?
Doughs with delicate gluten development, like brioche or enriched doughs, overproof more easily because their tender gluten strands struggle to hold the expanding yeast gas. Yeast activity speeds up in these doughs due to added sugars and fats, making overproofing more probable. You should keep a close eye on such doughs, especially in warm or humid environments, to prevent overproofing and ensure perfect puffiness and texture.
Conclusion
By understanding these nine rules, you can effectively fix overproofed dough and save your bake. Many bakers believe overproofing ruins bread forever, but with patience and proper techniques, you can often revive it. Think of your dough like a living organism—sometimes, it just needs a gentle reset. Trust your senses, experiment, and you’ll discover that even overproofed dough can become a delicious, well-structured loaf with the right care.