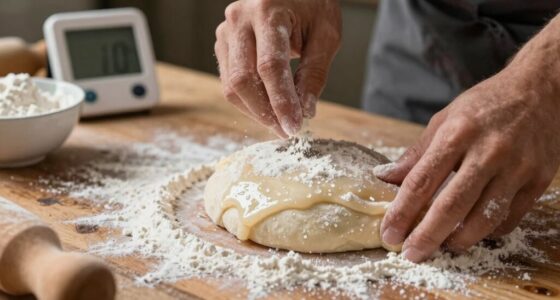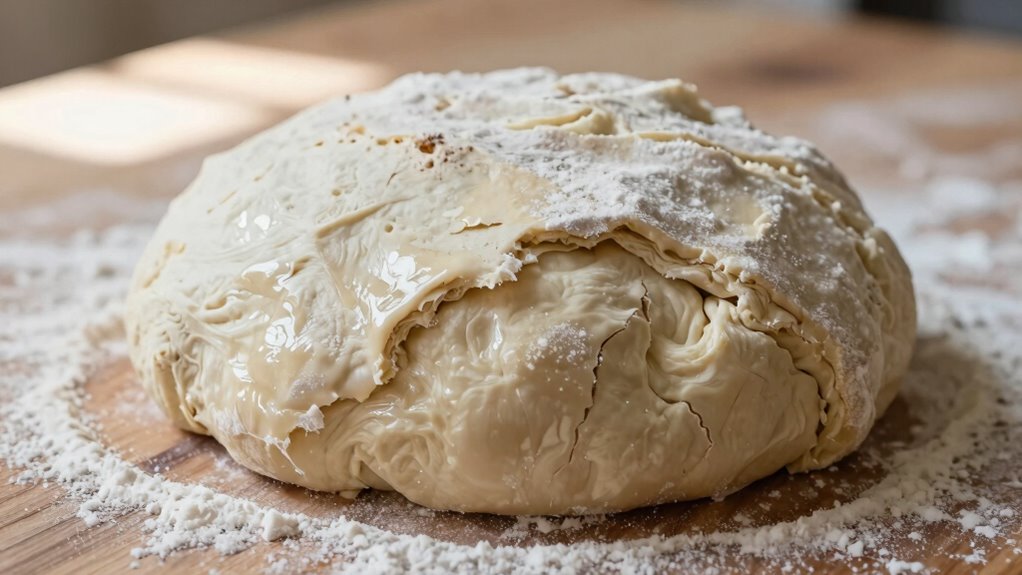
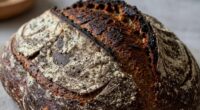
Dough can go slack and hard to shape if it overferments, which weakens the gluten structure and causes it to become too soft and sticky. Excess hydration or adding too much water makes it harder to handle, while warm environments speed up fermentation, increasing slackness. Handling techniques like overworking or too much flour can also affect elasticity. Controlling temperature, hydration, and fermentation timing helps maintain better dough quality—if you want to know more, keep exploring these tips.

Get baking supplies delivered free with Prime
- Fast, free delivery on millions of items
- Prime Video, Amazon Music and more included
- Member-only deals all year
Key Takeaways
- Overfermentation weakens gluten, leading to slack, sticky dough that is hard to shape.
- Excessive hydration makes dough overly soft and difficult to handle.
- Warm temperatures accelerate fermentation, increasing slackness and reducing elasticity.
- Insufficient resting or improper handling prevents gluten relaxation, causing stickiness.
- Environmental humidity increases dough stickiness, complicating shaping and handling.
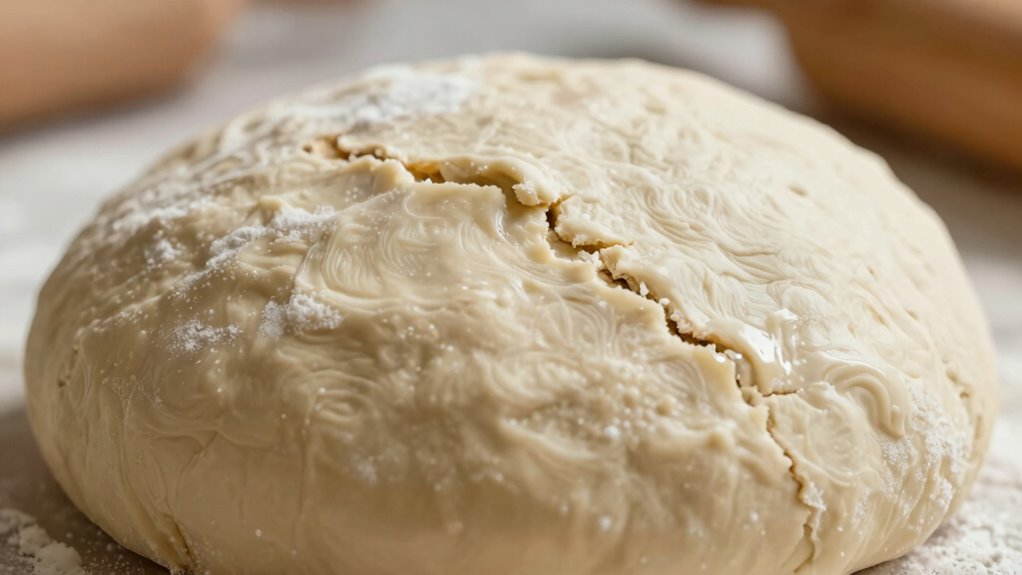
Making perfect dough begins with understanding the basic techniques and paying attention to key details. When your dough becomes slack and hard to shape, it’s often due to factors like fermentation effects and ingredient variations that aren’t aligned properly. Fermentation is a vital process that influences dough texture, and if it’s overdone, it can cause your dough to lose its elasticity. During fermentation, yeast produces carbon dioxide, which helps the dough rise and develop flavor. However, if fermentation lasts too long or is too warm, the gluten structure can weaken, making the dough slack and difficult to work with. You’ll notice it feels overly soft and sometimes sticky, and it may stubbornly resist stretching or shaping. To prevent this, keep a close eye on fermentation times, and consider refrigerating the dough if it’s fermenting longer than necessary. Cold fermentation slows down yeast activity, preserving gluten strength and giving you more control over the dough’s consistency. Proper temperature control during fermentation is crucial for maintaining optimal dough elasticity and texture. Ingredient variations also play a significant role in dough texture. If you use different types of flour or alter the hydration level, you might unintentionally make your dough slack. For instance, high-protein flours like bread flour create stronger gluten networks, which help dough hold its shape better. On the other hand, all-purpose or low-protein flours can produce a softer, more delicate dough that’s prone to slackness if not balanced with enough flour or water. Additionally, adding too much water or liquid can make the dough overly sticky and hard to shape, especially if the ingredients aren’t measured precisely. Measuring ingredients carefully is essential to ensure proper hydration and dough consistency. Conversely, too little water results in a stiff dough that won’t stretch easily. Adjusting ingredient ratios based on the flour type and environmental conditions is essential to achieve the right balance.
Temperature and humidity also influence fermentation effects and ingredient behavior. Warm environments accelerate fermentation, increasing the risk of over-proofing and slack dough. Humidity can make dough stickier and more challenging to handle, especially if you’re in a damp climate. To combat these issues, work in a cool, draft-free space, and dust your work surface with flour or use a little oil to prevent sticking. When dough becomes too slack, it’s tempting to add more flour, but resist the urge—it can make the final product dense and tough. Instead, try chilling the dough or letting it rest longer, which helps relax gluten and restore some firmness.
As an affiliate, we earn on qualifying purchases.
Frequently Asked Questions
Can Adding More Flour Fix Slack Dough?
Adding more flour can help fix slack dough, but it’s not always the best solution. The quality of your flour and dough hydration levels matter. If your flour is low in protein, it won’t strengthen the dough effectively. Also, too much flour can make the dough dry and tough. Instead, try incorporating small amounts gradually, adjusting hydration, and using high-quality flour to achieve better elasticity and shaping ease.
How Does Humidity Affect Dough Consistency?
Humidity acts like a silent puppeteer, pulling the strings of your dough’s consistency. When air moisture is high, it increases hydration levels, making dough softer and more pliable. Conversely, low humidity dries out your dough, leading to slackness and difficulty shaping. You’ll notice these changes—dough feels wetter or drier than usual—depending on the moisture in the environment. Adjust your water and flour accordingly to keep your dough just right.
Is Over-Kneading Responsible for Slack Dough?
Yes, over-kneading can cause slack dough. When you knead too much, you develop excessive gluten, making the dough overly elastic and difficult to shape. This process can also hinder yeast activity because tight gluten networks trap gases, preventing proper rise. To avoid slack dough, knead just enough to develop gluten properly, ensuring a balance that supports good elasticity without overdoing it.
Does Using Cold Ingredients Cause Dough to Be Slack?
Using cold ingredients can cause dough to be slack because they slow down yeast activity, leading to less gas production. This results in weaker gluten development, making the dough less elastic and harder to shape. To prevent this, you might warm your ingredients slightly or give your dough more time to rise, ensuring proper gluten development and a firm, manageable texture.
How Long Should I Let Dough Rest to Improve Elasticity?
You should let your dough rest for at least 30 minutes to 2 hours, depending on the recipe. During this time, gluten development continues, improving elasticity. Resting also allows dough hydration to fully absorb, making it easier to shape. Cover it properly to prevent drying out. Longer resting periods, like overnight, enhance these effects further, resulting in a more elastic, manageable dough that’s easier to work with.
As an affiliate, we earn on qualifying purchases.
Conclusion
When your dough turns slack and refuses to cooperate, it’s like trying to mold a puddle of water instead of a sturdy loaf. Remember, too much moisture, overworked gluten, or warm surroundings can loosen its grip. Think of your dough as a delicate dance partner—handle it gently, give it time to rest, and keep the environment just right. With patience and care, you’ll bring it back to life, ready to shape into perfection.
As an affiliate, we earn on qualifying purchases.
As an affiliate, we earn on qualifying purchases.
Halloween Picks
halloween
As an affiliate, we earn on qualifying purchases.