If you notice your dough is overly risen, slack, or sour, don’t worry—there are advanced ways to fix it. Start by gently deflating and folding to redistribute gases and re-strengthen the gluten. Adjust your oven setup with steam and proper temperatures to help the bread spring back. Controlling fermentation with cooler temperatures can prevent future issues. For detailed step-by-step techniques, keep exploring how to confidently revive overproofed dough and improve your baking results.
Key Takeaways
- Learn to identify signs of overproofed dough through visual cues, texture, smell, and the poke test to prevent further issues.
- Use gentle degassing, folding, and resting techniques to restore gluten structure and improve dough resilience.
- Adjust baking conditions such as oven temperature, humidity, and equipment like stones or steel to enhance oven spring.
- Control fermentation by managing dough temperature and proofing times to avoid overexpansion and collapse.
- Follow best practices for monitoring proofing, handling dough delicately, and optimizing oven setup for successful recovery.
Identifying Overproofed Dough and Its Signs
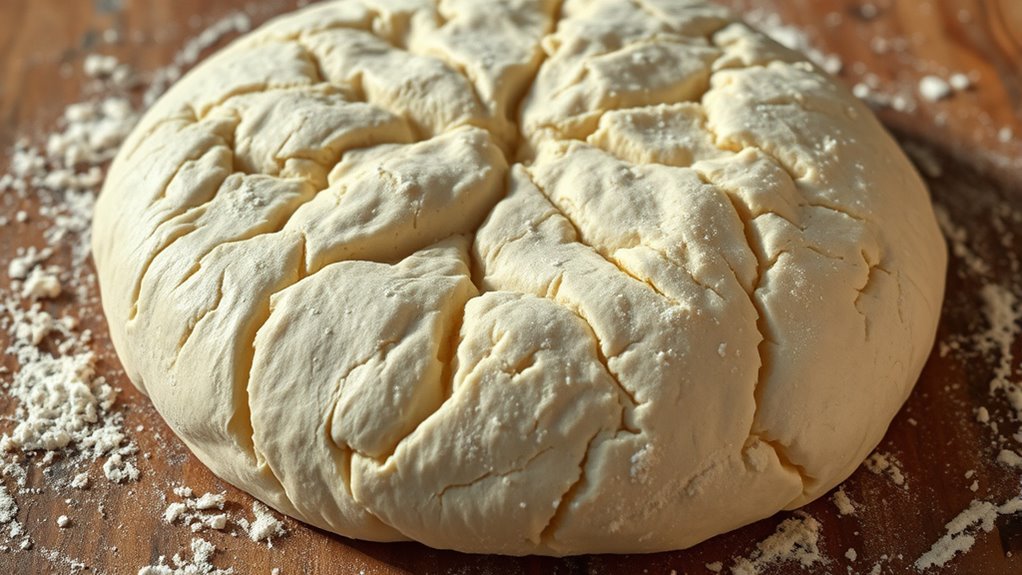
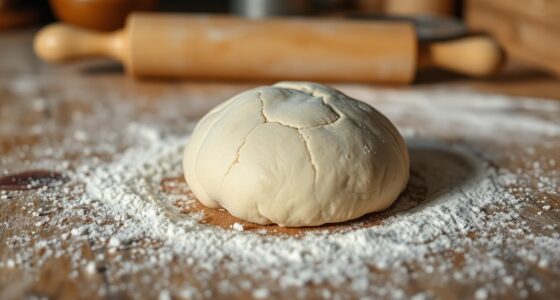
Recognizing overproofed dough is essential to ensuring your baked goods turn out perfect. One key indicator is fermentation activity; if the dough smells overly sour or has excessive bubbles, it may be overproofed. You can also assess dough elasticity—overproofed dough often feels very slack, almost flattening under gentle pressure, and loses its springiness. Another sign is the surface appearance: it might look swollen or puffy, with large holes or a sticky texture that’s difficult to shape. When you perform the poke test, overproofed dough won’t bounce back or will collapse easily. Understanding these fermentation indicators and dough elasticity cues helps you catch overproofing early, saving your bake and ensuring a tender, well-risen final product. Additionally, monitoring the Glycolic Acid benefits for skin can help improve your skin’s appearance, much like how proper dough fermentation improves baked goods.
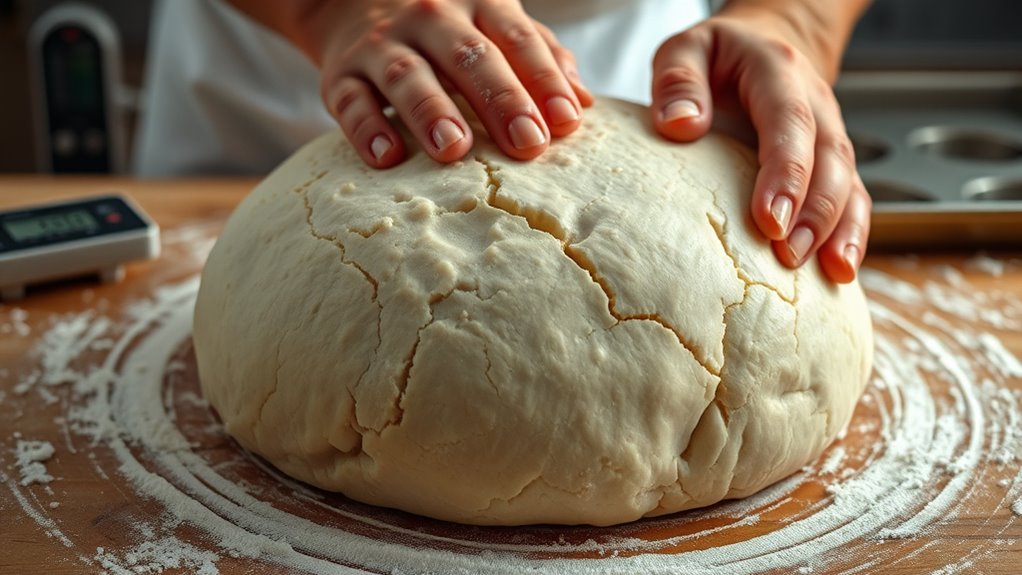
Gentle Degassing Techniques to Restart Your Dough
To restart your overproofed dough, try gently pressing it to release excess gas without knocking out all the air. You can also fold the dough carefully to redistribute the gases and strengthen the structure. These light techniques help revive the dough’s elasticity and prepare it for another rise.
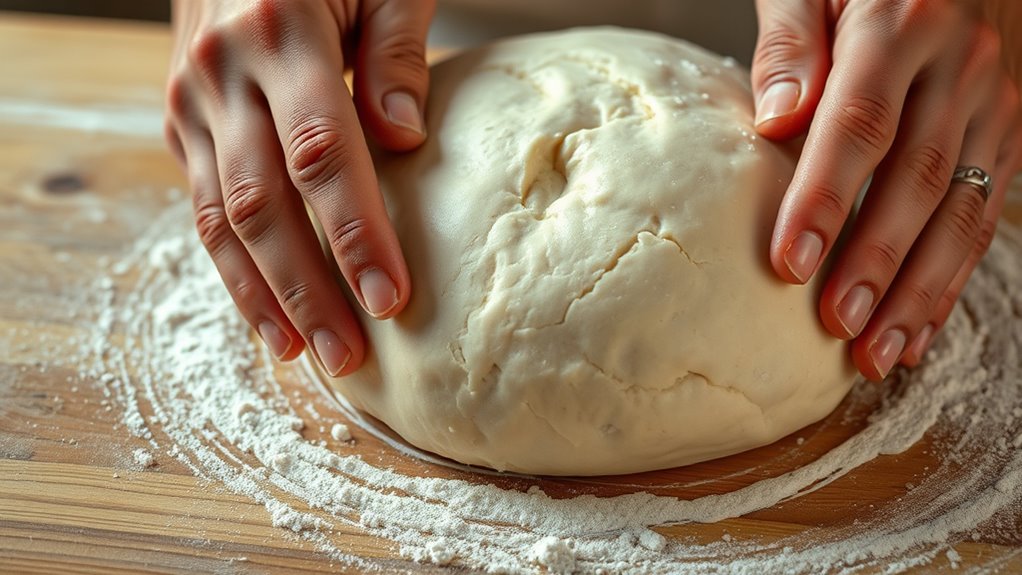
Lightly Press to Rejuvenate
When your dough has become overproofed, a gentle touch can often revive its structure. Lightly pressing the dough allows you to control fermentation without collapsing the gluten network. Use your fingertips to gently press down, releasing excess gas while preserving the dough’s elasticity. This technique encourages gluten development by redistributing trapped air and rediscovering strength. It also helps control fermentation, preventing it from going too far and losing its tension. Avoid pressing too hard, which could deflate the dough entirely. Instead, aim for a soft, gentle pressure that consolidates the dough’s structure, making it more manageable for shaping and baking. Additionally, proper handling can prevent overworking the dough and maintain its optimal texture. With patience and care, this method can bring your overproofed dough back to life, ensuring a better final rise and texture.
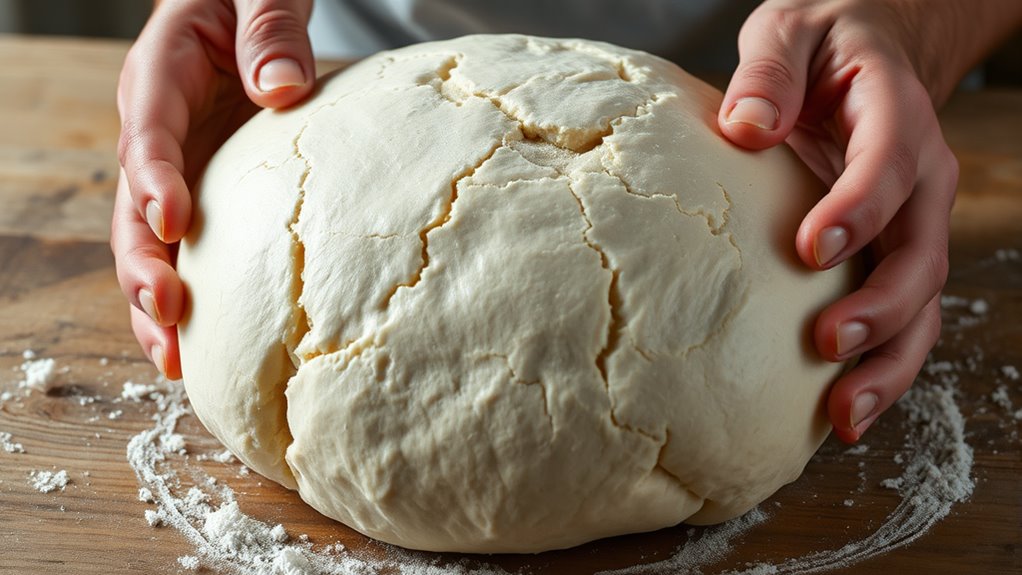
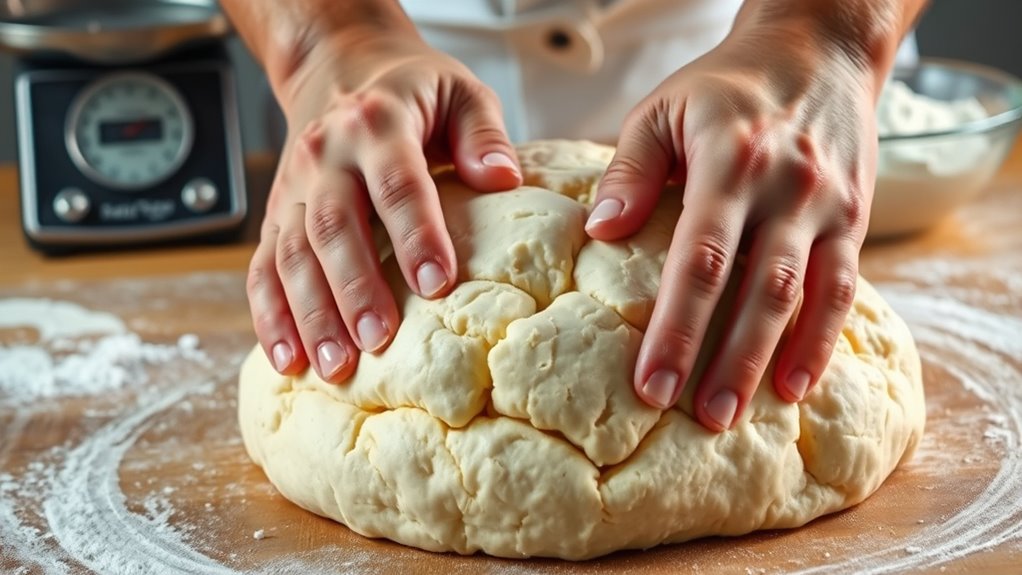
Use Gentle Folding
Gently folding your dough is an effective way to degas and restart its fermentation without damaging its gluten structure. This technique uses minimal kinetic energy to redistribute gases evenly, preserving gluten development. To visualize, imagine:
| Dough before fold | Folding motion | Dough after fold |
|---|---|---|
| Dense, overexpanded | Light lift and turn | Restored elasticity |
| Weak structure | Gentle stretch | Improved strength |
| Excess gas | Slow fold | Gas evenly distributed |
A new sentence with gluten network and the rest of the sentence.
Correcting Texture and Structure With Folding and Resting
Folding and resting are powerful techniques to restore the texture and structure of overproofed dough. When dough becomes overproofed, its dough elasticity diminishes, making it less able to trap gas and hold its shape. Gentle folding helps redistribute the yeast and gluten, re-aligning the gluten network and improving elasticity. Resting periods allow fermentation control to slow down, giving the dough a chance to recover without over-expanding. This process helps re-strengthen the dough’s structure, preventing it from collapsing during baking. Additionally, understanding the contrast ratio of your dough’s environment can influence the fermentation and proofing process for better results. By carefully folding and allowing your dough to rest, you can improve its resilience, achieve better oven spring, and produce a more desirable crumb. These techniques are essential for salvaging overproofed dough and ensuring a successful bake.
Adjusting Baking Conditions for Optimal Rise
Adjusting your oven temperature, baking time, and humidity levels can considerably influence the final rise of overproofed dough. Higher oven heat boosts yeast activity initially, helping the dough expand further, while lower temperatures can slow fermentation, preventing collapse. Extending baking time ensures the dough fully sets and prevents underbaking, which can compromise rise. Controlling humidity inside the oven, such as by adding steam, supports proper fermentation control during baking, helping the dough maintain its shape and rise evenly. Keep in mind that overproofed dough may have weakened gluten structure, so precise baking conditions are essential to revive its lift. Attention to attention in creative practice can also improve your ability to monitor and adjust baking conditions effectively. By fine-tuning these factors, you can optimize the oven environment to bring out the best rise from your overproofed dough.
Using Steam and Proper Oven Setup to Revive Overproofed Breads
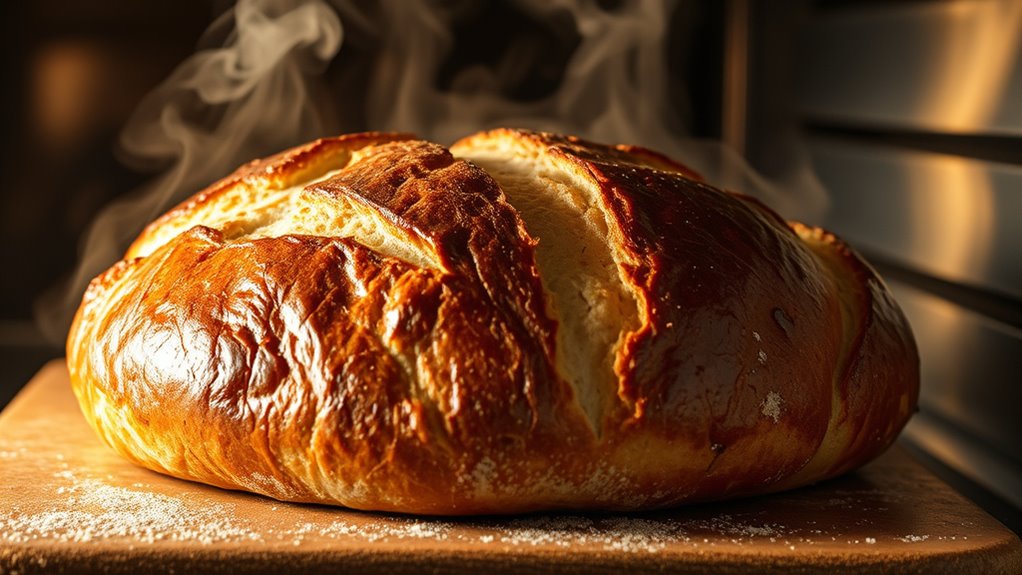
Using steam during baking can considerably help revive overproofed bread by providing the moisture needed to strengthen the dough’s surface and improve oven spring. Proper oven setup is vital for effective steam baking. To create steam, place a pan of hot water in the oven’s bottom or spritz water directly onto the oven walls during the initial baking phase. This moisture helps the crust develop properly, preventing it from collapsing. Make sure your oven is preheated thoroughly and use a baking stone or steel for better heat retention. Here’s a quick guide:
| Step | Action | Result |
|---|---|---|
| Preheat oven | Use high heat, add baking surface | Even heat distribution |
| Add steam | Use water pan or spritz during bake | Moist crust, better oven spring |
| Monitor temperature | Keep consistent oven temp | Proper crust formation |
| Remove water pan | After initial 10-15 minutes | Crisp crust, firm crumb |
Additionally, understanding the importance of proper oven setup can make a significant difference in the final texture and rise of your bread.
Prevention Strategies for Future Overproofing Issues
To prevent overproofing, you need to keep a close eye on proofing times and not let the dough sit too long. Adjust your dough temperature to make certain it rises at a controlled rate, reducing the risk of overproofing. By monitoring these factors, you can achieve consistent results and avoid future issues. Additionally, understanding proofing safety measures can help ensure your dough remains safe and of high quality throughout the process.
Subheading 1: Monitor Proofing Time
Monitoring proofing time is essential to preventing overproofed dough. You should keep a close eye on fermentation timing, as too long a proof can lead to overfermentation and a weak gluten structure. Pay attention to how your dough responds in your proofing environment, which varies based on temperature and humidity. Use visual cues, like dough expansion and surface bubbles, to gauge readiness rather than relying solely on clock time. Setting a timer helps establish a consistent routine, preventing you from accidentally leaving the dough to proof too long. Adjust your proofing schedule based on your environment and dough activity, ensuring you catch the most favorable proof point. Consistent monitoring keeps your dough from overproofing and improves your baking results. Additionally, understanding proofing 100 can help you better judge the ideal timing for your dough, reducing the risk of overproofing.
Subheading 2: Adjust Dough Temperature
Controlling dough temperature is a key step in preventing overproofing. When you manage fermentation control by keeping the dough at an ideal temperature, you slow or speed fermentation as needed, avoiding excessive rise. Cooler temperatures, around 75°F (24°C), help slow fermentation and give you more control over proofing time. Conversely, warmer dough accelerates fermentation, increasing the risk of overproofing, especially if dough hydration is high. Adjusting dough temperature also influences dough hydration; warmer dough is more pliable and easier to handle, but it ferments faster. To prevent future issues, use a thermometer to monitor dough temperature consistently and adjust your environment accordingly. Proper temperature management ensures your dough ferments just right, reducing the risk of overproofing and resulting in a better final bake.
Frequently Asked Questions
Can Overproofed Dough Be Saved if It Has Dried Out?
Yes, you can save overproofed dough even if it’s dried out. Start by rehydrating it with a small amount of water or milk, kneading gently to restore the dough’s texture. Keep in mind, this process may slightly impact the flavor and texture, making the dough a bit denser. With patience, you can still shape and bake it, resulting in a decent final product despite the overproofing.
How Do Humidity Levels Affect Overproofing and Recovery?
Humidity levels substantially impact overproofing and recovery. High humidity slows down the proofing process, making it easier to control and prevent overproofing. Low humidity accelerates fermentation, increasing the risk of overproofing and drying out dough. Environmental factors like temperature and moisture influence how your dough behaves. To recover, adjust humidity by covering dough tightly or adding moisture, ensuring consistent conditions to restore ideal fermentation and texture.
Are There Specific Flour Types That Overproof Less Easily?
Think of flour types as the armor protecting your dough. Flours with higher protein content, like bread flour, provide greater dough strength, making them less prone to overproofing. These sturdy flours resist over-expansion, giving you more control. Conversely, lower-protein flours, like cake or pastry flour, yield softer doughs that overproof more easily. Choosing the right flour based on protein levels helps maintain balance and prevents overproofing.
What Are the Signs of Overproofed Dough Before It Visibly Deflates?
You’ll notice overproofed dough before it visibly deflates by checking its elasticity; it becomes overly soft and less springy. Also, fermentation bubbles may become overly prominent or burst, causing a dimpled, uneven surface. When you gently poke the dough, it might stay indented longer than usual, indicating it’s overproofed. These signs help you catch overproofing early, so you can adjust your process before losing the dough’s structure.
Can Overproofed Dough Be Used for Other Recipes Like Pizza or Flatbread?
Yes, you can use overproofed dough for alternative recipes like pizza or flatbread. Instead of discarding it, try dough repurposing by shaping it into thin crusts or thick flatbreads. The overproofed dough may be slightly tangy, adding flavor to your dishes. Keep in mind, it might be a bit more challenging to work with, but with some adjustments, you’ll still create delicious baked goods.
Conclusion
Did you know that overproofed dough accounts for up to 30% of bread failures in home baking? By learning to identify signs early and applying gentle techniques like folding and controlled baking conditions, you can rescue your bread and achieve a perfect rise. Don’t let overproofing ruin your efforts—practice prevention and adjust your methods. With patience and the right tricks, you’ll turn even overproofed dough into delicious, confident loaves every time.