Using a proofing box helps you control dough ball fermentation by maintaining a steady temperature between 75°F and 85°F. It also manages humidity levels, ideally between 75% and 85%, which keeps the dough from drying out or becoming sticky. Built-in thermostats and humidifiers make this easy, ensuring consistent, professional-quality results. Mastering these conditions will improve your bread texture and flavor—keep exploring to learn how to optimize your proofing process even further.
Key Takeaways
- Maintain a steady temperature between 75°F and 85°F to optimize yeast activity and dough fermentation.
- Use built-in thermostats or external thermometers to regulate and monitor proofing box temperature precisely.
- Keep humidity levels between 75% and 85% using water trays, humidifiers, or built-in moisture controls.
- Proper humidity prevents crust formation and ensures even dough expansion during fermentation.
- Consistently controlling temperature and humidity creates ideal conditions for uniform and reliable dough rising.
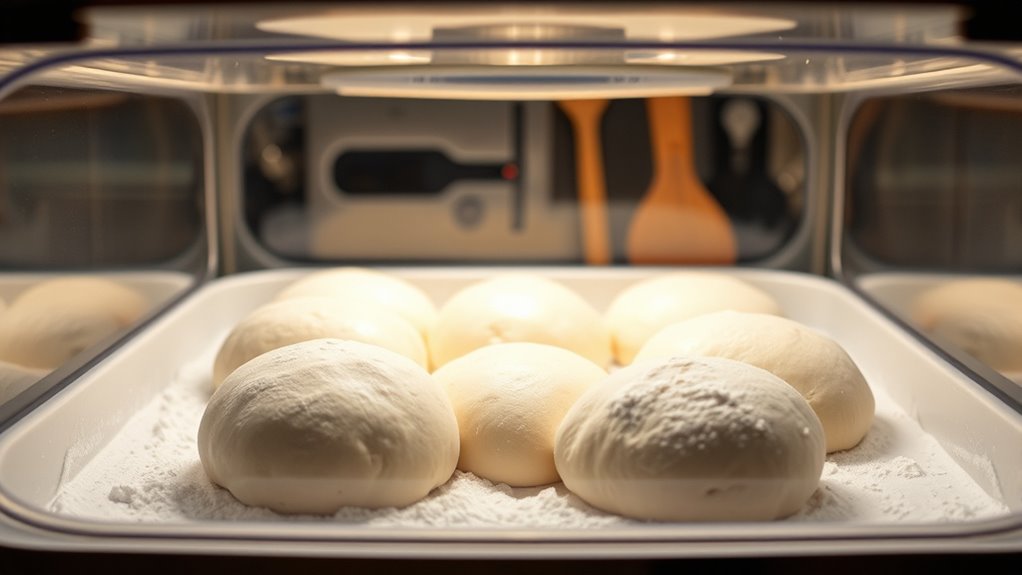
Have you ever wondered how professional bakers achieve perfectly risen dough every time? The secret often lies in their use of proofing boxes, which provide a controlled environment for dough fermentation. When you’re proofing dough at home, it’s easy to overlook how essential temperature regulation and humidity control are to the process. Without them, your dough might not rise properly, leading to dense bread or uneven fermentation. Using a proofing box helps you create ideal conditions, ensuring consistent results every time.
Temperature regulation is key to proofing success. Yeast activity thrives within a specific temperature range, usually between 75°F and 85°F (24°C to 29°C). If it’s too cold, fermentation slows down or stops altogether, resulting in under-proofed dough that’s dense and heavy. On the other hand, if it’s too hot, yeast can become overactive, causing the dough to over-proof, collapse, or develop undesirable flavors. A proofing box allows you to set and maintain a steady temperature, eliminating fluctuations caused by room temperature changes or drafts. Some proofing boxes feature built-in thermostats for precise control, while others rely on simple insulated designs that stabilize temperature over time.
Humidity control is just as important. Too dry, and the dough’s surface can form a crust that hampers proper expansion; too humid, and it can become sticky or develop mold. Maintaining a humidity level around 75% to 85% creates an ideal environment for fermentation. Many proofing boxes come with humidity control features—either built-in humidifiers or water trays—that help you keep moisture levels consistent. This prevents the dough from drying out and promotes even fermentation. If your proofing box doesn’t have integrated humidity control, you can still manage moisture by placing a damp cloth or water container inside, but an adjustable system offers more precision and convenience. Additionally, understanding humidity levels can help optimize fermentation results and prevent common issues like crust formation or mold growth.
Frequently Asked Questions
How Do I Clean and Maintain My Proofing Box?
To clean and maintain your proofing box, follow simple routines and maintenance tips. Wipe down the interior with a damp cloth regularly to remove residue, and use mild soap if needed. Avoid harsh chemicals. Keep vents clear for proper airflow, and check seals periodically to make sure they’re intact. This helps prevent mold and keeps your proofing box running efficiently, ensuring consistent dough fermentation every time.
Can I Use a Proofing Box for Other Baking Processes?
Yes, you can use your proofing box for other baking processes. Its temperature control features make it ideal for proofing dough, fermenting sourdough starters, or even tempering chocolate. Just adjust the temperature settings to suit each task. You might also experiment with proofing bread at different temperatures or keeping dough warm for extended fermentation. This versatility helps you maximize your proofing box’s functionality in various baking projects.
What Are the Best Temperature Settings for Different Dough Types?
You should set your proofing box to around 75-80°F for most doughs, but adjust based on dough hydration and proofing times. For high-hydration doughs, keep it slightly cooler to prevent overproofing, while lower hydration doughs may need a warmer environment. Always monitor dough growth; longer proofing times at the right temperature develop flavor and texture. Experiment to find ideal settings for your specific recipes and dough types.
How Do I Adjust Humidity Levels in My Proofing Box?
Adjusting humidity levels in your proofing box is like tuning a musical instrument—precision matters. To control moisture, add a damp cloth or sponge inside the box to increase humidity, or reduce moisture by venting or slightly opening the door. Use a hygrometer to monitor humidity levels and make small adjustments with moisture control elements. This ensures your dough ferments perfectly, giving you ideal rise and texture.
Is a Proofing Box Suitable for Sourdough Fermentation?
Yes, a proofing box is suitable for sourdough fermentation. It helps you control fermentation conditions, such as temperature and humidity, which are vital for developing the sourdough flavor you want. By maintaining consistent environment parameters, you guarantee steady fermentation, resulting in better rise and flavor. A proofing box makes it easier to manage these factors, giving you more control over your sourdough’s final taste and texture.
Conclusion
Now that you know how to use proofing boxes, you’ll see your dough balls rise perfectly every time. Think of it as giving your bread a little spa treatment—warm, cozy, and just the right environment. With patience and the right tools, you’re setting the stage for bakery-quality loaves in your own kitchen. Remember, a little attention to detail can turn your baking game from good to great—like turning the tide in your favor.