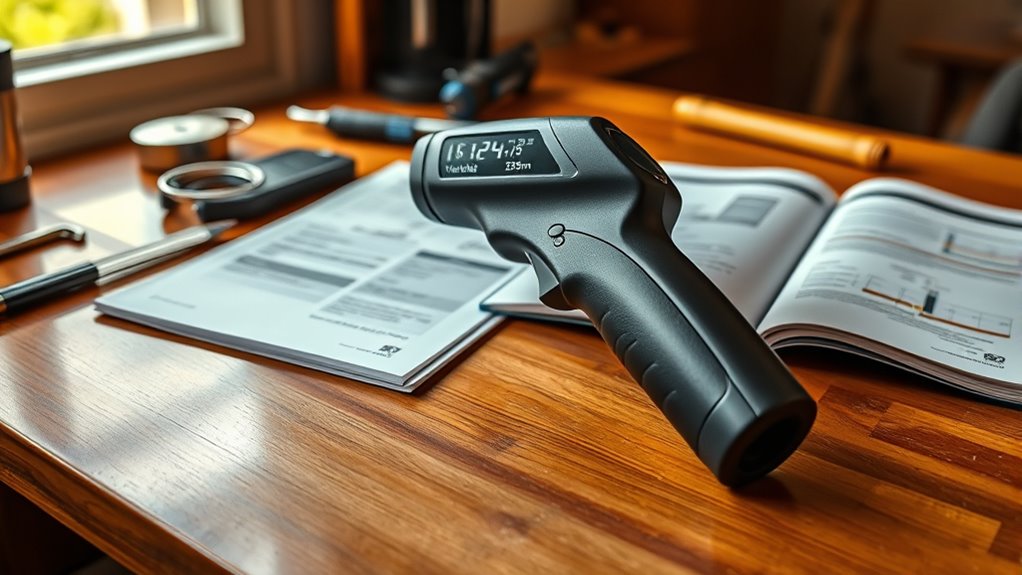

The no-nonsense guide to the IR thermometer use calculator explains how to adjust your device’s settings for accurate surface temperature readings. It focuses on how to set the correct emissivity, align the laser, and account for environmental factors that can distort measurements. By understanding these adjustments, you’ll improve accuracy. Keep exploring, and you’ll gain tips on calibration, avoiding common mistakes, and applying your IR thermometer confidently in real-world situations.
Key Takeaways
- The IR thermometer use calculator helps adjust readings based on surface emissivity for more accurate temperature measurements.
- It guides users to set the correct emissivity value matching the material’s properties.
- Proper targeting and environmental adjustments are essential steps in utilizing the calculator effectively.
- The calculator accounts for factors like reflectivity, surface finish, and environmental conditions influencing IR readings.
- Using the calculator ensures consistency and reliability in interpreting infrared temperature data across different surfaces.
Understanding How Infrared Thermometers Work
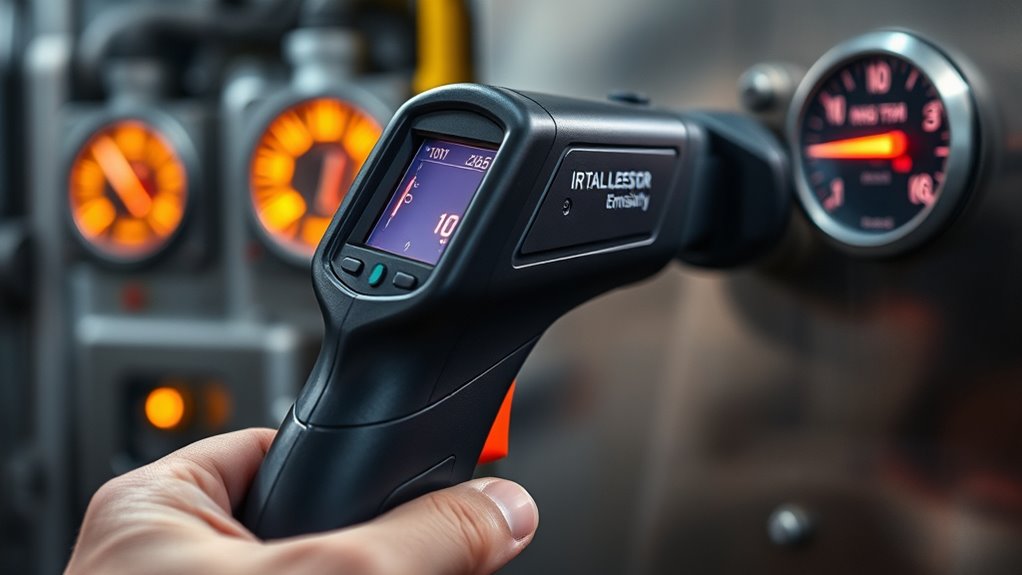
Infrared thermometers work by detecting the heat emitted from an object’s surface. They do this using thermopile sensors, which convert infrared radiation into an electrical signal that reveals temperature. These sensors are highly sensitive, allowing quick and accurate readings without direct contact. Infrared safety is a key benefit, as you can measure temperatures from a distance, reducing risk of contamination or injury. When you point the device at a surface, the thermopile sensors pick up the infrared radiation and translate it into a temperature reading displayed on the screen. This method is fast, non-invasive, and ideal for situations requiring hygiene or safety. Understanding this process helps you appreciate how infrared thermometers provide reliable, instant measurements, making them valuable tools in many environments.
Key Factors Affecting IR Temperature Readings

Your IR thermometer’s accuracy depends heavily on surface emissivity and environmental conditions. If the surface isn’t ideal or the surroundings are too hot or cold, your readings can be off. Understanding these factors helps you get more reliable temperature measurements. Additionally, using tuning techniques such as adjusting for emissivity variations can further improve the precision of your readings.
Surface Emissivity Impact
Since surface emissivity varies between materials, it considerably influences the accuracy of IR temperature readings. Different surfaces reflect and emit infrared energy differently, impacting measurement reliability. For example, shiny metals tend to have low surface reflectivity and emissivity variability, which can cause lower or inconsistent readings. Conversely, matte or dull surfaces generally emit IR more reliably, providing accurate results. To improve accuracy, you need to contemplate:
- Material type and surface finish
- Surface reflectivity levels
- Variability in emissivity based on surface condition
- Proper calibration for specific materials
- Vetted electric bike conversion kits can serve as a useful analogy in understanding how surface properties influence measurement accuracy, as they are designed with specific performance parameters in mind.
Understanding these factors helps you adjust your IR thermometer settings accordingly, ensuring precise temperature measurements despite surface differences. Recognizing the role of surface emissivity is key to avoiding errors caused by material properties.
Ambient Environmental Effects
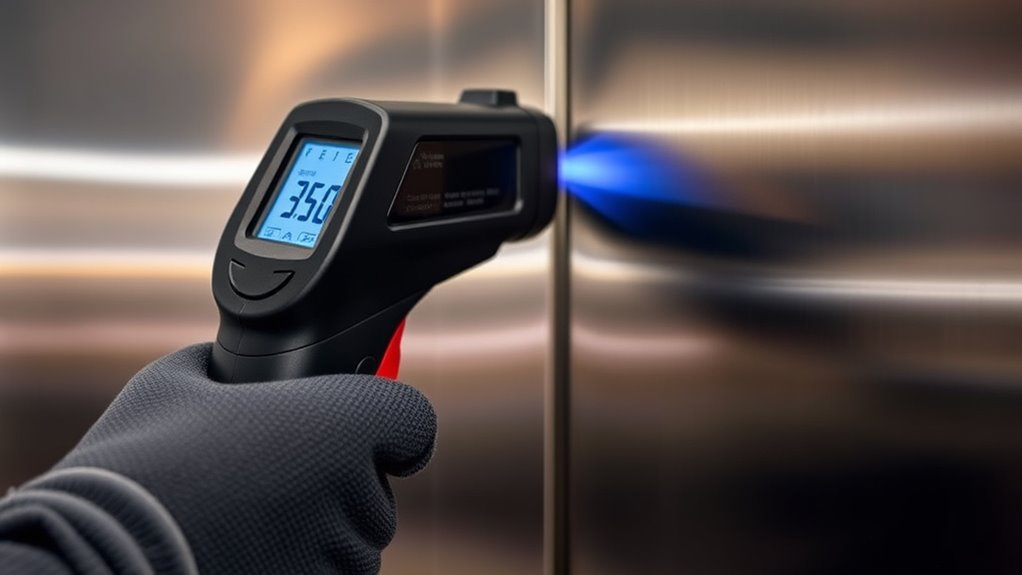
Ambient environmental conditions can substantially influence IR temperature readings, often causing inaccuracies if not properly managed. Surface reflection is a key factor; reflective surfaces can bounce ambient radiation into the sensor, skewing results. Environmental interference from wind, moisture, dust, or nearby heat sources also impacts accuracy. For example, hot or cold air currents can alter the infrared signal, leading to incorrect readings. To minimize these effects, ensure the environment is stable and free from strong heat sources. Use proper distance and angle when taking measurements, and consider covering reflective surfaces or using a matte coating if possible. Recognizing these ambient influences helps you avoid errors caused by surface reflection and environmental interference, ensuring more reliable IR temperature measurements. Additionally, understanding heat pump efficiency factors can help optimize measurement conditions for better accuracy.
Proper Techniques for Measuring With an IR Thermometer

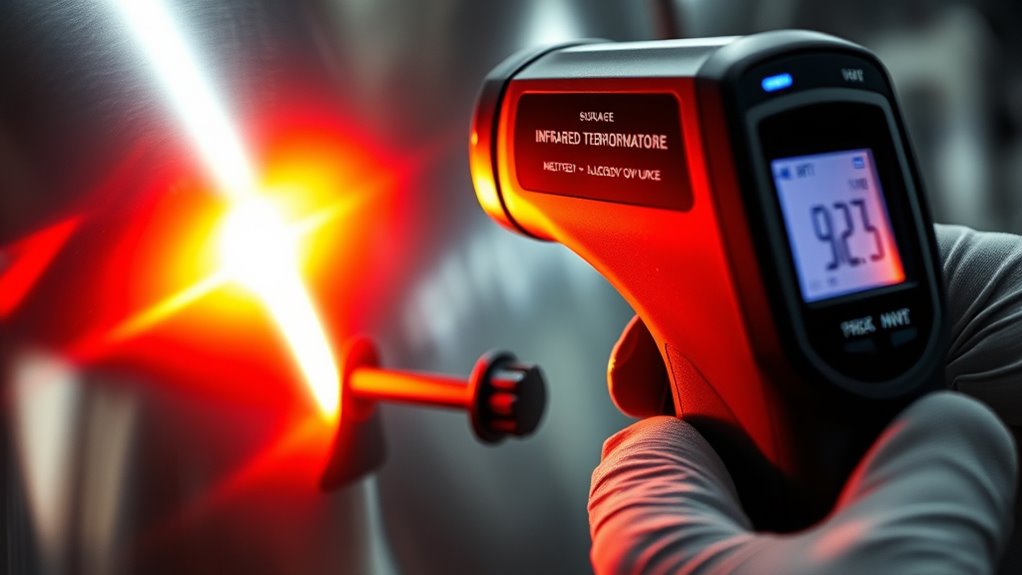
To guarantee accurate temperature readings with an IR thermometer, it’s essential to follow proper measurement techniques. First, ensure your target surface is clean and dry, as dirt or moisture can distort thermal imaging and infrared spectroscopy results. Second, hold the device perpendicular to the surface within the recommended distance to avoid measurement errors. Third, avoid measuring through glass or shiny metals, which reflect infrared radiation and skew readings. Fourth, stay steady and minimize environmental influences like wind or direct sunlight that can affect the infrared spectrum. Fifth, understanding how AI in Education is transforming learning environments can help in applying innovative approaches to training and troubleshooting. By adhering to these techniques, you make certain of precise readings and make the most of your IR thermometer’s capabilities. Proper technique helps you interpret thermal imaging data accurately, leading to better decision-making and troubleshooting.
Calibrating Your IR Thermometer for Accuracy
To guarantee your IR thermometer stays accurate, it’s important to calibrate it regularly. You should also use a reliable reference standard and consider environmental factors that might affect readings. Proper calibration helps you get consistent, precise measurements every time.
Calibration Frequency Tips
Regular calibration is essential to guarantee your IR thermometer provides accurate readings. How often you calibrate depends on usage and environment. For instance, if you use your device to check solar panels or food safety, more frequent calibration ensures reliable results.
Consider these tips:
- Calibrate monthly if used for critical measurements like food safety or solar panel maintenance.
- Recalibrate after any impact or drop that could misalign internal sensors.
- Check calibration if you notice inconsistent readings compared to a known standard.
- Calibrate more often in extreme temperatures or high-humidity environments.
- Monitoring color accuracy can help maintain precise readings, especially in varying lighting conditions.
Staying on top of calibration helps prevent errors, saving you time and money, and ensuring your IR thermometer remains precise for all your needs.
Using a Reference Standard
Using a reference standard is the most reliable way to guarantee your IR thermometer’s readings are accurate. A standard reference, such as a blackbody calibrator, provides a consistent temperature source for calibration procedures. This guarantees your device measures correctly across different temperatures. Imagine a table with these calibration points:
| Temperature (°F) | Standard Reference | |
|---|---|---|
| 100 | Blackbody calibrator, 100°F | |
| 200 | Blackbody calibrator, 200°F | |
| 300 | Blackbody calibrator, 300°F | |
| 400 | Blackbody calibrator, 400°F | Additionally, understanding angel number symbolism can enhance your awareness of love opportunities and spiritual guidance. |
Adjusting for Environmental Factors
Environmental factors such as ambient temperature, humidity, and air currents can profoundly affect your IR thermometer’s accuracy. Weather variability and reflective surfaces can lead to temperature reading errors if unaccounted for. To improve precision, consider these adjustments: 1. Minimize exposure to drafts or air currents during measurements. 2. Allow your thermometer to acclimate in the current environment before use. 3. Avoid measuring shiny, reflective surfaces directly; use a matte or non-reflective coating if possible. 4. Be aware that high humidity or extreme weather conditions can skew readings, so calibrate accordingly. Additionally, understanding the importance of proper calibration can significantly enhance measurement reliability.
Interpreting IR Thermometer Display Data
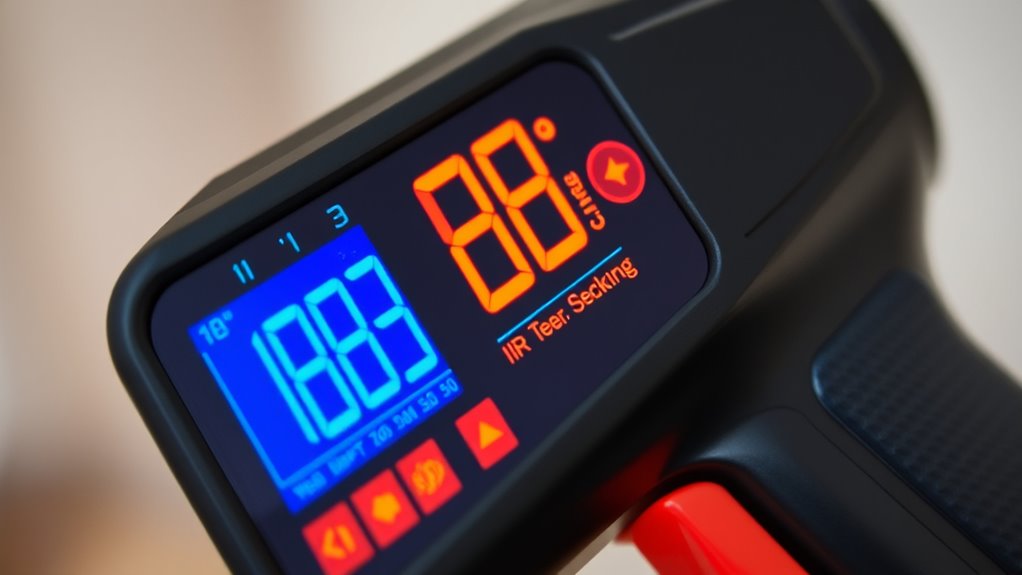
Interpreting IR thermometer display data requires careful attention to the readings and what they represent. You need to guarantee infrared safety by understanding that the displayed temperature is an estimate based on infrared radiation, not direct contact. Focus on measurement precision; small fluctuations can occur due to environmental factors or surface properties. Always verify the units shown—whether Celsius or Fahrenheit—and note any calibration indicators. Recognize that the device’s emissivity setting influences readings, so consistent use of correct settings ensures accuracy. Avoid misreading by checking for display errors or warning symbols. Additionally, understanding the importance of measurement accuracy and ensuring proper device calibration can significantly improve the reliability of your readings. By paying close attention to these details, you’ll interpret data more reliably, making informed decisions based on the temperature readings, rather than assumptions.
The Role of Emissivity in Accurate Measurements
Emissivity considerably impacts the accuracy of infrared temperature measurements because it determines how effectively a surface emits thermal radiation. If you disregard emissivity, your readings may be markedly off, especially with surfaces that reflect infrared radiation. To improve accuracy, you need to take surface reflectivity into account and perform emissivity adjustment on your IR thermometer. Here are key points: 1. Different materials have varying emissivity levels, affecting measurement precision. 2. Reflective surfaces, like metals, often have low emissivity, causing reflected radiation to skew results. 3. Adjust the thermometer’s emissivity setting to match the surface for correct readings. 4. Proper emissivity adjustment ensures the IR thermometer accounts for surface reflectivity, leading to more reliable measurements. Additionally, understanding the surface properties can help you select the correct emissivity setting for more accurate readings.
Using the IR Thermometer Use Calculator Effectively

To get accurate readings, you need to target the area properly and guarantee your settings match the surface you’re measuring. Adjust the emissivity as needed and interpret the temperature results carefully. Mastering these techniques will help you use the IR thermometer use calculator more effectively. Additionally, understanding surface emissivity is crucial for precise temperature measurement, especially when dealing with different materials.
Accurate Targeting Techniques
When using the IR Thermometer Use Calculator effectively, precise targeting is essential for accurate temperature readings. Proper technique guarantees you’re measuring the correct spot and avoiding errors. Here are key tips:
- Use laser alignment to aim precisely at the target, minimizing measurement mistakes.
- Keep the thermometer perpendicular to the surface to ensure accurate readings.
- Use thermal imaging to identify hot spots and ensure you’re targeting the correct area.
- Avoid measuring through obstacles or reflective surfaces, which can distort results.
Proper Emissivity Settings
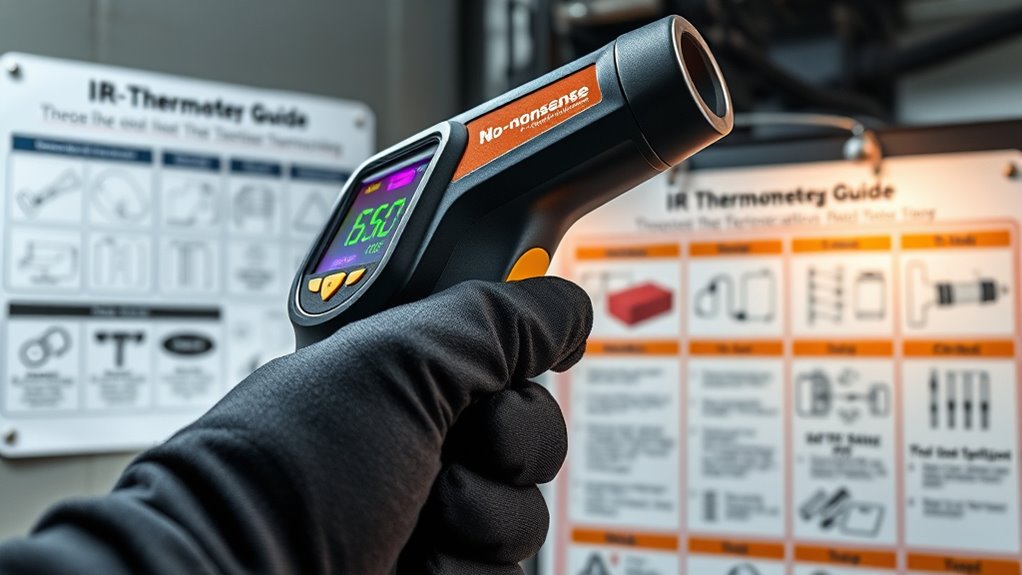
Since different materials emit infrared radiation differently, setting the correct emissivity on your IR thermometer is vital for accurate readings. Emissivity adjustment ensures your device accurately interprets the infrared radiation coming from the surface. For most materials, the default emissivity setting of 0.95 works well, but some surfaces like shiny metals or polished plastics may require a lower value, while rough or matte surfaces need higher settings. Use the IR thermometer use calculator to determine the correct emissivity setting for specific materials. Proper emissivity adjustment minimizes errors caused by variations in infrared radiation emission. By calibrating your device accurately, you’ll get reliable temperature readings, avoiding misleading results caused by incorrect emissivity settings. This step is essential for precise measurements across different surfaces.
Interpreting Temperature Readings
Interpreting temperature readings accurately requires understanding how to use the IR thermometer use calculator effectively. To do this, you must consider factors like sensor calibration and infrared light reflection. Proper calibration ensures your readings are precise, while recognizing how infrared light interacts with surfaces helps avoid misinterpretations. Keep these points in mind:
- Confirm the sensor calibration before each use for accurate results.
- Be aware of surface emissivity to prevent misreading due to infrared light reflection.
- Note environmental conditions, such as dust or humidity, that can affect infrared light transmission.
- Use the calculator to adjust readings based on calibration data, ensuring you’re interpreting temperature measurements correctly.
Mastering these steps helps you convert raw readings into meaningful, actionable data.
Common Mistakes to Avoid During Measurements
To guarantee accurate temperature readings with your IR thermometer, it is crucial to avoid common mistakes that can skew results. One mistake is not considering the infrared spectrum; different materials emit infrared radiation differently, affecting accuracy. Another error is neglecting thermal imaging principles, which can lead to misinterpretation of surface temperatures. Additionally, measuring from too far away or at an incorrect angle can distort readings. Use the table below to remember key points:
| Mistake | Correction |
|---|---|
| Ignoring infrared spectrum | Understand material emissivity |
| Improper distance or angle | Measure at recommended distance/angle |
| Not accounting for thermal imaging | Focus on surface emissivity |
Avoid these pitfalls for precise and reliable readings.
Practical Applications of IR Thermometers in Different Fields

IR thermometers have become essential tools across various industries because they provide quick, non-contact temperature measurements. Their versatility stems from features like thermal imaging and infrared sensors, enabling precise readings in challenging environments. You’ll find them useful in:
IR thermometers are essential for fast, contactless temperature readings across multiple industries.
- Manufacturing – Detecting overheating machinery or electrical faults.
- Healthcare – Rapidly screening for fever or monitoring skin temperature.
- Food Industry – Ensuring proper cooking temperatures without cross-contamination.
- Building Maintenance – Identifying heat leaks and insulation issues.
These applications leverage the ability of IR thermometers to capture thermal images, giving you immediate insights. They help prevent costly damage, improve safety, and optimize processes. Their adaptability makes them invaluable across sectors, making your job easier and more accurate.
Maintaining and Troubleshooting Your IR Thermometer
Regular maintenance and troubleshooting are essential to keep your IR thermometer functioning accurately and reliably. Start by checking the laser targeting to ensure it aligns correctly with the sensor. Misalignment can lead to inaccurate readings, so recalibrate if needed. Keep an eye on battery life, as a weak battery can cause inconsistent results or device failure. Replace batteries promptly to maintain peak performance. Clean the lens regularly with a soft cloth to prevent dirt or smudges from affecting measurements. If your thermometer isn’t working properly, verify the battery is fresh and check for any damage or loose connections. Refer to the user manual for troubleshooting tips specific to your model. Proper maintenance ensures precise readings and extends your device’s lifespan.
Frequently Asked Questions
How Often Should I Calibrate My IR Thermometer for Optimal Accuracy?
You should calibrate your IR thermometer at least once a year for peak accuracy, but calibration frequency depends on how often you use it and the working conditions. Regular calibration ensures accuracy maintenance, especially if you notice inconsistent readings or after dropping the device. For critical measurements, consider calibrating more frequently—every 3 to 6 months—to keep your readings reliable and precise.
Can IR Thermometers Measure Through Glass or Plastic Surfaces?
Imagine holding an IR thermometer, aiming at a glass window or a plastic surface. You might wonder if it can see through these barriers. Generally, IR thermometers can’t measure through glass or plastic surfaces because these materials reflect or absorb infrared radiation. For accurate glass measurement, aim directly at the object’s surface, not through the barrier. Plastic surfaces may also distort readings, so get a clear, direct view for precise results.
What Is the Maximum Distance I Can Effectively Measure With My IR Thermometer?
You can typically measure effectively up to 8 to 14 inches with your IR thermometer, but this depends on its distance-to-spot ratio. Beyond this range, distance limitations can diminish measurement accuracy because the spot size becomes larger than the target area. To guarantee precise readings, stay within the recommended distance for your model, and avoid measuring from too far away, which can compromise the accuracy of your temperature readings.
How Do Environmental Conditions Affect IR Temperature Readings?
Think of your IR thermometer as a sensitive spy, trying to get a clear temperature picture. Environmental conditions like ambient interference can muddy its view, while reflective surfaces act like mirrors, bouncing back inaccurate readings. To guarantee accuracy, shield the thermometer from direct sunlight, avoid shiny objects, and measure in stable conditions. This way, you get a true temperature reading, free from environmental interference and reflective distortions.
Are There Safety Precautions When Using IR Thermometers in Hazardous Environments?
Yes, you should wear safety gear like gloves, eye protection, and appropriate clothing to guarantee safety when using IR thermometers in hazardous environments. Always maintain hazard awareness, understanding potential risks like high heat or toxic fumes. Keep a safe distance from the target, and follow any specific safety protocols. Regularly inspect your IR thermometer for damage, and never point it at people or yourself to prevent accidents.
Conclusion
Mastering your IR thermometer isn’t just about knowing how it works; it’s about understanding the nuances that can make or break your readings. With proper technique and calibration, you access its true potential. But beware—hidden pitfalls could skew your results. Are you truly ready to trust every reading? The key lies in continuous learning and vigilance. Keep refining your skills, and the secrets behind accurate infrared measurements will gradually reveal themselves.