
To fix overproofed dough, you need to carefully assess its condition first. Measure its current volume and gas retention to determine how much it has overfermented. Gently reshape the dough, and consider adjusting hydration by adding small amounts of water or flour to restore elasticity. Recalculate the yeast activity and proofing time before re-shaping and baking. Monitoring temperature and humidity ensures consistent results. If you keep these calculations in mind, you’ll improve your chances of success every time.
Key Takeaways
- Monitor dough volume and elasticity to identify overproofing early.
- Adjust proofing times based on dough temperature and environment conditions.
- Reshape and gently degas overproofed dough to regain structure and volume.
- Use hydration adjustments—adding water or flour—to improve gluten resilience.
- Control proofing environment with precise temperature and humidity to prevent overproofing recurrence.

Amazon Basics Silicone Rectangular Baking Mat, Non-Stick, Reusable, Dishwasher Safe, Food Safe, Heat Resistant, 16.5" x 11.6", Beige/Gray, 2-Pack
Baking mat (2-pack) for easy and convenient baking, roasting, or food prep
As an affiliate, we earn on qualifying purchases.
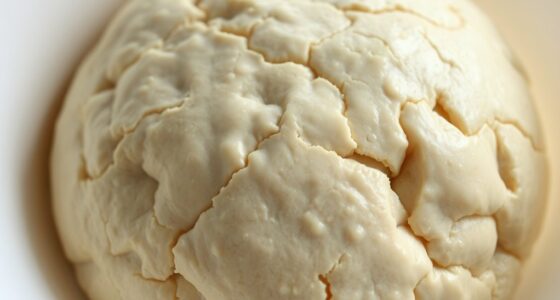
Recognizing the Signs of Overproofed Dough
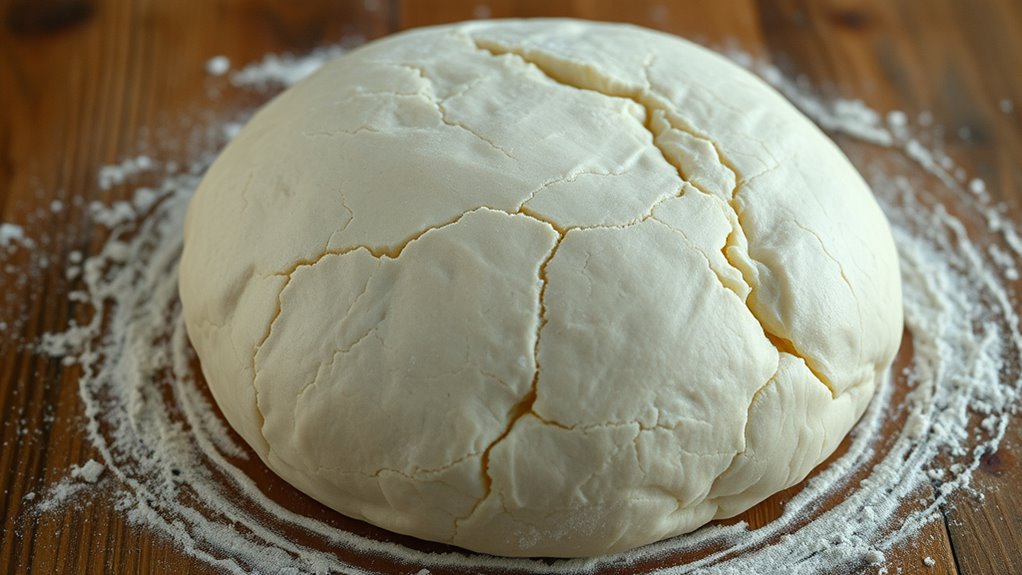
If you’re baking bread and notice that the dough has become overly airy or flattened, it might be overproofed. One key sign is a sudden decrease in yeast activity, which causes the dough to lose its rise. When overproofed, the dough’s elasticity diminishes because the gluten structure weakens after excessive fermentation. You’ll see a flat, sagging appearance rather than a firm, rounded shape. The surface may look glossy or even collapse when pressed gently. Smell is another indicator—overproofed dough often emits a yeasty, sour odor. If you poke the dough and it doesn’t spring back or feels overly soft, it’s a sign it’s past its prime. Recognizing these signs helps you decide whether to proceed with baking or to adjust your process. Additionally, understanding the textile line techniques used in dough preparation can help improve your baking consistency.

Amazon Basics Non-Stick Silicone Baking Mat, Food Safe, Dishwasher Safe, Heat Resistant, 16.5" x 11.6", Beige/Gray, Rectangular, 4-Pack
Baking mat (4-pack) for easy and convenient baking, roasting, or food prep
As an affiliate, we earn on qualifying purchases.
Calculating the Optimal Proofing Time
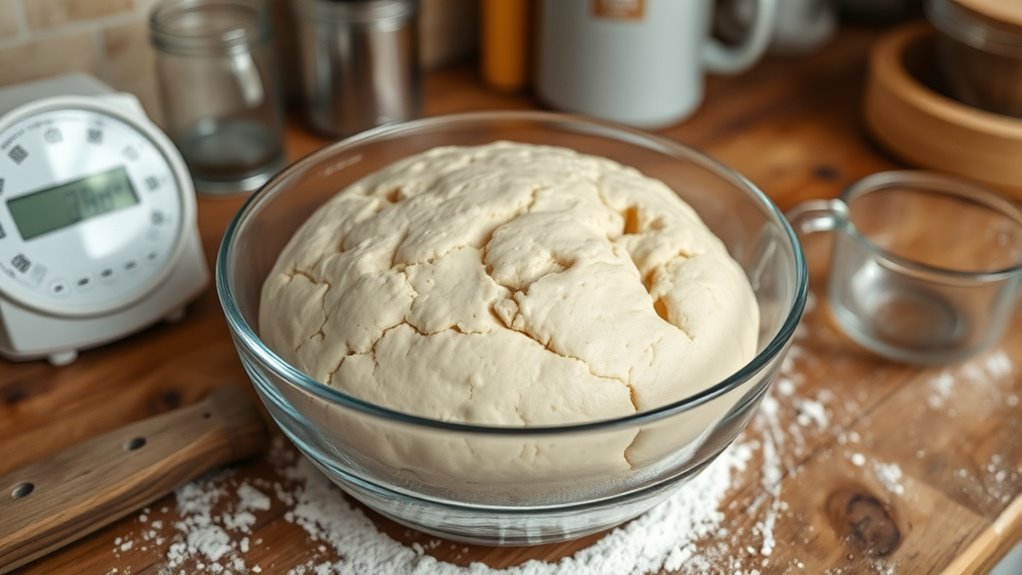
Understanding what affects proofing time helps you get perfect results every time. Factors like dough temperature and ingredients play a big role, so it’s important to take into account them. Using time calculators can simplify the process and ensure you proof your dough just right. Additionally, signs of spoilage in ingredients can impact fermentation and proofing outcomes.
Factors Influencing Proofing
Calculating the ideal proofing time depends on several key factors that influence how quickly dough rises. Ingredient substitutions can affect fermentation speed; for example, adding more sugar or using different flours may accelerate proofing. Storage considerations also play a role—dough kept in a warm, humid environment proofs faster than in cooler conditions. Additionally, the dough’s temperature impacts yeast activity, so warmer temperatures speed up proofing, while cooler slow it down. Humidity levels can influence dough hydration and fermentation rate. Keep in mind that overproofed dough often results from misjudging these factors. Adjust your proofing time based on your specific ingredients and storage conditions to ensure your dough reaches its perfect rise without overdoing it.
Using Time Calculators
Using time calculators can simplify determining the ideal proofing duration for your dough. By understanding fermentation chemistry, you can better predict how long it takes for yeast activity to develop fully, ensuring perfect rise without overproofing. Time calculators factor in variables like temperature, dough size, and ingredient substitutions, helping you adjust proofing times accurately. If you change ingredients—such as swapping in whole wheat or adding sugar—the fermentation rate shifts, making precise timing essential. These tools eliminate guesswork, allowing you to customize proofing based on your environment and dough composition. Additionally, yeast activity can be influenced by factors like hydration levels and ambient humidity, which should also be considered for optimal results. By applying time calculators, you optimize fermentation chemistry, preventing overproofing or underproofing. This ensures your bread develops the right texture and flavor, even when ingredient substitutions alter the typical proofing timeline.

whisrvival 4 Pcs Silicone Baking Mat, Non-Stick Baking Mat, Food Safe Silicone Mats for Baking Cookies, Macarons, Vegetables, 480℉ Heat Resistant (Grey)
2 Half (16.53 x 11.61 inches) & 2 Quarter sheet (11.81'' x 8.26'')Silicone Baking Mats, perfect for keeping...
As an affiliate, we earn on qualifying purchases.
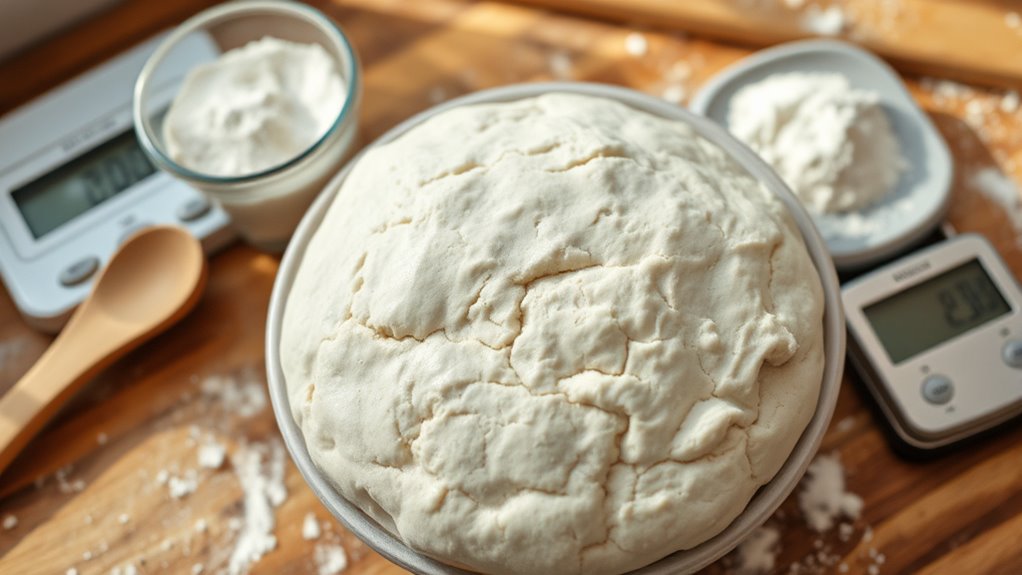
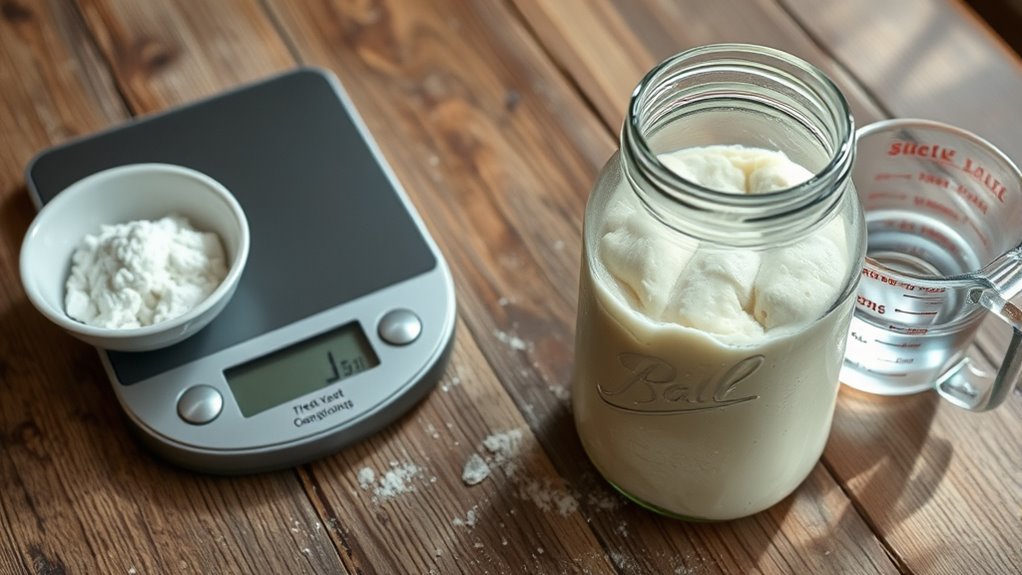
Measuring Dough Volume and Gas Retention
Accurately measuring dough volume and gas retention is essential for diagnosing overproofing issues and adjusting your baking process. High dough elasticity can trap gas, indicating strong fermentation, while a sluggish fermentation rate suggests underdeveloped dough. To assess your dough, use the following table:
| Measurement | What it indicates | Action to take |
|---|---|---|
| Volume increase | Gas retention and dough elasticity | Adjust fermentation time |
| Dough height after proof | Overproofed if excessive | Cool or reduce fermentation |
| Bubble formation | Gas production efficiency | Improve fermentation conditions |
Monitoring these factors helps you fine-tune your process, ensuring proper proofing without overdoing it. Proper measurement empowers you to manage fermentation rate and dough elasticity effectively. Additionally, understanding how tuning impacts engine performance can inspire improvements in your baking process, as both require precise adjustments for optimal results.

FOHERE Bread Proofing Box, 32-113°F Temp Control & 48H Timer, Folding Dough Proofing Box With NTC Sensor, Sourdough Proofing Box For Sourdough, Pizza, Kombucha, Yogurt, Bread Baking
【Professional Convection Heating & Humid Fermentation】:This bread proofing box features commercial-grade fermentation technology. A 360° natural convection cycle...
As an affiliate, we earn on qualifying purchases.
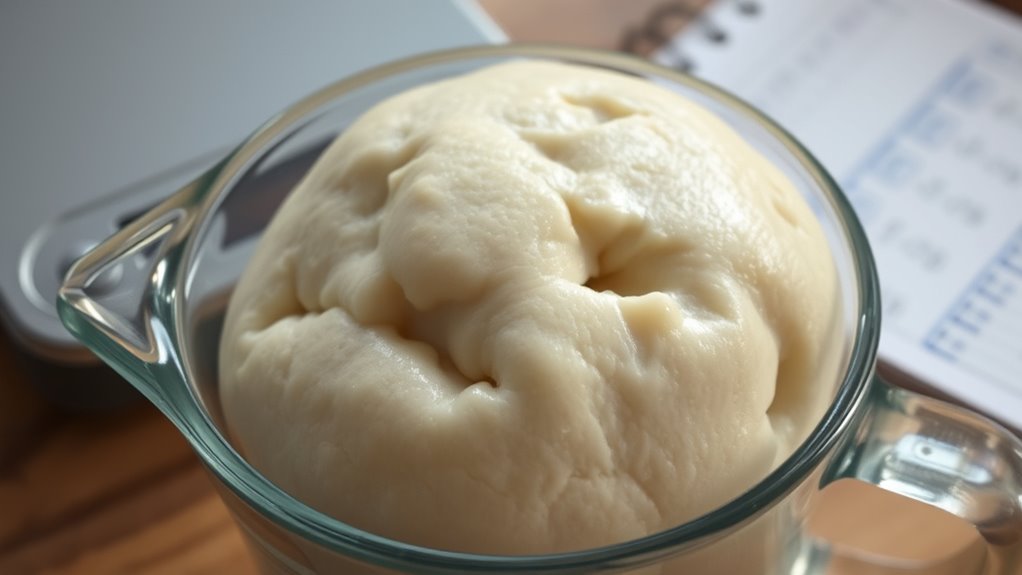
Adjusting Dough Hydration Levels After Overproofing
If your dough has overproofed, adjusting its hydration level can help restore the right balance and improve its structure. Increasing hydration can rehydrate the gluten network, enhancing dough elasticity and giving it a more workable feel. Conversely, reducing hydration may tighten the dough, preventing it from becoming too slack. To strike the perfect hydration balance, consider gently adding small amounts of water or flour, testing the dough’s response. Be cautious—overcorrecting can worsen the situation. Remember, proper hydration supports a resilient dough that holds gas better and develops a better crumb. Incorporating a cozy textiles layer or a vintage decor-inspired atmosphere can inspire patience and care during the correction process. Feel the dough’s texture shift from slack to firm, a sign of regained elasticity. Experience renewed confidence in shaping and handling your dough. Achieve a balanced, well-structured loaf with improved oven spring.
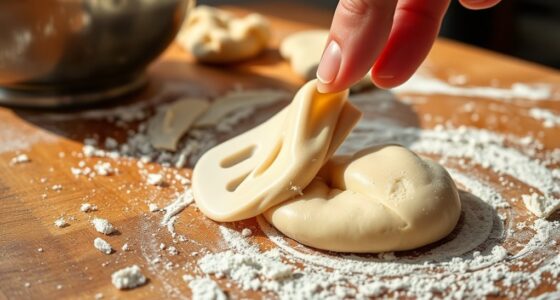
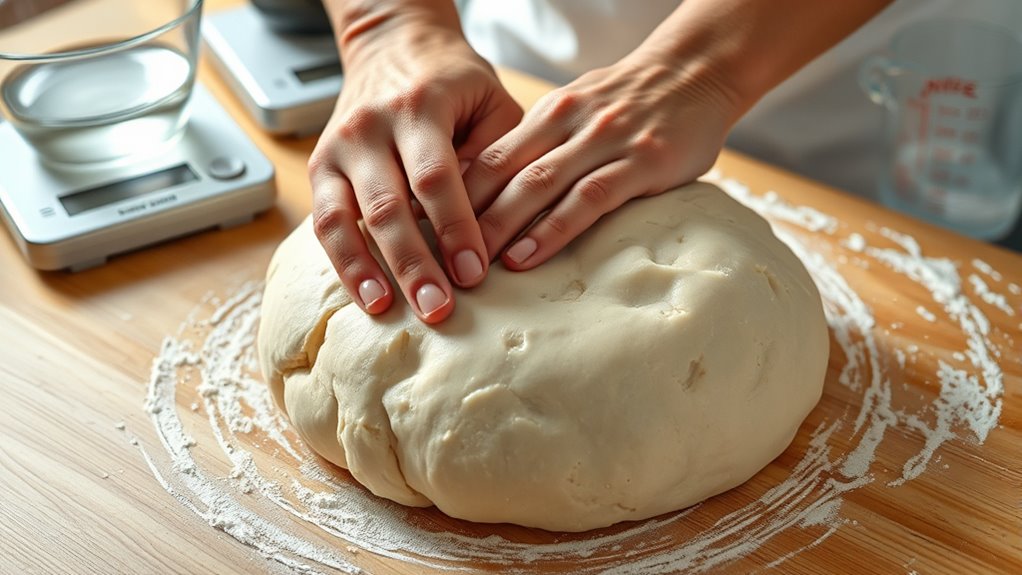
Techniques for Degassing and Reshaping
To fix overproofed dough, start with gentle degassing to avoid tearing the gluten structure. Use your hands to reshape the dough carefully, ensuring even distribution of air bubbles. Timing is key—let the dough rest briefly before final shaping to achieve the best results. Incorporating proper techniques can also prevent overproofing altogether, similar to how feeding and burping techniques help maintain a healthy feeding process in newborns.
Gentle Degassing Methods
When dealing with overproofed dough, gentle degassing is essential to preserve its structure and prevent collapse. By carefully pressing or folding, you retain the dough’s delicate fermentation control and flavor development. Use your hands softly to release excess gas without destroying air pockets that give your bread its lightness. This mindful approach helps maintain the dough’s elasticity and ensures even fermentation. Recognizing how arcade games operate can help you appreciate the importance of precise handling and timing during degassing. Consider these techniques:
- Lightly pressing with your fingertips, avoiding aggressive squeezing
- Folding gently to redistribute gases without deflating completely
- Resting briefly after degassing to allow the dough to stabilize
These methods allow you to control fermentation more precisely, resulting in better flavor and texture. With patience and care, you’ll transform overproofed dough into a beautifully risen loaf.
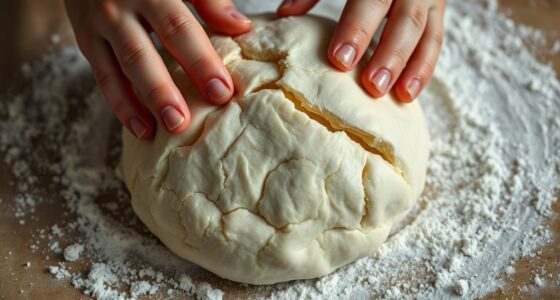
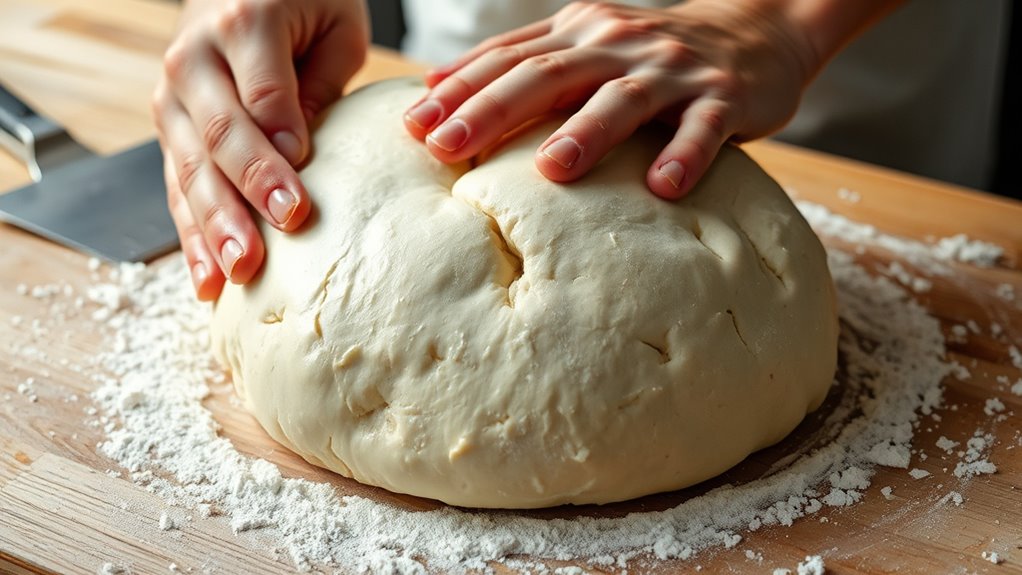
Proper Reshaping Techniques
Reshaping overproofed dough requires careful handling to restore its structure without over-deflating it. Gently transfer the dough from its proofing container onto a lightly floured surface. Use your hands to press out excess air softly—avoid squeezing too hard—and reshape it into a round or desired form. When ready to shape, focus on dough scoring techniques that allow controlled expansion during baking, preventing further over-expansion. Make clean, decisive cuts with a sharp blade or lame, ensuring even scores that guide the bread’s rise. Handle the dough gently throughout to maintain its internal structure. Proper reshaping preserves the dough’s integrity without further degassing, helping you regain some of its lost volume and shape before final proofing or baking. Additionally, understanding the hydration level of your dough can influence how easily it can be reshaped without collapsing.
Timing for Resting
Timing your resting periods after reshaping overproofed dough directly impacts how well it degasses and regains its structure. If you wait too long, the dough may lose dough elasticity, making it harder to shape. If you rest too briefly, excess gas might not escape, leading to a dense crust. To optimize results, consider your proofing environment—warmer temps speed up degassing, cooler slows it down. Proper timing ensures the dough relaxes without over-deflating.
Additionally, understanding proofing environment conditions helps tailor resting times for better results. Remember:
- Rest just long enough for gentle degassing, preserving dough elasticity
- Keep the environment consistent to prevent unpredictable fermentation
- Watch for signs of over-resting, like flattening or loss of shape
Mastering timing helps you achieve a perfect, airy bake every time.
Recalculating Yeast Activity for Reproofing
Reproofing overproofed dough requires adjusting your expectations for yeast activity, since the yeast’s fermentation capacity diminishes after excessive proofing. To aid this, you need to perform proofing recalculation by considering yeast reactivation potential. This involves estimating how much the yeast can still ferment and how much additional proofing it needs. You can use the table below to guide your adjustments:
| Yeast Activity Level | Expected Fermentation | Reproofing Time Adjustment |
|---|---|---|
| High | Good fermentation | Minimal |
| Moderate | Reduced fermentation | Moderate |
| Low | Limited fermentation | Extended |
Understanding these levels helps prevent overproofing again and ensures ideal dough texture. Properly recalculating proofing time is essential for successful reproofing. Additionally, considering self watering plant pots can serve as a helpful analogy for maintaining optimal moisture levels during dough fermentation.
Estimating Baking Time Adjustments
After recalculating your proofing times based on yeast activity levels, the next step is to modify your baking times accordingly. Overproofed dough requires careful estimation of baking time to ensure you don’t end up with a dense or burnt crust. Consider how fermentation control impacted your dough and how ingredient substitutions may alter baking dynamics. To help, keep these tips in mind:
Adjust baking times carefully to prevent overbaking and achieve perfect crust color.
- Monitor dough color and aroma closely; they’re your best indicators of doneness.
- Adjust baking time slightly shorter if the dough appears overly fermented.
- Use a thermometer to verify internal temperature, ensuring proper crust development without overbaking.
These adjustments help compensate for overproofing effects, leading to a perfectly baked loaf despite earlier missteps.
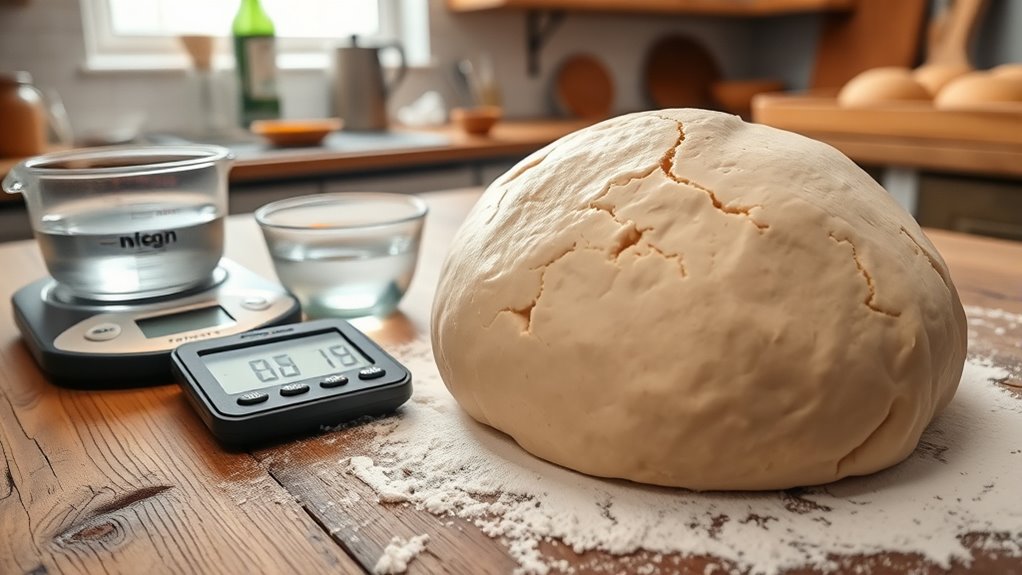
Monitoring Dough Temperature and Humidity Effects
Since dough temperature and humidity directly influence yeast activity and gluten development, monitoring these factors is essential for consistent baking results. Proper fermentation control depends on maintaining ideal conditions; too warm or humid environments can accelerate overproofing, while cold or dry settings slow fermentation. To manage this, use a thermometer and hygrometer regularly. Ingredient substitution, like adjusting water temperature, can help correct environmental deviations. Here’s a quick guide:
| Temperature Range | Humidity Level | Effect on Fermentation |
|---|---|---|
| 75-78°F | 70-80% | Ideal for consistent rise |
| Below 75°F | 50-60% | Slows fermentation |
| Above 78°F | 80-90% | Speeds up fermentation |
| Dry environment | Low humidity | Drys dough, slows rise |
| Humid environment | High humidity | Causes overproofing |
Monitoring these factors ensures predictable results and effective ingredient substitution when needed.
Frequently Asked Questions
How Can I Prevent Overproofing in the First Place?
To prevent overproofing, you should carefully monitor proofing timing and maintain proper temperature control. Keep an eye on the dough’s size and texture, and don’t let it sit too long. Use a warm, consistent environment and set a timer to avoid exceeding the ideal proofing duration. By managing these factors, you guarantee your dough proofs perfectly, preventing overproofing and resulting in better baked goods.
What Alternative Ingredients Can Help Fix Overproofed Dough?
Think of overproofed dough as a balloon about to burst—adding a splash of alternative flours like rye or spelt can help absorb excess gases and restore balance. Mixing in a bit of sugar feeds the yeast, giving it a fresh spark and slowing down overproofing. These ingredients act like gentle reins, guiding your dough back on track, ensuring your bread turns out perfect instead of collapsing.
Can Overproofed Dough Be Used for Other Recipes?
Yes, you can use overproofed dough for other recipes by doing a dough salvage. It works well for certain recipes like bread puddings or flatbreads, where the texture is less critical. To adapt, consider recipe substitution by adding fresh flour or adjusting liquids, and knead it thoroughly to redistribute the yeast. Keep in mind, this may alter the final result, but it’s a practical way to avoid waste.
How Does Altitude Affect Proofing and Overproofing Risks?
When it comes to altitude, you gotta watch out—proofing can turn into a double-edged sword. Higher altitudes speed up proofing, increasing overproofing risks, so you should make altitude adjustments in your proofing environment. Use warmer, more humid settings or shorten proofing times. This way, you keep your dough from overproofing and ensure perfect rise, no matter how high you are. Adjustments are key to successful baking at altitude.
Are There Safety Concerns With Overproofed Dough?
Yes, there are food safety concerns with overproofed dough. Overfermentation can lead to fermentation hazards, like harmful bacteria growth, which might cause foodborne illnesses. Additionally, overproofed dough can produce off-flavors and undesirable textures, affecting quality. To prevent these issues, monitor proofing times carefully, maintain proper temperature, and avoid leaving dough out too long, ensuring safe, delicious baked goods every time.
Conclusion
Remember, overproofed dough is like a balloon about to burst—light and airy but fragile. With the right calculations, you can tame it, reshaping its destiny from collapse to a perfect loaf. Think of your dough as a delicate sculpture, where precision and timing hold the key. By understanding these basics, you turn chaos into art, transforming overproofed mishaps into delicious creations. Your baking journey ends with confidence, not chaos.