
When fixing overproofed dough, accurate calculations of volume loss, fermentation rate, and gluten recovery are essential. Measure how much your dough has expanded and compare it to its ideal size, then adjust hydration and resting times accordingly. Monitor temperature and humidity to optimize gluten strength and fermentation. Precise folding, punching intervals, and baking adjustments help restore structure and flavor. Stick with these calculations, and you’ll better handle overproofing—more tips await to help you master the process.
Key Takeaways
- Measure initial and post-proofing dough volume to accurately assess overproofing severity.
- Calculate fermentation rate using dough expansion data to determine necessary adjustments.
- Recompute baking temperature and time based on dough elasticity and size changes.
- Adjust hydration levels to restore gluten structure and prevent further overproofing.
- Monitor environmental conditions (temperature, humidity) to optimize dough recovery and maintain consistent fermentation.
Recognizing the Signs of Overproofing

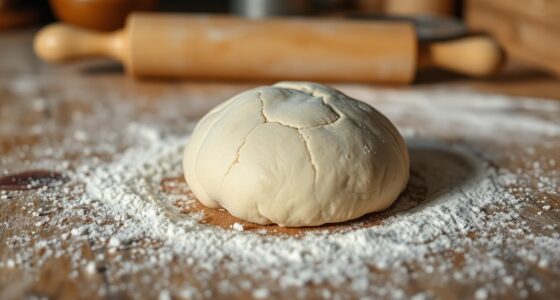
Recognizing the signs of overproofing is essential to guarantee your bread turns out perfect. When dough is overproofed, you’ll notice a loss of gluten development, making the bread less structured and chewy. The dough may appear overly puffy, with bubbles on the surface, and may be very soft or even collapse when gently pressed. Overproofed dough also impacts flavor enhancement, often resulting in a sour or overly yeasty taste due to excessive fermentation. The aroma might be strong and tangy, indicating that fermentation has gone too far. If you see these signs, it’s a clear signal that the dough has been overproofed and needs attention before baking. Recognizing these cues helps you adjust your process and achieve a well-structured, flavorful loaf. Proper air quality and environment can also influence fermentation and proofing outcomes, so maintaining optimal conditions can help prevent overproofing.
Calculating Dough Volume Loss During Overproofing
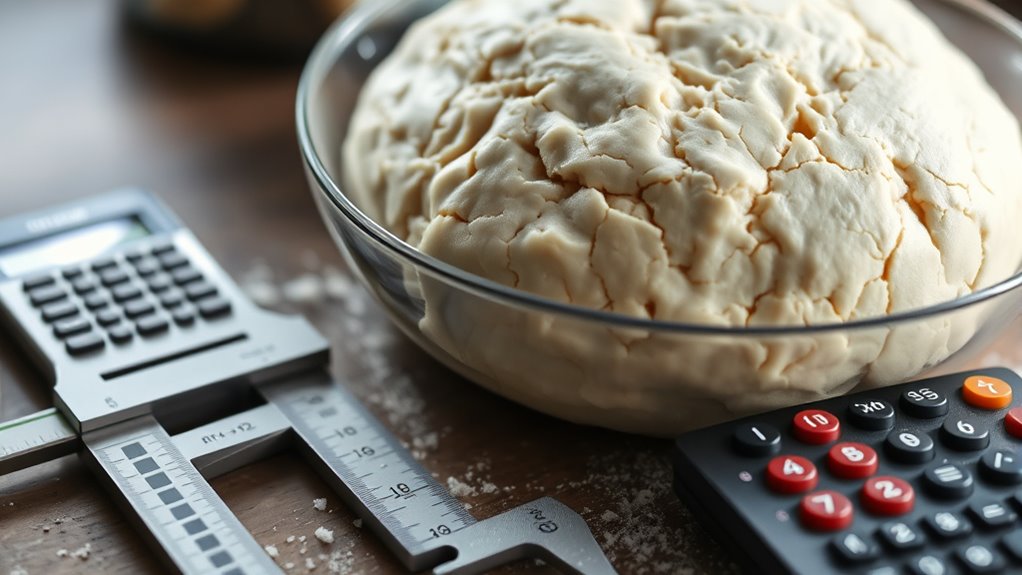
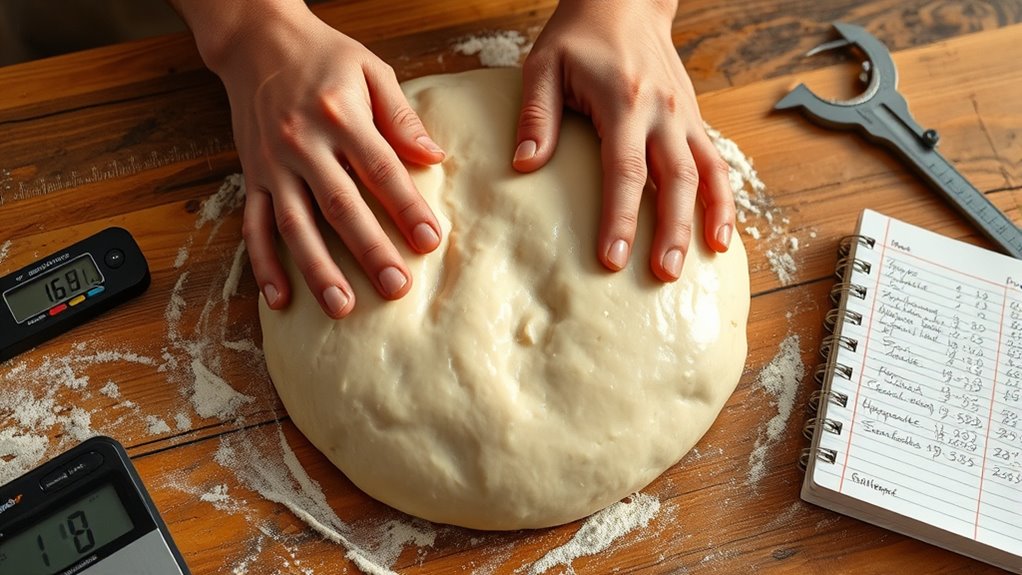
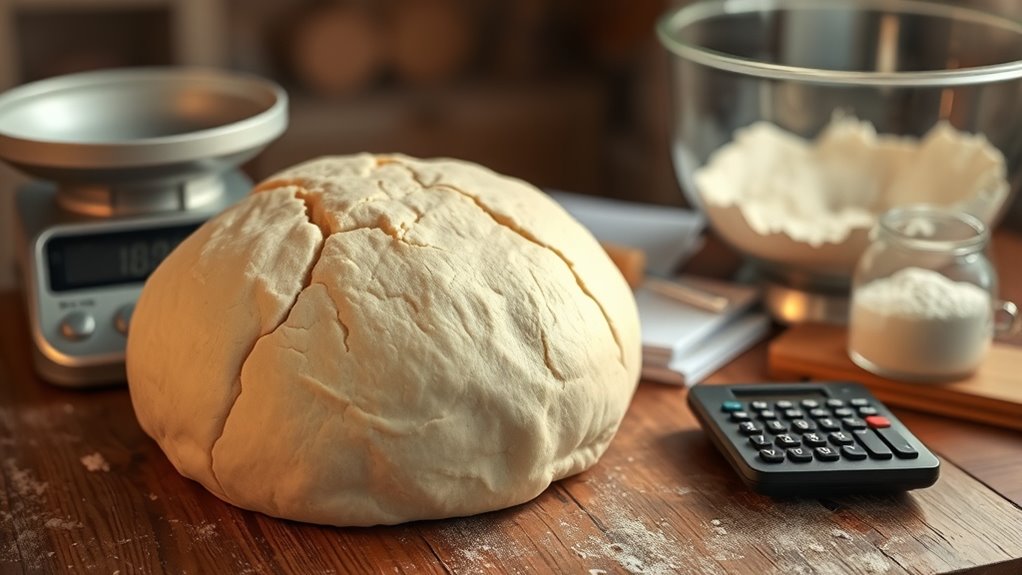
To fix overproofed dough, you need to understand how much it has lost in volume. Start by measuring how much your dough has expanded compared to its original size. Then, estimate the overall volume reduction to determine the best way to restore its structure. Incorporating accurate measurements ensures precise calculations and effective correction.
Measuring Dough Expansion
How can you accurately measure dough expansion during overproofing? First, ensure consistent conditions to monitor fermentation control. Then, use these methods:
- Pre- and Post-Measurement: Weigh the dough before proofing and record its volume after. This helps track volume loss during overproofing.
- Volume Displacement: Submerge the dough in a graduated container of water, noting the displaced volume to gauge expansion.
- Visual Markings: Mark the dough’s height on a transparent container at the start and during proofing, tracking height increase over time.
- Temperature and Humidity: Monitoring environmental factors like temperature and humidity is crucial, as they significantly influence dough expansion and fermentation rates.
Keep in mind, dough hydration impacts expansion; higher hydration often results in more noticeable growth. Accurate measurements help manage fermentation control, preventing overproofing and ensuring quality.
Estimating Volume Reduction
Estimating volume reduction during overproofing involves measuring how much your dough shrinks as fermentation progresses beyond its ideal point. Factors like dough hydration and fermentation temperature influence this process. Higher hydration levels tend to retain more moisture, reducing volume loss, while lower hydration can lead to quicker shrinkage. Likewise, warmer fermentation temperatures accelerate yeast activity, increasing gas escape and speeding up volume reduction. To estimate loss accurately, monitor your dough’s initial size and note how much it shrinks over time, considering these variables. Keeping track of fermentation conditions helps you predict volume reduction more precisely. Understanding how dough hydration and temperature affect shrinkage allows you to adjust proofing times and avoid overproofing, ensuring your dough maintains optimal volume and texture. Additionally, being aware of the fermentation cycle can help you better anticipate when your dough has reached the ideal proofing point.
Determining the Ideal Resting Time for Reshaping
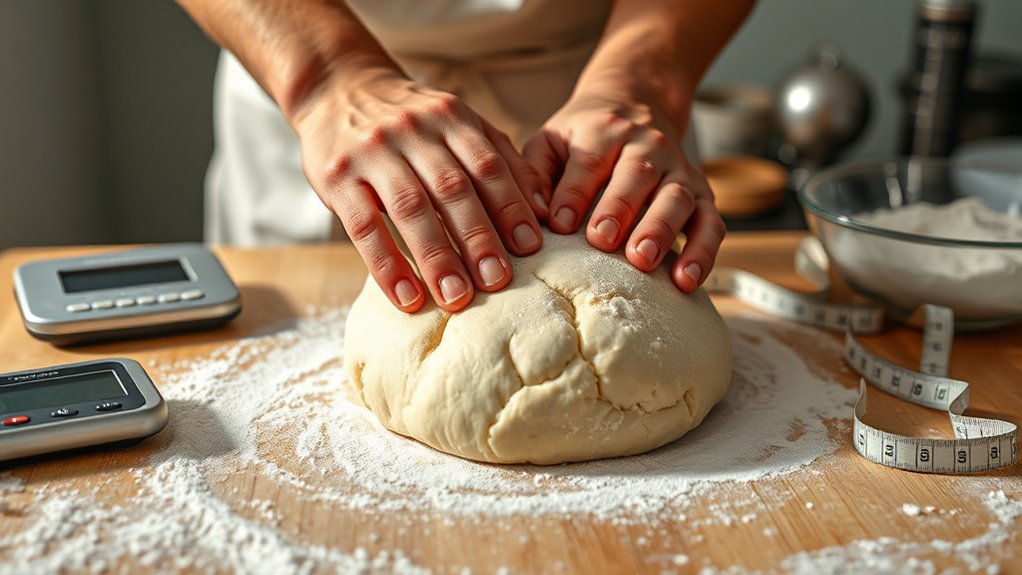
Finding the right resting time for reshaping overproofed dough is essential to restoring its elasticity and workability. Proper resting allows the gluten network to recover, making dough handling easier. To determine this time:
- Observe texture: Wait until the dough feels slightly elastic and not overly sticky or slack.
- Perform a gentle poke test: If the indentation springs back slowly, it’s ready.
- Adjust for ingredient substitution: Different flours or additives may require longer resting to regain elasticity.
- Understand the impact of fermentation: Overproofed dough can benefit from resting to reduce acidity and improve gluten structure, which is a key aspect of dough conditioning.
Resting too short can result in tearing, while too long may lead to further overproofing. Always monitor the dough’s response, especially after ingredient substitution, to ensure ideal reshaping. This approach helps you avoid unnecessary waste and achieve a better final product.
Adjusting Hydration Levels to Compensate for Overproofing
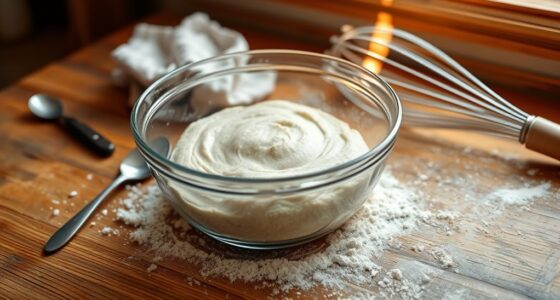
When you overproof dough, adjusting its hydration level can help restore its structure and workability. Increasing hydration tightens dough elasticity, making it more manageable and preventing it from becoming too slack. Conversely, reducing hydration can help if the dough is overly soft and sticky. Proper hydration also aids in fermentation control, slowing down excessive fermentation caused by overproofing. By carefully tweaking water content, you can reinforce gluten strength and improve elasticity, helping the dough regain its shape. Keep in mind that small adjustments are key—adding water gradually and mixing thoroughly ensures even distribution. This approach allows you to salvage overproofed dough without compromising its final texture or flavor. Proper hydration management is a vital step in maintaining dough quality after overproofing. Additionally, understanding the hydration levels of your dough can help prevent overproofing issues in future batches.
Recalculating Yeast Activity and Fermentation Rates
You need to understand how yeast activity influences fermentation rates and proofing times. By recalculating fermentation dynamics, you can better anticipate how your dough will behave after overproofing. Adjusting proofing times accordingly helps ensure your bread achieves the desired texture and flavor. Monitoring fermentation signs such as smell, texture, and appearance can assist in determining the optimal proofing stage.
Yeast Fermentation Dynamics
Understanding yeast fermentation dynamics is essential for correcting overproofed dough, as it involves recalculating yeast activity and fermentation rates based on current conditions. When working with sourdough starters, you need to monitor how fermentation impacts gluten development and overall dough strength. To do this effectively, consider these key points: 1. Assess the current temperature and humidity, which influence yeast activity. 2. Measure fermentation progress through pH levels or visual cues like bubbles. 3. Adjust fermentation times or hydration to optimize yeast activity for better gluten development. Additionally, knowing the best anime movies can help pass the time during extended fermentation periods.
Adjusting Proofing Times
To effectively adjust proofing times after overproofing, you need to recalculate yeast activity and fermentation rates based on the dough’s current condition. Overproofed dough can develop a sour or overly fermented flavor, affecting dough flavor balance. Start by evaluating the dough’s temperature and elasticity, then adjust proofing times accordingly. If your dough’s flavor has shifted due to overfermentation, consider ingredient substitution—like adding fresh flour or reducing sugar—to slow fermentation without compromising texture. Monitoring yeast activity helps you determine if fermentation has slowed or stalled. By recalculating fermentation rates, you can avoid overproofing further and ensure your dough maintains the desired flavor profile and structure. This precision prevents waste and guarantees consistent baking results. Additionally, understanding the emotional support needed when troubleshooting baking issues can help maintain a calm and focused mindset during the process.
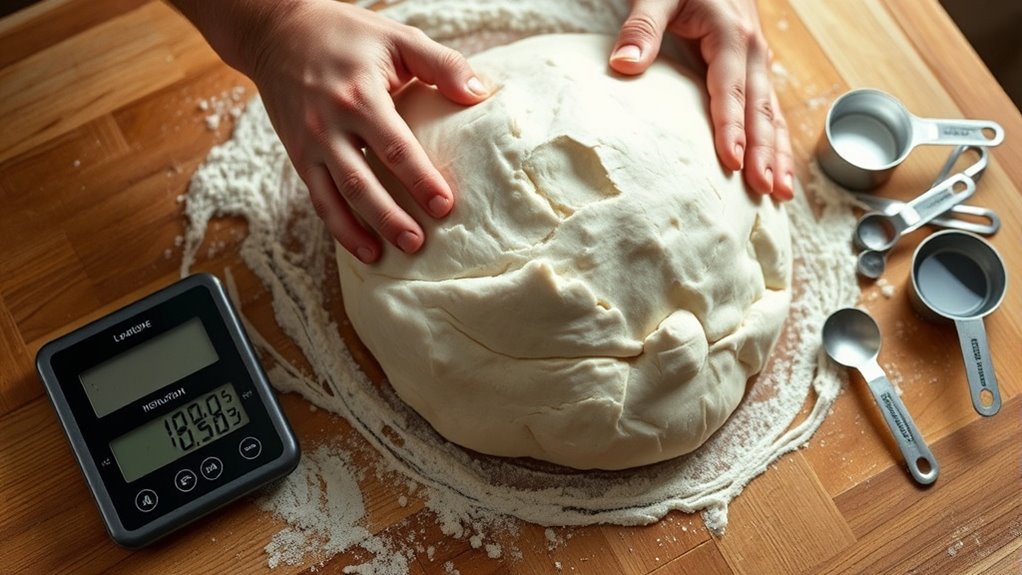
Estimating the Correct Folding and Punching Intervals

Finding the right folding and punching intervals is vital to prevent overproofed dough from collapsing or losing its structure. Proper timing helps maintain dough elasticity and guarantees ideal dough shaping. To estimate these intervals:
- Monitor dough rise and elasticity; punch down when it begins to resist, typically every 15-30 minutes during proofing.
- Adjust intervals based on oven temperature; higher temps accelerate fermentation, requiring shorter intervals.
- Observe dough response; if it feels overly slack or collapses easily, reduce folding and punching frequency.
- Recognize that unrepentant cheating can hinder emotional healing, which parallels how overproofed dough cannot recover its proper structure without careful timing. Unrepentant cheating can create ongoing issues if not addressed properly.
Consistent folding helps redistribute yeast and gases, strengthening the dough. Remember, overproofed dough becomes fragile, so timing adjustments are essential for maintaining proper structure and achieving the best oven temperature for baking.
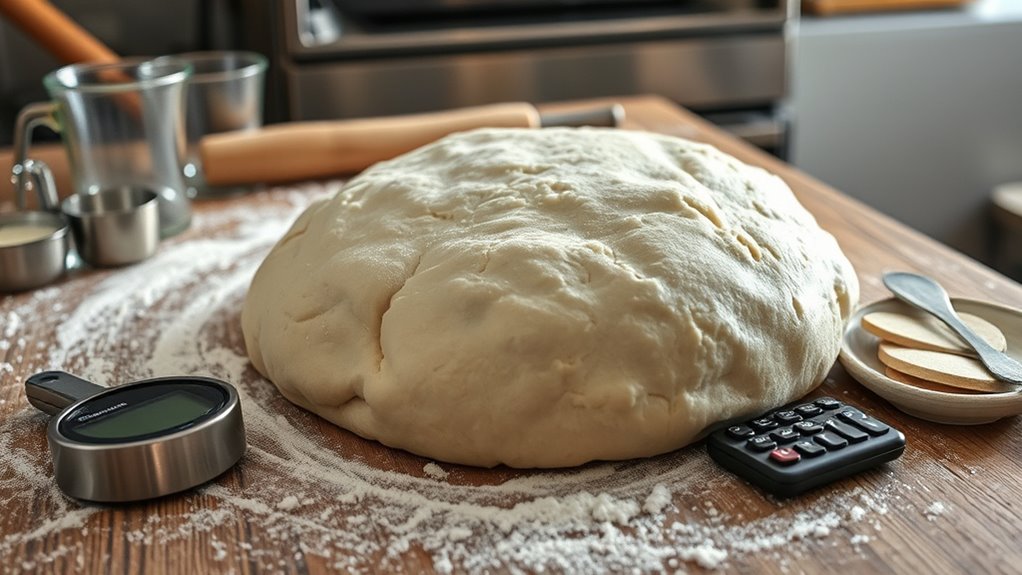
Measuring Dough Elasticity and Strength Post-Overproofing
After determining the ideal folding and punching intervals, evaluating the dough’s elasticity and strength post-overproofing becomes key to ensuring it still has the capacity to hold its shape. You can test this by gently stretching the dough; if it resists easily and springs back, dough elasticity remains good. A strong fermentation process maintains adequate fermentation strength, preventing the dough from collapsing. Here’s a quick comparison:
| Trait | What to Look For |
|---|---|
| Dough Elasticity | Resistance to stretching, quick recovery |
| Fermentation Strength | Ability to support structure without collapse |
If the dough feels too soft or flabby, it indicates weakened elasticity and fermentation strength. Adjust your handling accordingly to restore ideal conditions for shaping and baking.
Monitoring Temperature and Humidity for Optimal Recovery
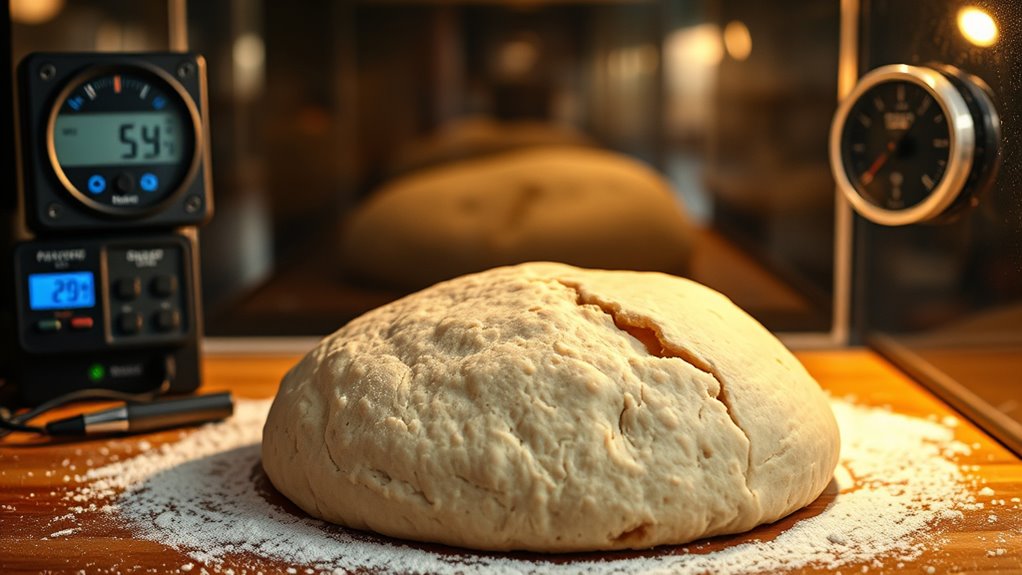
Maintaining the right temperature and humidity levels is essential for your dough’s recovery after overproofing. Proper environment helps restore dough hydration and supports gluten structure. To optimize recovery, focus on these three key factors:
- Control oven temperature: Keep it between 75-85°F to encourage gradual fermentation without drying out the dough.
- Regulate humidity: Aim for 70-80% humidity to prevent dough dehydration and promote even moisture distribution.
- Monitor dough hydration: Adjust water content if necessary, ensuring the dough remains supple and elastic during recovery.
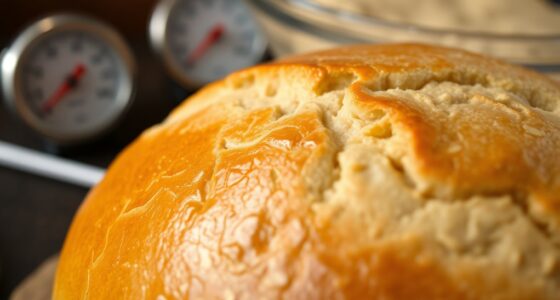
Implementing Corrective Baking Techniques Based on Calculations
When overproofed dough requires correction, implementing precise baking techniques based on calculations can make all the difference. Adjusting the baking temperature correctly helps fix dough flavor issues and ensures the bread develops a desirable crust. Lowering the temperature slightly can prevent the overproofed dough from over-expanding and losing moisture, which preserves its structure. Conversely, increasing the temperature carefully can help set the dough’s interior, restoring proper crumb texture. Use your calculations to determine the ideal bake time and temperature adjustments, ensuring even heat distribution. This targeted approach minimizes flavor loss and avoids further overproofing effects. By applying these calculated techniques, you’ll recover the dough’s quality efficiently, resulting in better flavor and a perfectly baked crust.
Frequently Asked Questions
How Can I Prevent Overproofing in the First Place?
To prevent overproofing, monitor dough fermentation closely and keep an eye on proofing timing. Set a timer based on your recipe’s recommended proofing duration, and check the dough’s size and texture regularly. Keep the dough in a warm, controlled environment to avoid excessive fermentation. Once it has doubled in size but isn’t overly puffy, punch it down and bake promptly. This way, you control proofing and maintain perfect dough consistency.
What Tools Are Best for Measuring Dough Elasticity Accurately?
While it’s tempting to rely on simple tools, the best way to measure dough elasticity accurately is with a stretch test or a farinograph. These tools give you precise insights into dough texture and elasticity measurement, helping you avoid guesswork. By monitoring the dough’s stretchability, you can fine-tune your process, ensuring consistent results and preventing overproofing. Accurate measurements lead to perfect baked goods every time.
Can Overproofed Dough Be Salvaged Without Discarding?
Yes, you can salvage overproofed dough through dough restoration. Gently punch it down to release excess gas, then reshape it. To improve structure, incorporate a bit of fresh flour or water if needed. Adjust your baking by reducing proofing time and temperature to prevent over-expansion. With proper baking adjustments, you can often rescue overproofed dough, maintaining its texture and flavor without discarding it entirely.
How Do Temperature Fluctuations Affect Overproofing Calculations?
Temperature fluctuations are like unpredictable tides that can throw off your proofing calculations. When your proofing environment experiences temperature variance, it speeds up or slows down yeast activity, making overproofing more likely. You need to modify your calculations accordingly, monitoring your environment closely. Keep the temperature stable to ensure consistent proofing, and remember, small changes can have a big impact on your dough’s final rise.
What Are the Long-Term Effects of Overproofing on Dough Quality?
You notice that long-term overproofing harms dough quality by disrupting fermentation consistency and reducing dough stability. Overproofed dough becomes overly aerated, leading to a weaker gluten structure and poor rise. This results in bread with a dense texture and uneven crumb. To maintain consistent results and ideal dough stability, you should monitor proofing times closely and avoid excessive fermentation, ensuring your baked goods stay tender and well-structured over time.
Conclusion
By recognizing signs, calculating losses, adjusting hydration, and monitoring conditions, you take control of overproofed dough. You refine your timing, recalibrate your techniques, and improve your results. You adapt your approach, correct your methods, and master your craft. With these calculations, you guarantee your dough rises perfectly, bakes beautifully, and consistently delivers quality. Because in baking, precision matters, and your attention to detail makes all the difference.