
If you want to proof bread outdoors effectively, understanding prep boxes and the right environment is key. Choose weather-resistant materials like vinyl-coated fabrics and set up containers that regulate temperature and humidity. Maintain consistent conditions by using insulation, coverings, and climate monitors. Proofing times vary, but staying attentive to dough signs and adjusting for weather will give you better results. Keep these tips in mind, and you’ll discover more ways to optimize your outdoor proofing process.
Key Takeaways
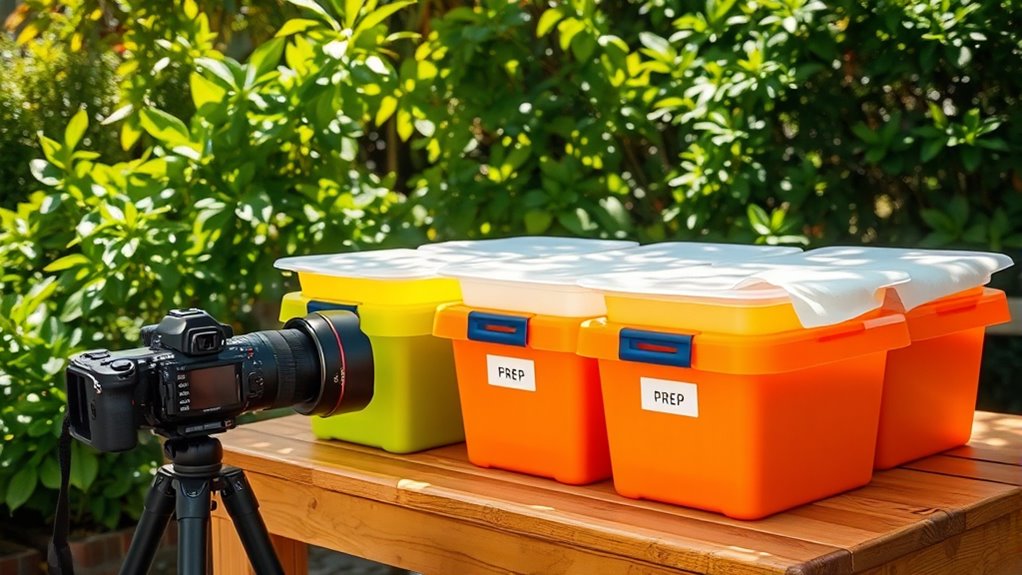
- Prep boxes provide a controlled environment for consistent fermentation and protected outdoor proofing.
- Maintain optimal temperature (75–80°F) and humidity using insulation, coverings, and moisture control tools.
- Use weather-resistant, breathable materials like vinyl-coated polyester or acrylic for outdoor proofing setups.
- Regularly monitor climate conditions with thermometer and hygrometer; adjust insulation and ventilation accordingly.
- Implement pest prevention strategies and environmental controls to ensure stable proofing conditions outdoors.
What Are Prep Boxes and Why Are They Useful Outdoors?

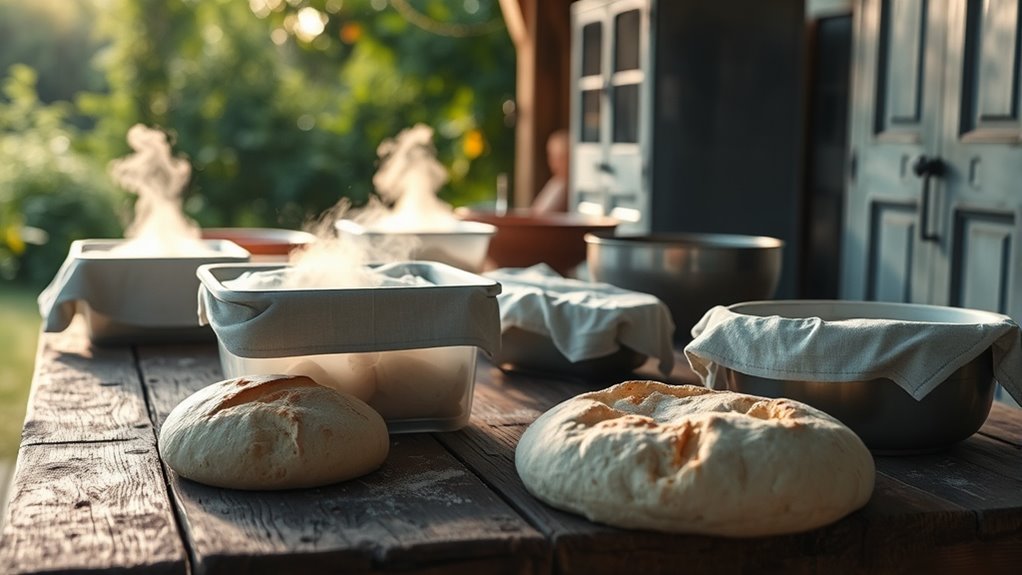
Prep boxes are specialized containers designed to hold and organize dough or baked goods during proofing. When you’re involved in outdoor baking, maintaining proper dough fermentation can be tricky due to temperature fluctuations and exposure to elements. Prep boxes help by providing a controlled environment that keeps dough at ideal conditions, preventing drying out or over-proofing. They’re especially useful when proofing outdoors, where ambient conditions can vary widely. These containers also make it easy to transport dough safely without disturbing its structure. By using prep boxes, you ensure consistent fermentation, which results in better rise and texture. Additionally, using baking equipment like prep boxes can help maintain the correct humidity levels needed for optimal proofing. Overall, they’re an essential tool for anyone serious about outdoor baking, helping you manage proofing more effectively and achieve bakery-quality results.
How Do I Choose the Right Proofing Environment?
Choosing the right proofing environment depends on maintaining consistent temperature and humidity levels. If it’s too warm or too dry, your dough might over-proof; too cold or humid, and it could under-proof. Monitoring and adjusting these conditions guarantees your bread proofs perfectly every time. Incorporating sustainable packaging and eco-friendly practices can further enhance the overall quality and appeal of your baked goods.
Temperature Control Importance
Maintaining the right temperature during proofing is essential because it directly affects how your dough ferments and develops. Proper temperature control ensures consistent results, especially when using bakery equipment for outdoor baking. To choose the ideal proofing environment, consider these factors: 1. Temperature range: Aim for 75–80°F (24–27°C) for *preferable* fermentation. 2. Insulation: Use proofing boxes or coverings to maintain stable heat. 3. Placement: Keep your setup away from drafts, direct sunlight, or cold spots that can disrupt temperature stability. Additionally, understanding the best proofing environments can help you optimize your baking process.
Humidity Level Management
Humidity levels play a crucial role in creating the ideal proofing environment, as they influence how your dough ferments and develops its texture. Proper humidity control guarantees the dough doesn’t dry out or become overly moist, which can hinder rising or create a crust. To manage moisture effectively, use a proofing box with adjustable humidity settings or add water trays to increase moisture. If the environment is too dry, cover the dough with a damp cloth or plastic wrap to maintain proper humidity levels. Conversely, if it’s too humid, ventilate the space or reduce moisture sources. Consistent moisture management helps produce consistent, well-risen bread with a desirable crust. Monitoring humidity levels regularly is essential for optimal proofing conditions and successful baking results, especially since air quality can impact overall indoor environment and humidity effectiveness.
What Materials Are Best for Outdoor Proofing?
When proofing outdoors, choosing the right materials is essential to protect your dough from the elements. Weather-resistant fabrics keep moisture out, while breathable materials help prevent condensation and mold. Understanding these options guarantees your proofing process stays consistent, no matter the weather. Additionally, selecting appropriate communication methods can help couples navigate challenges and maintain a strong connection during stressful outdoor proofing sessions.
Weather-Resistant Fabrics
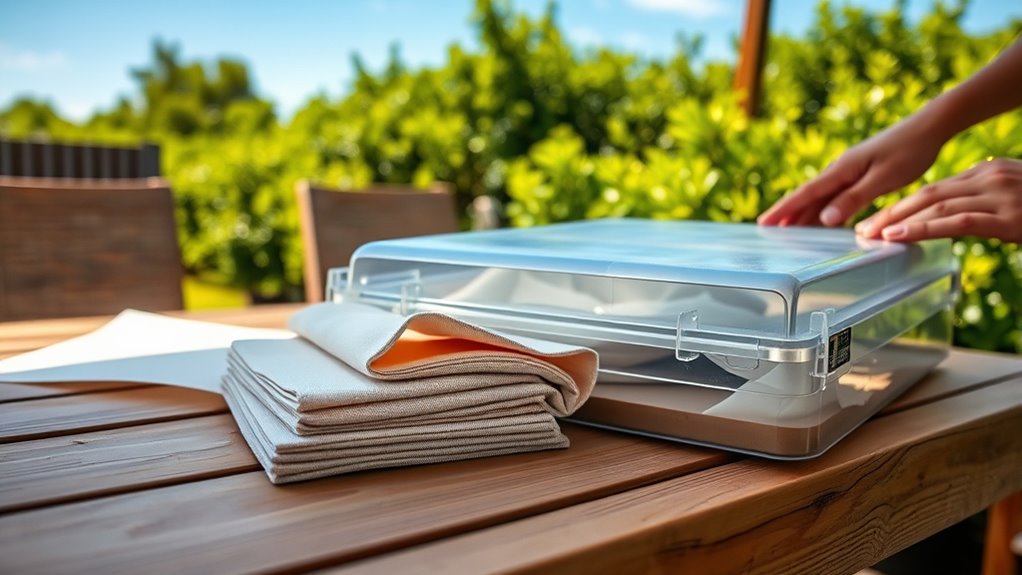
Choosing the right fabrics is essential for outdoor proofing because not all materials withstand the elements equally. When selecting weather-resistant fabrics for outdoor storage, focus on durability and water resistance. These fabrics prevent moisture from damaging stored items and prolong the lifespan of your proofing solutions. Consider these top options:
- Vinyl-coated polyester – lightweight, highly waterproof, and easy to clean.
- Solution-dyed acrylic – resistant to fading, mold, and UV rays.
- Polyurethane-coated fabrics – flexible, highly waterproof, ideal for rugged outdoor conditions.
– Using waterproof materials can significantly enhance the effectiveness of your outdoor proofing and protect your contents from moisture damage. These weatherproof fabrics are your best bet for maintaining the integrity of outdoor storage. They shield contents from rain and humidity, ensuring your prep boxes stay dry and protected regardless of weather conditions.
Breathable Materials
To effectively outdoor proof your storage solutions, selecting breathable materials is vital because they allow moisture vapor to escape while preventing water from seeping in. Breathable fabrics, such as certain treated canvas or specialized outdoor textiles, promote outdoor ventilation, reducing condensation inside your prep boxes. These materials help keep contents dry and prevent mold or mildew buildup, especially in fluctuating weather conditions. When choosing fabrics, look for options designed for outdoor use that balance water resistance with breathability. Proper outdoor ventilation is essential, so avoid non-permeable materials that trap moisture. Additionally, incorporating natural ventilation can significantly enhance moisture management within your storage solutions. By prioritizing breathable fabrics, you ensure your storage stays dry, well-ventilated, and protected against the elements, making your outdoor proofing efforts more effective and long-lasting.
How Long Should I Proof My Dough Outside?
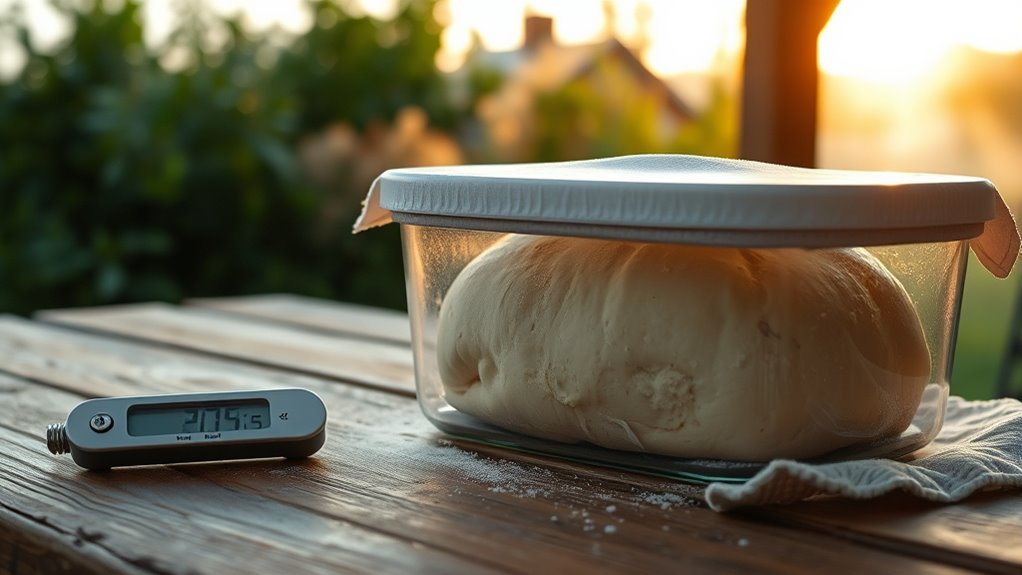
Wondering how long to proof your dough outdoors? The ideal proofing time depends on factors like temperature, humidity, and your dough’s needs. Generally, you should allow:
- 30 to 60 minutes for a quick proof, especially if you’re using baking techniques like cold fermentation or ingredient substitutions that speed up fermentation.
- 1 to 2 hours for a standard proof, ensuring proper gluten development and flavor.
- Longer, up to 3 hours, if you’re aiming for a slow rise that enhances texture and taste.
Keep in mind that outdoor conditions vary, so monitor your dough’s surface for signs of readiness—puffed and slightly domed. Proper application techniques and adjusting proofing times accordingly will yield the best results.
Tips for Maintaining Temperature and Humidity Outdoors
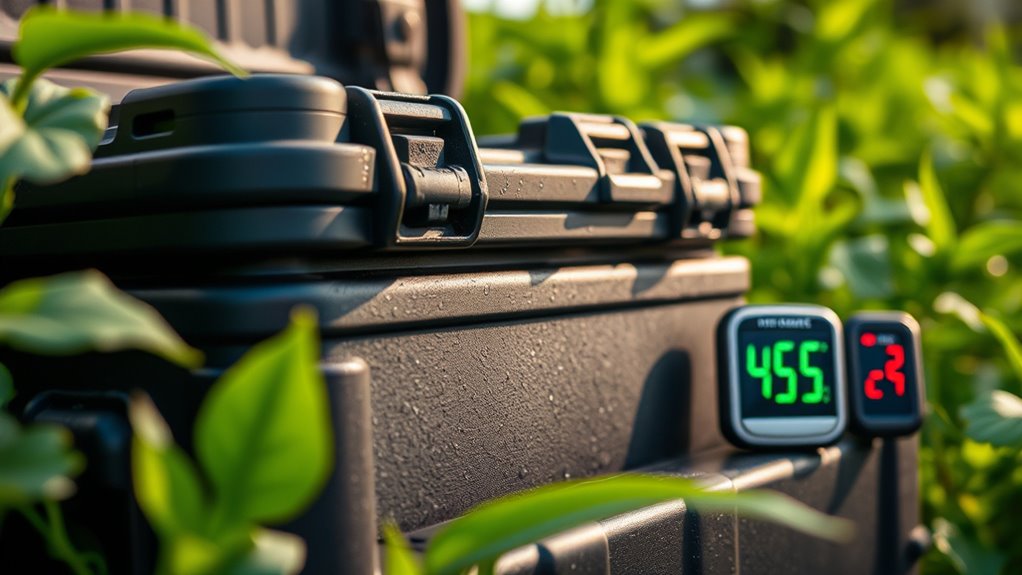
Maintaining consistent temperature and humidity levels during outdoor proofing can be challenging, but it’s key to achieving the best results. Use insulation techniques like foam boards or blankets to shield your prep box from temperature swings and drafts. Position your setup in a shaded area to avoid direct outdoor lighting, which can cause temperature fluctuations. Consider using a portable heater or a damp cloth inside the box to regulate humidity, ensuring your dough proof stays ideal. Covering your proof box with a breathable cloth can also help retain moisture while allowing airflow. Regularly monitor the environment with a thermometer and hygrometer, making adjustments as needed. Being aware of projector technology and its impact on image quality can help you better understand how to optimize your setup for outdoor conditions. These simple insulation techniques and awareness of outdoor lighting help create a stable microclimate for perfect proofing outdoors.
Common Troubleshooting When Using Prep Boxes Outdoors
Even with careful setup, troubleshooting common issues when using prep boxes outdoors is essential for successful proofing. You may encounter problems like inconsistent temperature, humidity fluctuations, or pest infiltration. To address these:
Regularly check and adjust outdoor proofing setups to prevent temperature, humidity, and pest issues.
- Check for proper seasonal adjustments to your setup, ensuring insulation and ventilation suit current weather conditions.
- Inspect seals and mesh screens regularly for pest prevention, replacing damaged parts promptly.
- Monitor temperature and humidity levels daily, adjusting your environment as needed with supplemental heating, cooling, or humidifiers.
These steps help maintain ideal conditions, prevent pests, and ensure your proofing process stays on track. Staying vigilant and making quick adjustments can save you from bigger issues down the line, resulting in better proofing results outdoors.
Frequently Asked Questions
Can Prep Boxes Withstand Extreme Weather Conditions Outdoors?
Prep boxes can withstand extreme weather conditions outdoors if made from weatherproof materials like high-density plastics or treated metals. Their container durability ensures they resist rain, snow, and UV rays, protecting your supplies effectively. Look for boxes with tight seals and reinforced construction to maximize durability. Properly choosing weatherproof prep boxes guarantees your gear stays safe and dry, no matter how harsh the outdoor environment gets.
Are There Eco-Friendly Options for Outdoor Proofing Supplies?
Yes, you can choose eco-friendly outdoor proofing supplies that make a difference. Think of sustainable materials like biodegradable options, which break down naturally without harming the environment. These options act like gentle guardians, protecting your prep boxes without leaving a lasting footprint. By selecting biodegradable options, you embrace a greener approach, ensuring your outdoor preparations stay effective while respecting nature’s delicate balance.
How Do I Prevent Pests From Contaminating My Proofing Environment?
To prevent pests from contaminating your proofing environment, you should implement effective pest control measures, like sealing all entry points and using natural repellents. Maintain strict sanitation practices by cleaning surfaces regularly and disposing of trash promptly. Keep your proofing area dry, organized, and free of food debris. These steps create an inhospitable environment for pests, helping guarantee your proofing process stays clean and contamination-free.
Is Sunlight Exposure Harmful to Dough During Outdoor Proofing?
Sunlight exposure can be harmful to dough during outdoor proofing because it can cause uneven warming and affect dough temperature, leading to inconsistent fermentation. Studies show that even a slight increase in temperature can speed up yeast activity, risking over-proofing. Direct sunlight accelerates these effects, so it’s best to proof in a shaded area or under a cover. Protect your dough to guarantee ideal fermentation and consistent results.
What Are the Safety Considerations When Using Electrical Proofing Equipment Outside?
When using electrical proofing equipment outside, prioritize electrical safety by ensuring all outdoor wiring is weatherproof and properly grounded. Use GFCI outlets to prevent shocks, and inspect cords for damage before plugging in. Keep equipment away from water and moisture, and avoid overloading circuits. Always follow manufacturer instructions and local electrical codes to minimize risks, ensuring a safe, effective outdoor proofing environment.
Conclusion
Using prep boxes outdoors can streamline your baking, especially since studies show that proper proofing boosts bread volume by up to 50%. By choosing the right environment and materials, you guarantee consistent results. Remember, maintaining the right temperature and humidity is key. With a little practice, outdoor proofing becomes second nature. So, embrace the fresh air—your perfect loaf is just a box away!