
To avoid damaging your pies when turning them, use the right utensils like flexible spatulas and support your pie properly, lifting it slowly and steadily. Don’t rush the process—wait for the crust to firm up and cool slightly—before attempting to turn. Pay attention to oven temperature and rack placement, and avoid overloading or slipping. If you want to master these techniques and bust common myths, there’s more to uncover to ensure perfect results every time.
Key Takeaways
- Use flexible, thin-edged tools and proper support to prevent crust cracks when turning pies.
- Allow pies to cool slightly and firm up before turning to avoid damage and maintain shape.
- Adjust oven rack position and temperature carefully to ensure even baking and prevent over-browning or undercooking.
- Support the pie fully with wide spatulas and avoid overloading to prevent slipping and structural issues.
- Practice with smaller pies, observe visual cues, and debunk common myths to achieve consistent, professional results.
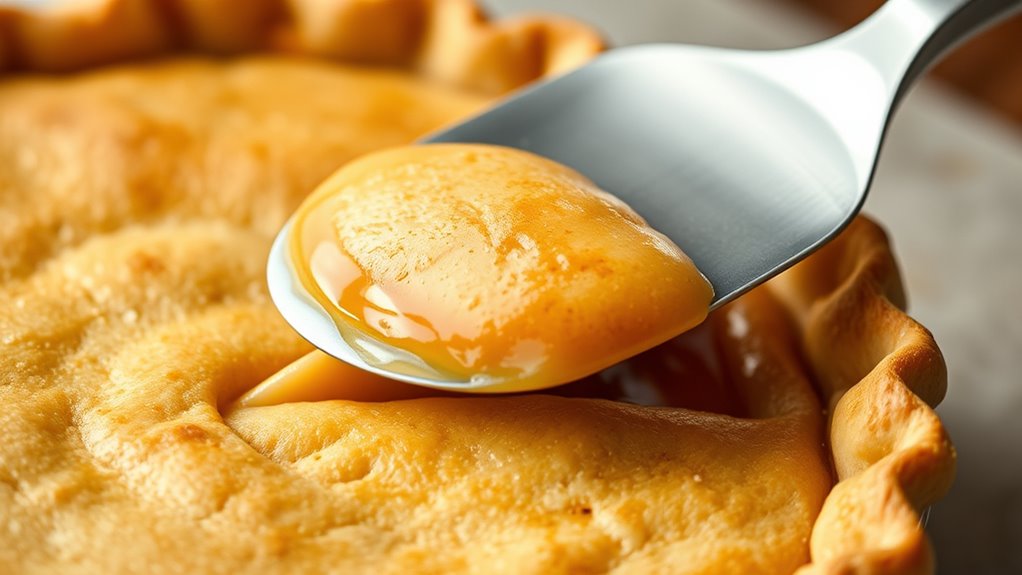
Using the Wrong Utensils for Turning Pies
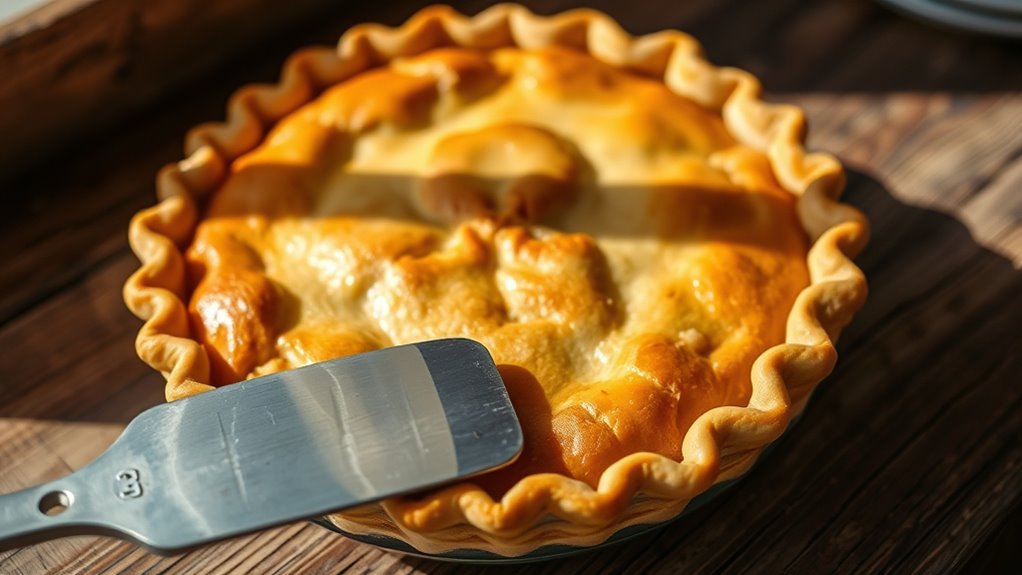
Using the wrong utensils to turn pies can easily cause damage or mess. If your utensil isn’t flexible enough, it can tear the pie crust, especially if it has high elasticity. Metal spatulas or sharp tools might puncture or crack the crust, ruining its appearance and integrity. Opt for tools with a thin, flexible edge, like a silicone spatula or a broad, flat spatula, which glide smoothly under the pie without risking damage. Proper oven temperature control helps keep the crust firm enough to handle, but the right utensil ensures you don’t compromise its structure during turning. Avoid using rigid or pointed tools that can break the crust or disturb the filling. The key is selecting utensils that respect the pie’s delicate elasticity while maintaining control. Additionally, choosing secure and reliable payment processing methods can ensure smooth transactions if you’re selling pies, preventing delays or issues in getting paid.
Not Allowing the Pie to Cool Slightly Before Handling
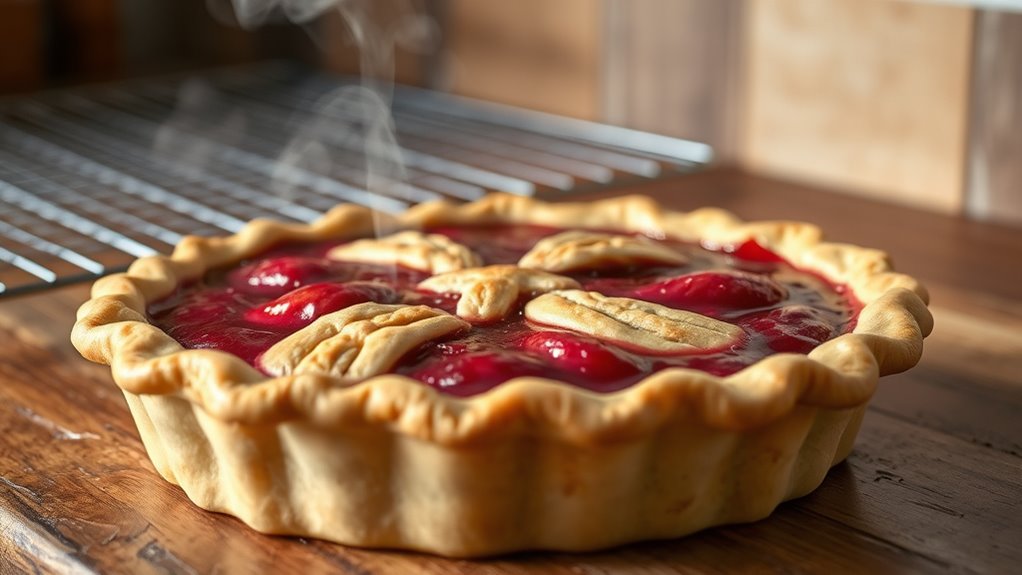
Allowing your pie to cool slightly before handling helps prevent burns and protects your skin. It also helps the pie keep its shape, making it easier to turn without breaking. Rushing this step can lead to messy results and unnecessary accidents. Additionally, proper cooling can preserve your baked goods’ quality and ensure a better presentation.
Prevents Burning Skin
To prevent burning your skin, it’s important to let the pie cool slightly before handling it. Hot pie crust can cause serious burns if you try to move or cut it too soon. Giving it a few minutes to cool not only protects your skin but also makes handling safer. This pause also helps the pie set better, preventing it from collapsing or losing its shape. When you wait, the flavors in the filling and crust develop fully, enhancing the overall flavor. Plus, a slightly cooled pie is easier to cut cleanly, avoiding messy spills. Remember, rushing to handle a freshly baked pie increases the risk of burns and messes. Proper cooling procedures are essential for safe and successful pie handling, ensuring both your safety and a better-tasting, visually appealing pie.
Maintains Pie Shape
Handling a pie too soon after baking can cause it to lose its shape and presentation. When you try to move or cut the pie before it cools slightly, the hot filling remains too soft, compromising its filling consistency. This can lead to a runny or uneven texture, which distorts the overall look. Additionally, the pie crust is fragile when hot, making it prone to breaking or sagging if handled prematurely. Allowing the pie to rest for a few minutes helps the filling set and the crust firm up, ensuring it maintains its intended shape. Patience at this stage is key to achieving a visually appealing, well-structured pie that holds its form when sliced and served. Recognizing the importance of proper cooling aligns with best practices for food presentation and enhances overall enjoyment.
Eases Handling Process
Handling a hot pie immediately after it comes out of the oven might seem quick and convenient, but doing so can ruin its appearance and texture. When the pie is too hot, the pie crust remains fragile, and the filling isn’t set properly, making turning difficult. Allowing the pie to cool slightly helps maintain its shape and prevents messes. Detecting passive voice can also help clarify instructions and make your writing more direct.
To ease the handling process:
- Wait until the filling firms up, ensuring consistent filling texture.
- Let the pie cool just enough so the crust is sturdy but not cold.
- Use a wide spatula or pie lifter to support the crust during turning.
This simple step preserves the pie’s shape, enhances the pie crust’s integrity, and keeps the filling from spilling, making your pie turning smooth and successful.
Rushing the Turning Process at High Temperatures
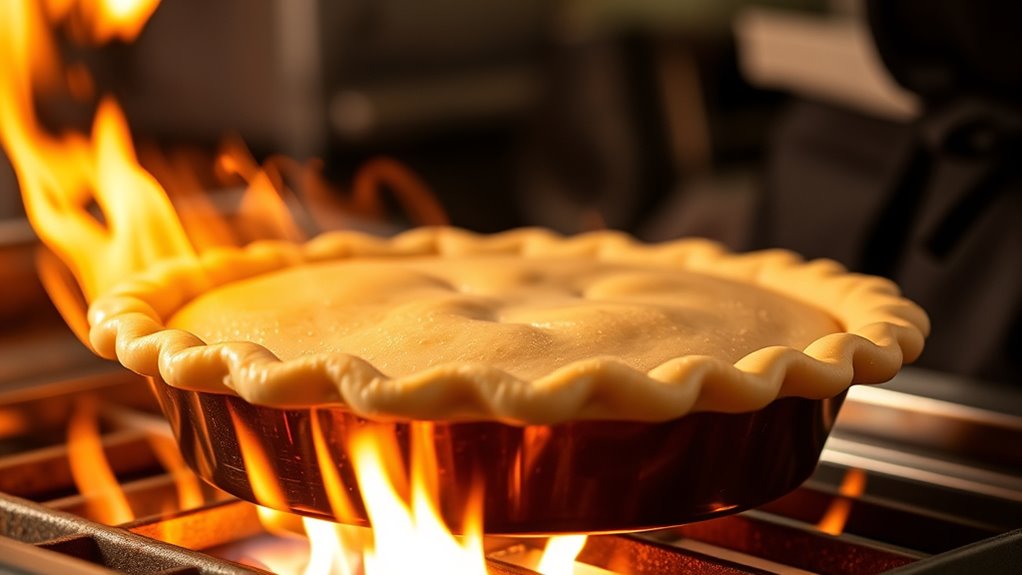
Turning pies too quickly at high temperatures can cause the crust to crack or collapse. Rushing the process disrupts the timing consistency needed for a smooth turn, risking damage to the delicate crust. To avoid this, maintain steady temperature control and wait until the pie is ready to turn. If the oven is too hot, the crust will become overly brittle and prone to breaking. Use an oven thermometer to ensure consistent heat, and don’t rush the turning step—wait until the edges are firm enough to support movement. Taking your time and controlling the temperature helps preserve the pie’s shape and prevents mishaps. Remember, patience and precision are key to turning your pie successfully without compromising its structure.
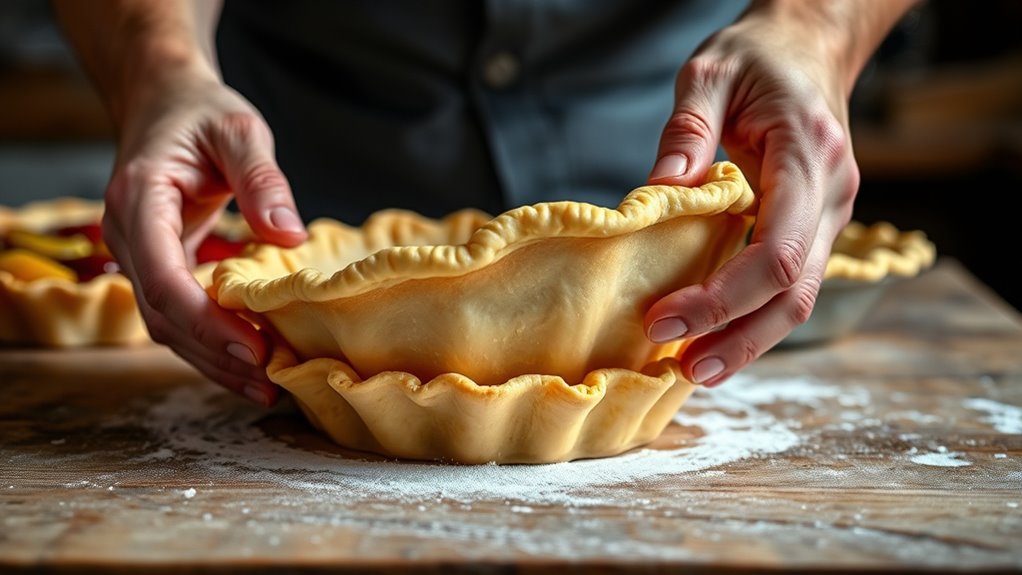
Ignoring Proper Support When Lifting the Pie
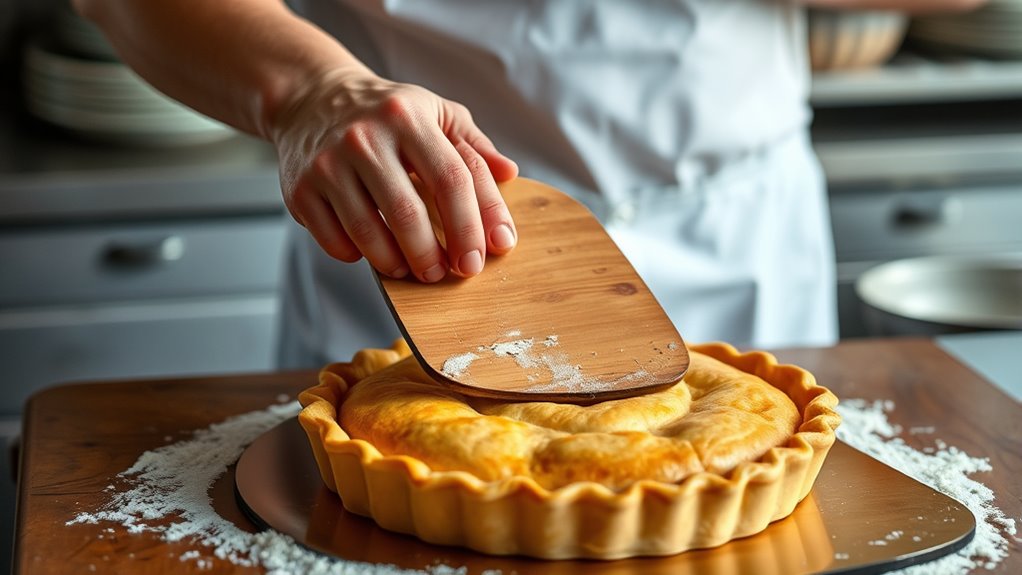
If you don’t support the pie properly when lifting, you risk breaking the crust or causing it to collapse. Using the right support techniques and lifting strategies is essential to keep your pie intact. Always slide a sturdy spatula or large offset spatula underneath the pie to lift it gently. Avoid grabbing the edges directly, which can cause cracks or uneven pressure. Keep your hands steady and distribute the weight evenly, especially if the pie is fragile. Remember to lift slowly and steadily, maintaining balance throughout. Proper support techniques help prevent accidents and preserve the pie’s appearance.
Support the pie carefully with a wide spatula to prevent cracks and collapse.
- Use a wide spatula or pie lifter for stability
- Lift from the center, supporting the crust evenly
- Keep movements slow to avoid sudden pressure
Turning the Pie Before the Crust Sets Properly

You might be tempted to turn your pie early, but rushing can cause the crust to fracture or slip. Waiting until the crust firms up guarantees it stays intact and turns smoothly. Proper timing helps prevent accidents and keeps your pie looking professional. Additionally, understanding the importance of Proper timing in baking ensures a more successful and satisfying result.
Wait for Crust Firmness
Have you ever tried to move a pie too soon and ended up with a soggy or misshapen crust? Patience is key when it comes to turning your pie. You need to wait until the pie crust has firmed up before handling it. If you turn it too early, the delicate pie filling can cause the crust to sag or break. To avoid this, look for signs like a golden color and slight resistance when gently touching the crust. Additionally, understanding the divorce process can help you better manage your expectations and plan your next steps after baking or in life. Remember:
- Let the crust set in the pan for at least a few minutes after baking
- Confirm the pie filling is cooled and slightly firm
- Gently test the crust’s firmness before attempting to turn or move the pie
Waiting ensures a clean, beautiful presentation and prevents mishaps.
Use Proper Timing
Timing is essential when turning your pie; doing it too early can cause the crust to crack, sag, or break apart. Recognize timing cues like a lightly set filling or a firm edge that holds its shape. Wait until the crust shows signs of firmness before attempting to turn. Proper cooling techniques can help you gauge when the pie is ready—let it cool slightly to allow the structure to stabilize. If the filling is still too loose or the crust feels soft, delay turning until it firms up. Rushing this step increases the risk of damage. Patience is key. By paying attention to these timing cues and using effective cooling techniques, you’ll ensure a clean, intact turn without compromising the pie’s appearance or texture. Additionally, understanding how to shift gears smoothly on your bicycle can help maintain control and balance during the turning process.
Prevent Pie Slipping
Waiting until the crust is properly set is essential to prevent the pie from slipping during turning. If you turn the pie too early, the pie crust fragility can cause it to shift or break, risking filling overflow and uneven results. To avoid this, gently check the crust’s firmness before moving the pie. Additionally, understanding the health implications of handling hot or fragile baked goods can ensure safe and effective pie turning. Here are tips to help you prevent slipping:
- Wait for a firm, golden crust that holds shape well.
- Use a flat, wide spatula or pie lifter to support the pie’s base.
- Chill the pie for a few minutes after baking to stabilize the crust and reduce fragility.
Overloading the Pie With Filling, Making It Difficult to Turn
Overloading your pie with too much filling can make turning it a real challenge. When the pie filling is excessive, it becomes heavy and uneven, increasing the risk of cracking or spilling. A thick crust may seem helpful, but if it’s too thin, it won’t support the weight of the filling, making turning even trickier. To avoid this, use a balanced amount of filling—enough to fill the pie without overflowing. Keep in mind that a well-constructed crust helps hold everything together, especially when turning. If the crust is too thin, it’s more likely to break under pressure. Adjust your filling quantity accordingly and ensure your crust has the proper thickness to provide stability during the turning process. Additionally, choosing the right crust thickness can significantly improve your pie’s stability and ease of turning.
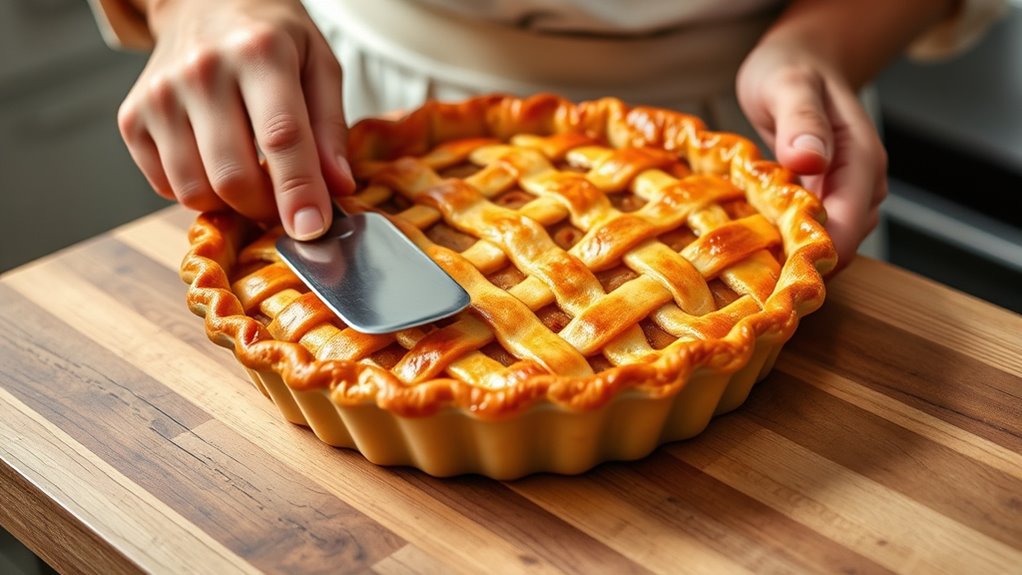
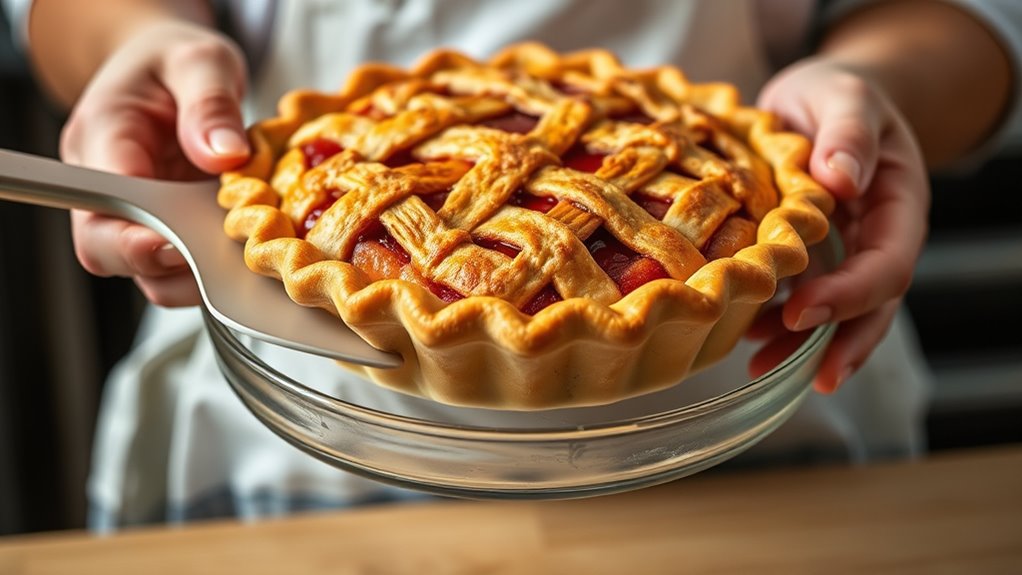
Forgetting to Use a Flipper or Spatula for Assistance
Using a flipper or spatula makes turning your pie easier and safer. Without these tools, you risk breaking the crust or causing the filling to spill. Proper tools help you succeed and keep your pie intact.
Proper Tools Improve Results
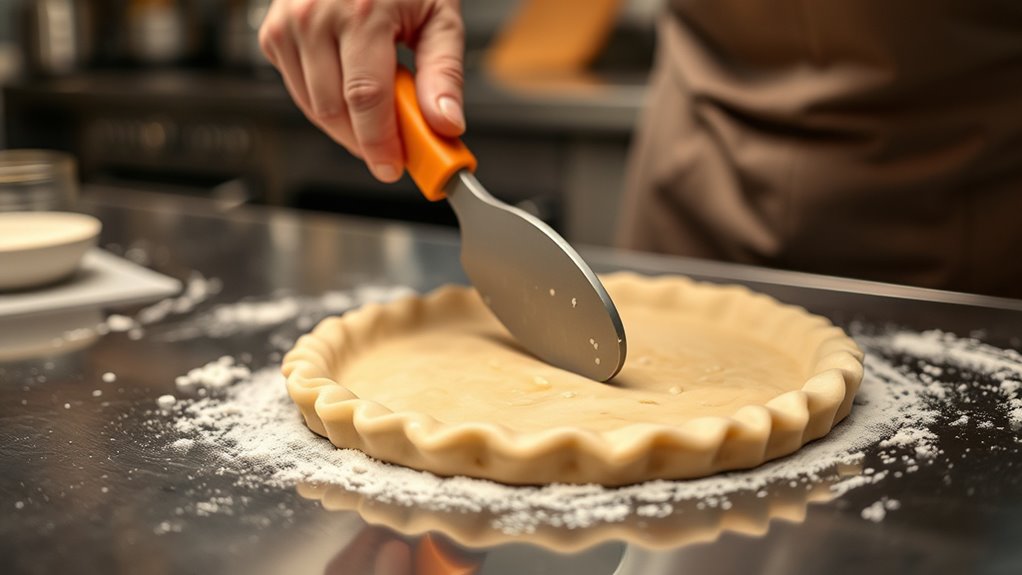
Having the right tools makes turning pies much easier and helps prevent mistakes. Using a flipper or spatula guarantees you lift and support the pie crust without tearing it, maintaining the overall shape. Proper tools help you check the filling consistency and prevent over- or under-cooking. They also reduce the risk of burning the crust or damaging delicate layers.
- Use a wide spatula to gently lift fragile pie crusts without cracking.
- Rely on a spatula to slide under the pie for a smooth turn.
- Keep a heat-resistant spatula nearby to adjust or support the filling if needed.
With these tools, you’ll improve your control, protect the pie’s appearance, and achieve a perfectly turned pie every time.
Prevent Pies From Falling
To prevent pies from falling during the turning process, always remember to use a flipper or spatula for support. This tool helps lift and transfer the pie carefully, maintaining its pie presentation without risking collapse. Without proper support, the crust decoration can easily break or shift, ruining the visual appeal. Using a spatula ensures you keep the crust intact and showcase a clean, professional look. When turning, slide the flipper under the pie’s edge and lift smoothly. Support from a spatula reduces the chance of uneven movement, keeping your pie’s structure stable. Mastering this technique guarantees your crust decoration stays flawless and your pie remains perfectly presented, avoiding embarrassing mishaps and ensuring a beautiful, well-supported finish.
Turning the Pie on an Uneven or Slippery Surface
Turning a pie on an uneven or slippery surface requires extra caution to prevent accidents. An uneven surface or a slippery countertop can cause the pie to slide or tip over, risking burns or messes. To stay safe and maintain control, consider these tips:
Handle pies carefully on uneven or slippery surfaces to prevent slips and accidents.
- Use a sturdy, flat surface to minimize slipping
- Place a damp towel or non-slip mat under the pie for added stability
- Work slowly and steadily, avoiding sudden movements
Applying Excessive Force During the Turn
Applying excessive force when turning a pie can lead to cracks, breakage, or uneven shifting. This often happens when you rush or push too hard, disrupting your pie crust techniques. If your filling isn’t set properly, it can cause the crust to crack under pressure. To prevent this, handle your pie gently and use smooth, confident movements.
| Tip | Explanation |
|---|---|
| Use steady pressure | Avoid forcing the pie; gentle turns work best |
| Warm your tools | Easier turning, less stress on crust |
| Check filling consistency | Properly set filling reduces cracking |
Not Practicing With Smaller or Test Pies First
Practicing with smaller or test pies before tackling larger, more complex ones can save you from costly mistakes. It helps you refine your technique for turning pies without damaging the crust or disrupting the pie’s flavor. Small tests allow you to gauge how different crust thicknesses respond and develop confidence before working on the big one.
Consider these tips:
- Use mini pies to perfect your turning technique without risking the entire pie.
- Experiment with crust thickness to see how it affects stability and ease of turning.
- Adjust pie flavor balance by practicing with different fillings in test pies for better flavor control.
This practice minimizes errors, ensuring your final pie looks professional and tastes just right.
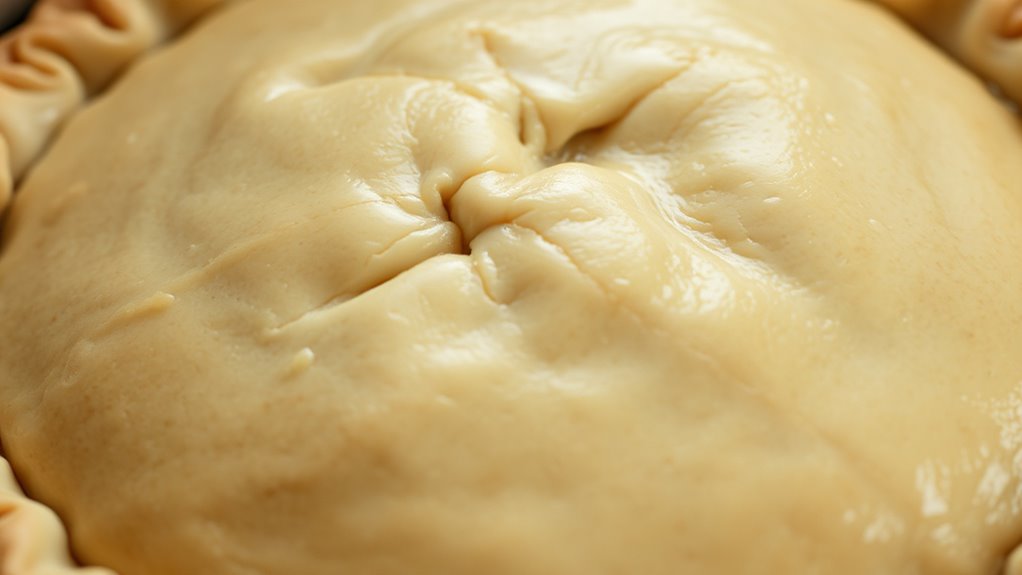
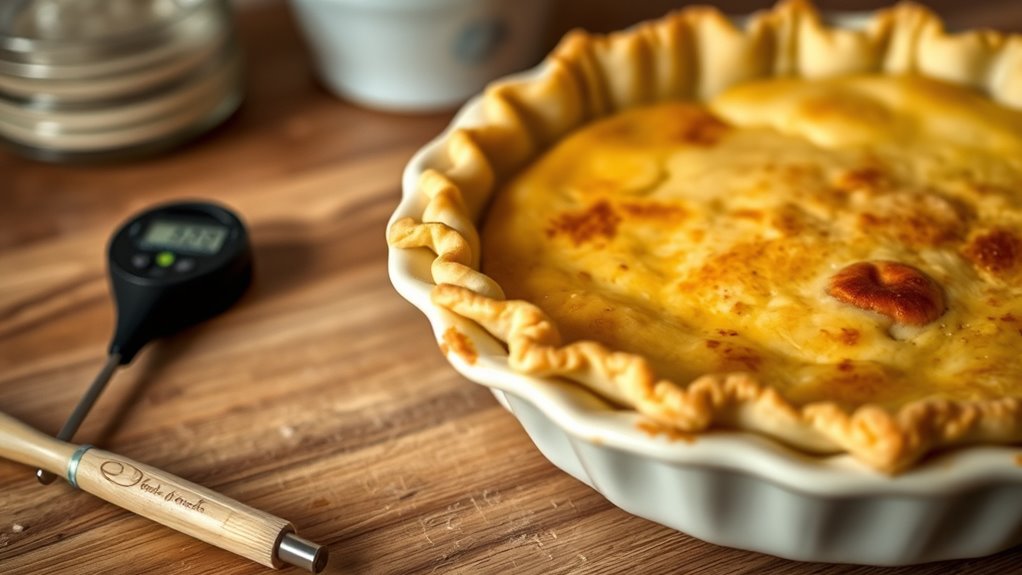
Relying Solely on Color as an Indicator of Readiness
While color can provide a visual clue that your pie is nearing doneness, relying solely on it can be misleading. Color cues are useful, but they’re just one part of the puzzle. Pies can develop a golden or bubbly appearance without being fully cooked inside, especially with thick fillings or dense crusts. Visual indicators like bubbling filling, steam escaping through vents, or a firm crust are more reliable signals of readiness. Don’t ignore the texture or internal temperature, which give you a clearer picture of doneness. Relying only on color might cause you to overbake or underbake, affecting taste and texture. Always combine color cues with other visual indicators and, if possible, use a food thermometer to ensure your pie is perfectly cooked.
Failing to Adjust Oven Rack Position for Better Control
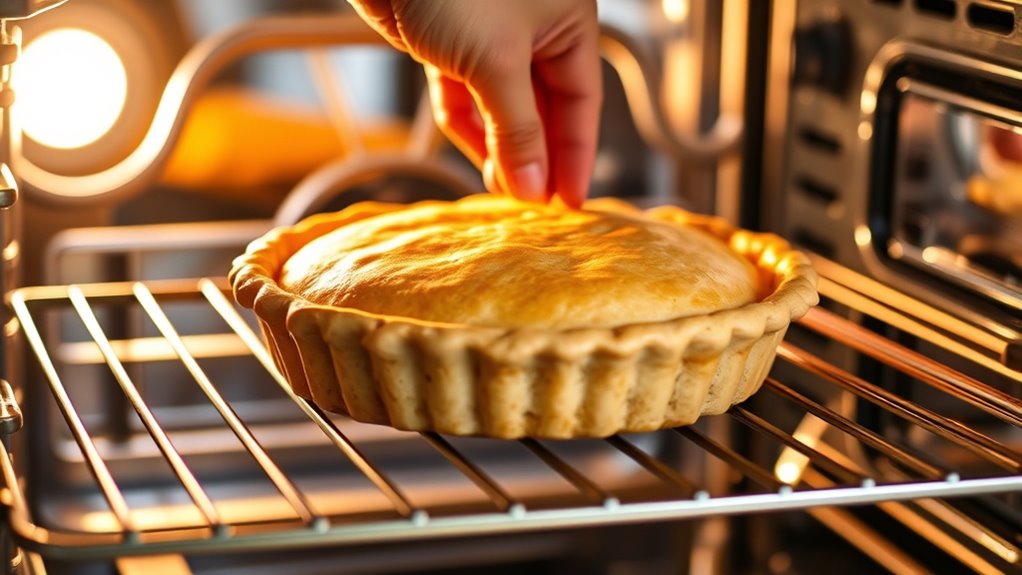
Failing to adjust the oven rack position can lead to uneven baking and less control over your pie’s final outcome. Proper oven rack positioning is essential for consistent heat distribution, which affects how your pie cooks. If your top is browning too quickly, move the rack lower; if the bottom isn’t baking enough, raise it higher. Remember, temperature adjustment alone isn’t enough—where you place your pie matters. To improve your baking results, consider these tips:
- Place pies on the middle rack for even heat exposure
- Use the lower rack for a crisp crust
- Position pies higher for browning the top without overcooking the base
Adjusting oven rack position helps you control heat flow, leading to perfectly baked pies every time.
Frequently Asked Questions
How Can I Prevent My Pie From Cracking During Turning?
To prevent your pie from cracking during turning, focus on proper pie crust techniques and timing. Make sure you let the pie cool slightly before turning to reduce stress on the crust. Use gentle, confident movements and avoid rushing the process. Properly vent the pie to allow steam to escape, and don’t turn too soon—wait until the filling is set. These steps help keep your crust intact and crack-free.
What Is the Ideal Temperature for Turning a Hot Pie Safely?
Think of turning your hot pie like the delicate dance of a tightrope walker. You should wait until it cools slightly to about 140°F (60°C) to prevent burns. Use cooling techniques like a heat-resistant spatula or tongs, and always prioritize oven safety. This way, you protect yourself and your masterpiece, ensuring a smooth, safe progression that preserves your pie’s perfect crust and filling.
Which Materials Are Best for Pie-Turning Utensils?
You should use stainless steel or silicone utensils for pie turning, as they offer durability and gentle contact with crusts. These materials prevent sticking and damage, helping you achieve better pie presentation tips. Incorporate pie crust techniques like using a spatula or tongs for delicate handling. This way, you avoid cracking or burning the crust, ensuring your pie looks professional and is perfectly served without mishaps.
How Do I Stabilize a Wobbling Pie Before Turning?
Your wobbling pie is like a rollercoaster gone wild—time to tame it! To stabilize, gently slide a flat spatula or your turning utensil under the crust, supporting it as you lift. Before turning, make sure your pie crust techniques are solid, and check that the oven temperature isn’t too high, causing uneven baking. This way, your pie remains steady, and you avoid disastrous spills or burns!
Can Using a Different Pan Size Affect Turning Success?
Yes, using a different pan size can affect your turning success. If your pan is too large, the pie may be more fragile and harder to handle, increasing the risk of wobbling or breaking. Conversely, a smaller pan provides better support and stability, making it easier to turn the pie smoothly. Always choose a pan that matches the pie’s size for ideal control and a successful turning process.
Conclusion
Now that you’re armed with these vital tips, imagine the perfect pie emerging from your oven, its surface glossy and crust golden. But one mistake could threaten that beautiful finish — a slip that ruins your masterpiece. Stay attentive, use the right techniques, and trust your instincts. With each turn, you’re closer to mastering the art. Will your next pie be flawless, or will a simple oversight turn the moment into a baking regret? The choice is yours.