Preheat your wood-fired oven for about 30 to 45 minutes until it reaches a stable temperature between 750°F and 850°F. Start with dry, seasoned wood and build a steady fire to gradually increase the heat. Once the desired temperature is nearly achieved, fine-tune by adjusting the fire and removing excess embers. Proper preheating guarantees even heat and consistent results, and you’ll discover more tips to perfect your technique as you continue.
Key Takeaways
- Preheat wood-fired ovens for about 30 to 45 minutes to reach optimal baking temperatures.
- Aim for internal temperatures of 750°F to 850°F for bread and pizza.
- Build a steady fire with seasoned wood, gradually increasing heat for even preheating.
- Control heat by adjusting wood and fire burn rate, ensuring stable, consistent temperature.
- Remove excess embers once the desired temperature is achieved to maintain even heat distribution.
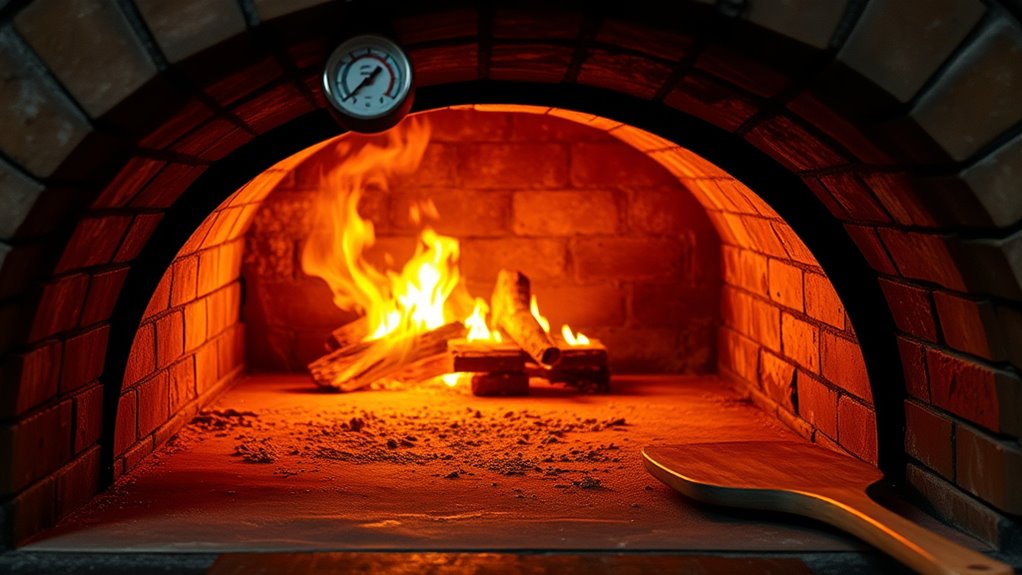
Preheating your wood-fired oven is an essential step to guarantee your cooking or baking turns out perfectly. It’s not just about reaching any temperature; it’s about achieving the right heat for your specific dish. When you preheat properly, you optimize fuel efficiency, ensuring you burn just enough wood to reach your desired temperature without waste. This process also plays a pivotal role in temperature control, allowing you to manage heat distribution for consistent results. Skipping or rushing through preheating can lead to uneven cooking, which affects both taste and texture.
Proper preheating ensures even cooking, optimal fuel use, and consistent heat for perfect baking results.
Typically, you want to start by adding dry, seasoned wood into the oven’s firebox. As the fire builds, the oven’s internal temperature rises gradually. For most baking needs, preheating for about 30 to 45 minutes suffices. This window gives the oven enough time to reach a stable, high temperature—usually between 600°F and 900°F, depending on what you’re cooking. Keep in mind that the larger and thicker the oven walls, the longer it takes to heat evenly. If you’re baking bread or pizza, aiming for a temperature of around 750°F to 850°F often produces ideal results.
Controlling the temperature during preheating is key. You can adjust the amount of wood you add or manipulate how the fire burns to fine-tune heat levels. For example, a gentle, steady fire helps maintain consistent temperature control, while a burst of larger logs can quickly boost the oven’s heat. Once the desired temperature is reached, you should push the remaining embers to the side or remove excess wood to stabilize the fire. This ensures that when you start cooking, the heat remains steady and predictable, avoiding sudden fluctuations that can ruin your dish.
Fuel efficiency benefits greatly from proper preheating. When the oven is heated evenly and to the right temperature, you use less wood overall, saving resources and reducing smoke. Rushing the process or overheating the oven can lead to waste, as you might need to add more wood to compensate for uneven heat or lingering cold spots. Properly preheated ovens also retain heat longer, meaning fewer refuels during cooking and consistent results across multiple dishes.
Frequently Asked Questions
Can I Cook Immediately After Preheating?
You shouldn’t cook immediately after preheating because it can cause instant cooking and uneven heat distribution. Wait until your oven reaches the right temperature and temperature stability is maintained, usually about 30 minutes after preheating. This ensures consistent heat, which is essential for properly cooked dishes. Rushing in can lead to burnt spots or undercooked food, so give your oven a little time to settle before you start cooking.
How Often Should I Clean the Oven During Preheating?
During preheating, you should clean your oven as part of your regular maintenance tips, ideally every few uses. Wipe down ashes and soot buildup to keep airflow ideal and prevent smoke. Incorporate a cleaning schedule that includes removing debris before each use and a thorough cleaning weekly. This ensures your oven stays in top condition, promotes even heating, and enhances your cooking experience.
Is There a Difference in Preheating Time for Different Oven Sizes?
Think of your oven like a blacksmith’s forge—size influences how long it takes to reach the right heat. Larger ovens, with thicker firebrick and better insulation, need more time to preheat evenly. Smaller ones heat up quicker, thanks to less mass and insulation. Always factor in your oven’s specific insulation and firebrick quality, as these greatly impact preheating duration, ensuring your oven’s internal temperature hits the mark for perfect baking.
Can I Preheat With Certain Types of Wood?
You can use certain types of wood for preheating, but choose hardwoods like oak or hickory for better preheating efficiency. Softwoods like pine may ignite quickly but produce more creosote and less heat, which isn’t ideal. Using the right wood guarantees a hotter, cleaner burn, helping your oven reach the best temperature faster. Always avoid treated or painted wood, as it can release harmful fumes during preheating.
What Safety Precautions Should I Take During Preheating?
Did you know that kitchen fires cause over 11,000 injuries annually? During preheating, you should prioritize fire safety by keeping a fire extinguisher nearby and never leaving the oven unattended. Make certain proper ventilation to prevent smoke buildup and harmful fumes. Use heat-resistant gloves and tools, and keep flammable materials away from the oven. These precautions protect you and create a safe environment for your cooking process.
Conclusion
Now that you know how to preheat your wood-fired oven properly, imagine the warm, inviting aroma filling your home as you prepare that perfect pizza. Think about Sarah, who spent hours perfecting her crust, only to have it lift perfectly from the oven’s surface because she preheated it just right. With patience and attention, you’ll craft unforgettable meals that bring family and friends together, making every baking session a warm, memorable experience.