
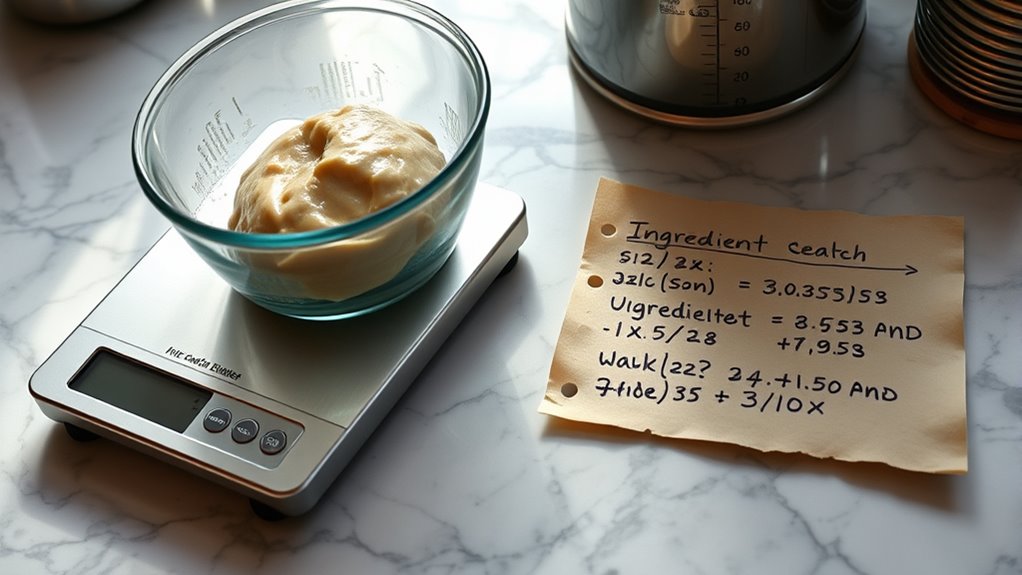
To troubleshoot same-day dough successfully, you need to focus on precise calculations, like adjusting flour-to-water ratios and monitoring yeast activation times. Proper hydration, fermentation duration, and proofing temperature are essential for consistent results. Measuring ingredients accurately and scaling recipes correctly help prevent issues. If you keep these calculations in check and make small adjustments, your dough will turn out perfect—keep going, and you’ll discover even more tips for quick, reliable baking.
Key Takeaways
- Always measure flour and water ratios accurately to ensure proper dough hydration and gluten development.
- Adjust hydration based on flour protein content; higher-protein flours need more water.
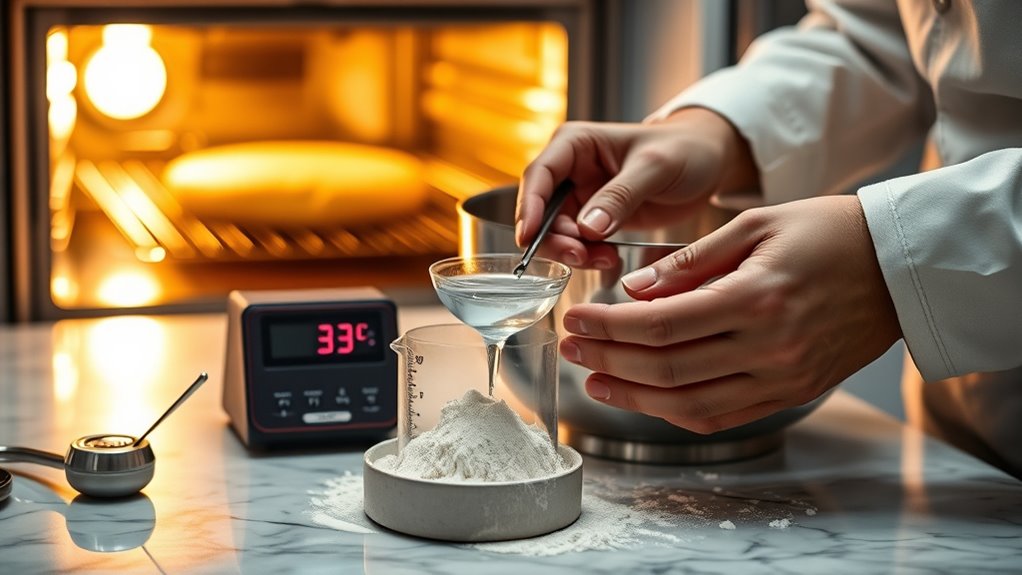
- Monitor water temperature carefully (around 100–110°F) for optimal yeast activation without killing it.
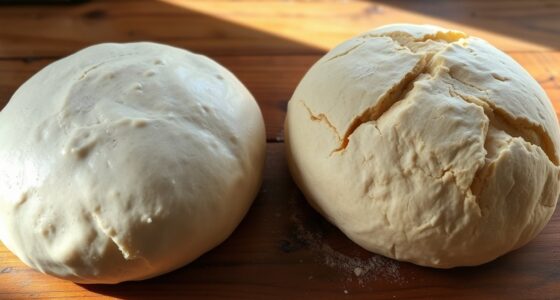
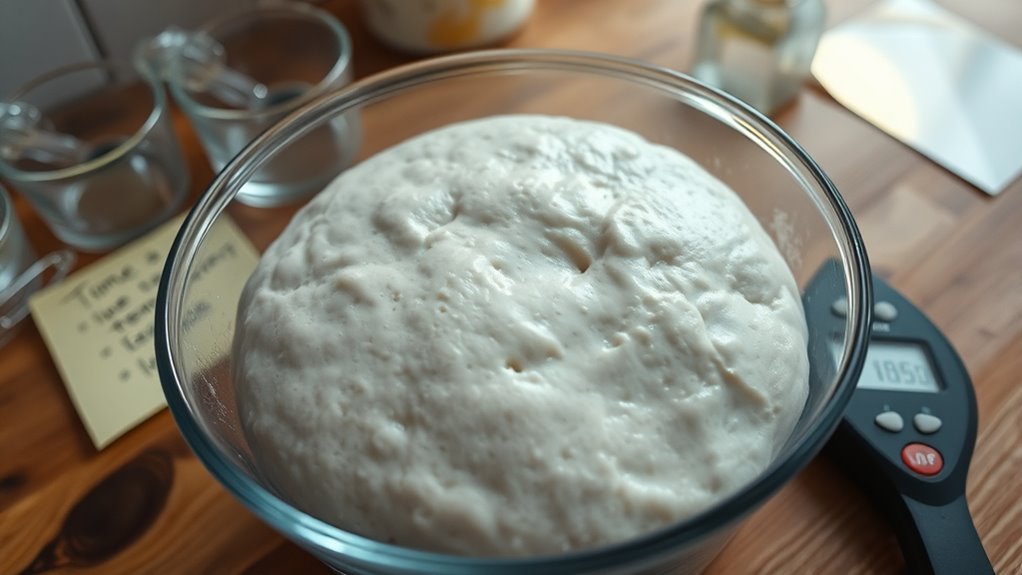
- Check dough for proper rising signs—doubling in size, puffiness, and elasticity—before baking.
- Record ingredient quantities and fermentation times precisely to maintain consistent results across batches.
Understanding Flour to Water Ratios
Getting the flour-to-water ratio right is essential for successful same-day dough. When you get this balance right, you’ll promote proper gluten development, which gives your dough strength and elasticity. Too much water can make the dough sticky and hard to handle, while too little can result in a dense, crumbly texture. You’ll want a hydration level that allows for ideal gluten formation without making the dough overly slack. Your kneading techniques play a vital role here—consistent kneading helps develop gluten strands evenly, ensuring a smooth, cohesive dough. Pay attention to how the dough feels; it should be slightly tacky but not sticky. Adjust your flour or water slightly if needed, and remember that a good ratio makes all the difference in achieving a perfect, well-structured loaf. Understanding gluten formation is key to mastering dough consistency and texture.
Calculating Yeast Activation Time
Calculating the correct yeast activation time is essential for ensuring your dough rises properly. Proper yeast activity depends heavily on temperature control, which influences how quickly the yeast becomes active. Too cold, and yeast activation slows; too warm, and it can over-activate or die. To get it right, monitor your water temperature closely. Incorporating automation’s role in business intelligence can help you track and adjust temperatures more precisely.
| Water Temperature | Activation Time |
|---|---|
| 100°F (38°C) | 5-10 minutes |
| 110°F (43°C) | 3-5 minutes |
| 115°F (46°C) | 1-3 minutes |
| 120°F (49°C) | Too hot, kill yeast |
Adjust your timing based on these temperatures, and you’ll optimize yeast activity for a perfect same-day rise.
Determining Proper Fermentation Durations
You need to pay attention to your dough’s environment, as ambient temperature greatly influences fermentation time. Look for clear rise indicators, like a noticeable puffiness or expansion, to gauge when your dough is ready. Keep these fermentation tips in mind to guarantee your dough develops properly without over- or under-proofing. Additionally, monitoring the temperature of your environment can help you better predict fermentation durations and achieve consistent results.
Ambient Temperature Effects
Ambient temperature plays a crucial role in determining how long dough needs to ferment on the same day. When the environment is warmer, fermentation speeds up, so you’ll need less time to achieve the desired rise. Conversely, cooler temperatures slow down yeast activity, requiring longer fermentation periods. Keep in mind that oven temperature can influence your workspace’s ambient conditions, especially if you proof near heat sources or drafts. Ingredient freshness also affects fermentation; fresh ingredients may ferment more predictably, but older ingredients can alter yeast activity regardless of temperature. Adjust your fermentation time based on these factors, monitoring your dough closely. If your environment is consistently warm, shorten the fermentation, but if it’s cooler, give the dough extra time to develop properly. Understanding the ambient temperature effects helps ensure consistent results in your bread-making process.
Dough Rise Indicators
How can you tell when your dough has fermented enough? One key indicator is gluten development; well-fermented dough will feel elastic and slightly tacky but not sticky. You should notice a noticeable rise, roughly doubling in size, which shows active fermentation. Use proofing techniques like gentle finger dent tests—press lightly into the dough; if the indentation slowly springs back, it’s ready. Over-proofed dough may become overly airy or collapse, so pay attention to the dough’s texture and volume. Proper fermentation guarantees excellent gluten structure, resulting in better oven spring and crumb. Monitoring these dough rise indicators helps you avoid under- or over-proofing, ensuring consistent results every time without relying solely on time estimates. Additionally, understanding fermentation duration and how it varies depending on ingredients and environment can improve your baking outcomes.
Fermentation Timing Tips
Determining the proper fermentation duration is essential for achieving the best bread texture and flavor. You want to allow enough time for yeast activity to develop the dough’s structure without overproofing. Monitor your dough’s rise, aiming for it to roughly double in size during fermentation. If your yeast activity is vigorous, it may take less time; slower yeast means longer fermentation. Use visual cues, like bubbles forming and dough feeling airy, to gauge readiness. Keep in mind that temperature affects fermentation duration—warmer conditions speed it up, cooler slows it down. Timing is *vital*: too short, and flavor won’t mature; too long, and the dough may overproof. Adjust your fermentation duration based on yeast activity and environmental factors for the perfect same-day loaf. Additionally, understanding personality traits in relationships can help bakers develop patience and adaptability during the fermentation process.
Adjusting Hydration Levels for Different Flours
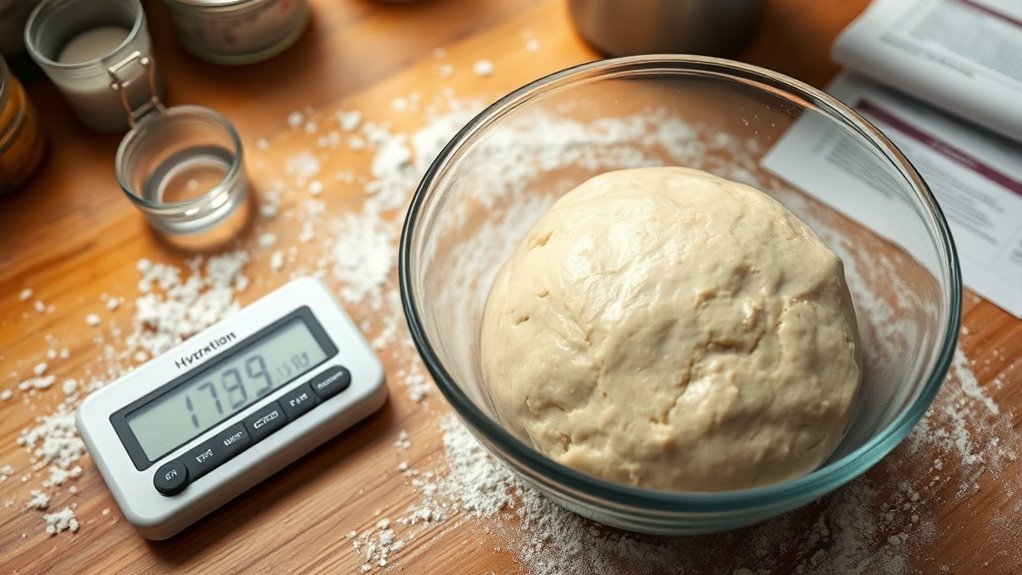
Since different flours absorb water at varying rates, adjusting hydration levels is essential for consistent dough texture. Flours with higher protein content, like bread flour, generally have greater water absorption, resulting in a wetter dough. Conversely, lower-protein flours, such as cake or pastry flour, need less water to achieve the same consistency. To get it right, start with a recipe’s suggested hydration percentage and adjust based on the flour’s characteristics. If your dough feels too stiff or dry, add water gradually until it reaches the desired elasticity. If it’s too sticky, reduce the water slightly. Monitoring how the flour’s water absorption affects dough texture guarantees you get ideal results, regardless of the flour type you’re using. Understanding offensive security measures can also help in troubleshooting unexpected dough inconsistencies by providing insight into potential vulnerabilities or issues in your process.
Measuring Salt and Sugar for Optimal Dough Strength
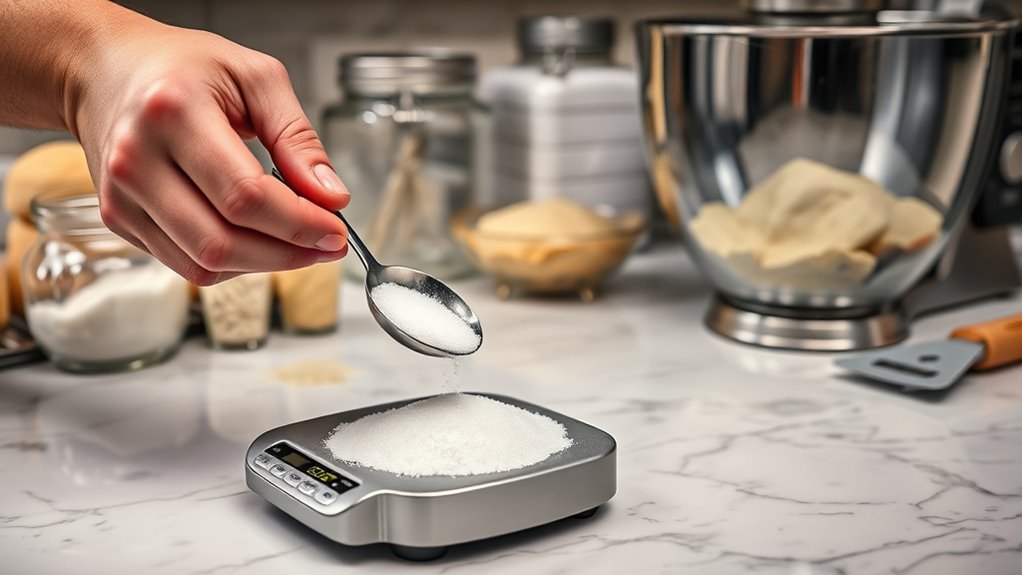
Getting the salt and sugar ratios right is essential for strong, well-textured dough. Too much salt can inhibit yeast activity, while too little weakens gluten development; sugar influences fermentation and browning. By carefully measuring these ingredients, you can optimize dough strength and achieve consistent results every time. Incorporating the right amount of exfoliation can also help improve the overall quality of your dough preparation process by ensuring better ingredient integration.
Salt and Sugar Ratios
Balancing salt and sugar in your dough is essential for achieving the right strength and texture. Proper ratios influence fermentation byproducts that develop during proofing, impacting flavor and dough elasticity. Too much salt can slow fermentation, weakening structure, while too little may cause over-active yeast and poor dough stability. Sugar provides food for yeast, boosting fermentation and helping dough rise quickly. However, excess sugar can weaken gluten networks, reducing elasticity. To find the right balance, measure salt and sugar carefully, maintaining a ratio that supports steady fermentation without overpowering the dough’s structure. Consistent ratios guarantee predictable results, helping your dough develop the strength needed for a smooth, elastic texture while optimizing fermentation byproducts for flavor and rise. Additionally, understanding the impact of ingredients on gold IRA investments can help you make more informed decisions about your long-term asset allocation.
Impact on Dough Strength
Measuring salt and sugar accurately plays a direct role in determining your dough’s strength. Too much salt can inhibit gluten development, making the dough less elastic, while too little reduces flavor and fermentation efficiency. Sugar influences fermentation byproducts, providing food for yeast and aiding gluten formation. Proper balance enhances dough structure and chewiness. Consider this table for ideal ratios:
| Ingredient | Effect on Dough Strength | Notes |
|---|---|---|
| Salt | Strengthens gluten, controls fermentation | Use sparingly |
| Sugar | Fuels fermentation, softens gluten | Moderate amount |
| Both | Balance ensures robust dough | Adjust carefully |
Precision in measuring ensures consistent gluten development, leading to better dough elasticity and resilience, essential for perfect baking results. Understanding fermentation is crucial for troubleshooting issues with dough rise and texture.
Estimating Proofing Time Based on Temperature
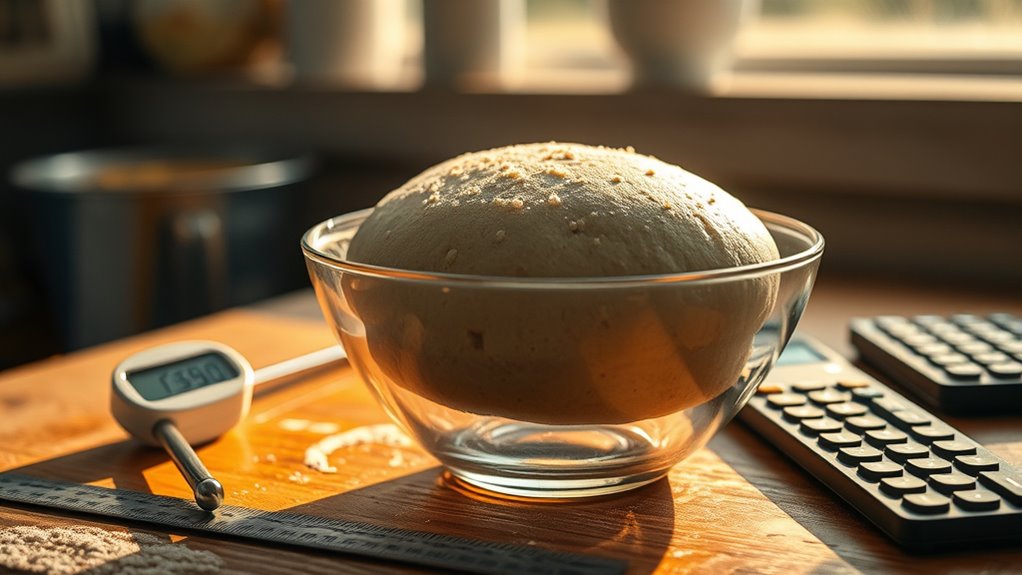
Temperature plays a crucial role in how quickly your dough proofs, and understanding this relationship can help you estimate proofing times more accurately. In a warm proofing environment, dough rises faster, so check it sooner. Cooler temperatures slow fermentation, requiring more time. When using proofing containers, monitor the temperature of the environment rather than relying on time alone. For instance, at around 75°F (24°C), dough may double in 1 to 2 hours, while at 65°F (18°C), it could take 3 to 4 hours. Keep in mind that consistent temperature helps ensure predictable proofing. Adjust your timing based on your proofing environment’s temperature, and avoid opening proofing containers too often, which can disrupt the process. This way, you’ll better estimate proofing times and achieve reliable results.
Scaling Recipes for Different Batch Sizes
When adjusting your recipe for different batch sizes, it’s important to scale ingredients proportionally to maintain the dough’s consistency and fermentation behavior. Use a simple ratio to increase or decrease each ingredient, ensuring the dough remains balanced. Consider ingredient substitutions if certain ingredients aren’t available or to modify flavor, but keep ratios consistent. Also, think about packaging considerations—larger batches may require different containers or equipment to prevent overproofing or uneven fermentation. Accurate scaling helps you avoid issues like under- or over-proofing, ensuring your dough performs reliably. Always double-check measurements when adjusting recipes, and adjust proofing times if batch size changes considerably. Proper scaling keeps your process smooth and your results consistent, no matter the batch size.
Troubleshooting Dough Sticking and Dryness
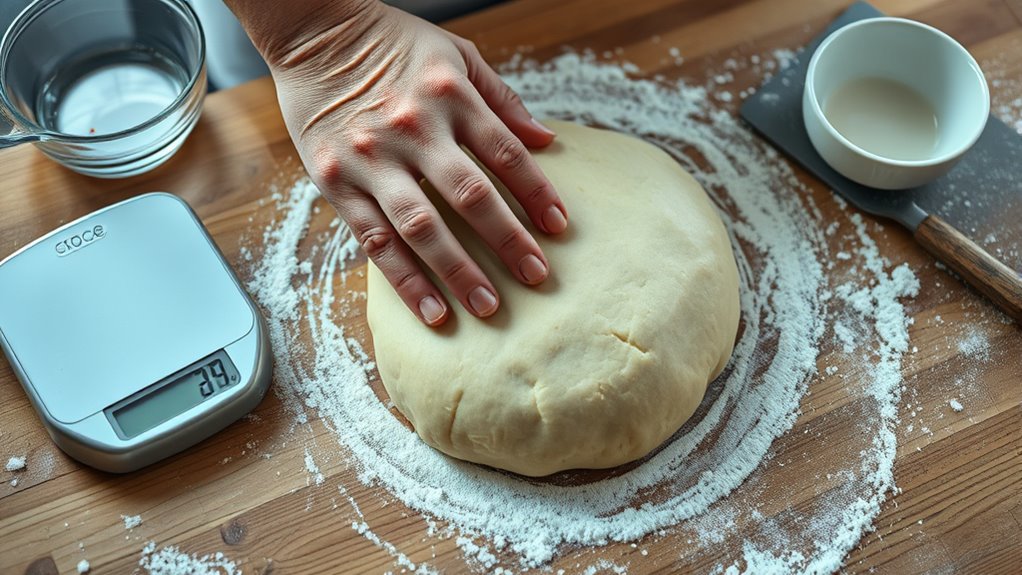
Dough sticking or feeling dry can disrupt your baking process, but these issues are often easy to fix with some targeted adjustments. If your dough sticks, it may lack dough elasticity, caused by too much moisture or insufficient kneading. Try dusting your surface lightly with flour or adding small amounts of water to improve elasticity without overdoing it. Conversely, dry dough often results from too much flour or overmixing, which hampers both dough elasticity and flavor development. To fix this, incorporate a splash of water gradually until the dough feels tacky but not sticky. Properly balanced moisture levels help develop flavor and ensure the dough is easy to work with. Adjusting hydration and kneading techniques keeps your dough smooth, elastic, and flavorful, preventing sticking and dryness.
Timing Your Bake for Perfect Crust and Texture
Timing your bake is crucial to achieving the perfect crust and ideal texture in your bread. To do this, monitor your oven temperature carefully; a consistent, correct temperature ensures even browning and proper crust development. Keep in mind that ingredient freshness impacts baking timing—fresh ingredients often require slightly shorter bake times to avoid overcooking. Use a thermometer to verify your oven’s temperature and adjust as needed. When you’re nearing the end of the baking process, check for a deep, golden crust, which indicates excellent doneness. Removing the bread too early can result in a soft crust, while overbaking can cause it to become tough. Proper timing combined with precise oven temperature and fresh ingredients guarantees a crust that’s crispy and a texture that’s perfectly tender.
Frequently Asked Questions
How Can I Tell if My Dough Has Over-Fermented?
You can tell if your dough has over-fermented by checking the fermentation duration; if it’s been too long, the yeast activity may have peaked or declined, causing the dough to become overly bubbly or collapse. Look for a sour smell, excessive bubbling, or a very sticky, slack texture. These signs indicate over-fermentation, meaning the yeast activity has gone beyond ideal, which can affect your final baked product’s texture and flavor.
What Signs Indicate Insufficient Gluten Development?
Think of your dough as a rubber band—if it doesn’t stretch easily and snaps back quickly, your gluten elasticity is weak. Signs of insufficient gluten development include a dough that feels sticky, lacks structure, and doesn’t hold its shape. It may be overly soft or crumbly, making it tough to work with. To fix this, knead longer to strengthen the gluten network and achieve a smoother, more cohesive dough consistency.
How Do I Adjust Recipes for High-Altitude Baking?
To adjust recipes for high-altitude baking, you should increase your flour slightly to account for reduced gluten strength due to lower air pressure. Decrease liquids because flour absorbs less moisture at high altitudes, which helps prevent over-dense dough. Additionally, consider reducing leavening agents like baking powder or baking soda to avoid over-expansion. Altitude adjustments guarantee your dough develops properly and bakes with the right texture, giving you consistent, successful results.
What’s the Best Way to Store Dough Overnight?
You should store dough overnight in the refrigerator using airtight storage containers to prevent it from drying out or absorbing odors. Dough refrigeration slows fermentation, giving you better control over the rising process. Wrap your dough tightly if using a bowl, or transfer it to a sealed container. This way, your dough stays fresh, maintains its texture, and is ready for baking when you need it.
How Does Humidity Affect Dough Hydration?
Humidity impacts dough hydration by altering how much water your ingredients absorb. In high humidity, you might need to reduce water slightly to maintain the right consistency, while in dry conditions, you’ll want to increase water for proper hydration. Use hydration techniques like adjusting ingredient ratios accordingly, so your dough remains manageable. Keep an eye on the environment, and tweak the hydration to guarantee your dough has the perfect texture every time.
Conclusion
So, there you have it—your foolproof guide to troubleshooting dough in a single day. Who knew math could save your bake? Just remember, if your dough still rebels, maybe it’s just protesting against your baking schedule. Keep calculating, adjusting, and maybe, just maybe, your bread will rise to the occasion. Or at least, won’t fall flat—literally. Happy baking, and don’t forget to blame the oven if things go sideways!