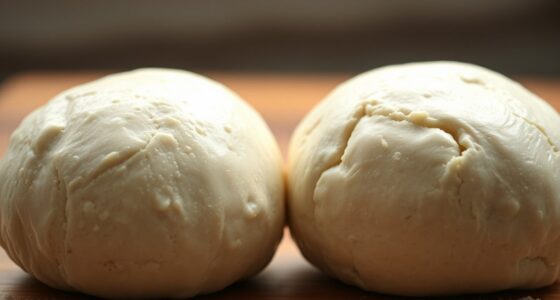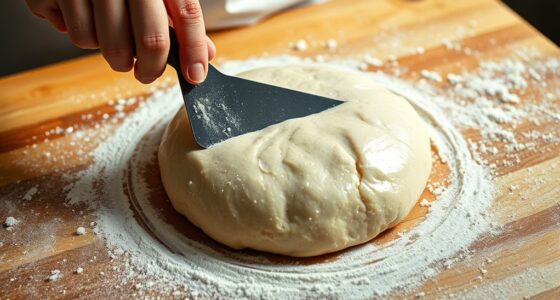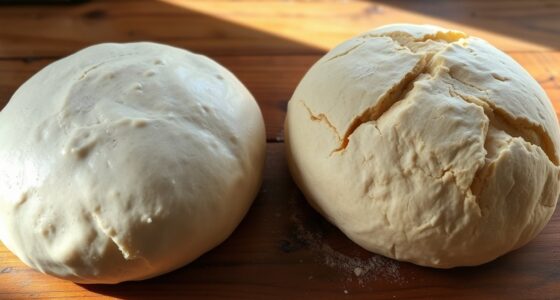

You should shape your dough once it has doubled in size and shows visible bubbles, indicating active fermentation. Perform the finger poke test—if the indentation slowly springs back, it’s ready for shaping. Be sure not to shape too early or after over-proofing, as both can affect the dough’s structure. Proper timing guarantees better oven spring and crumb quality. Keep exploring for more tips on perfecting your shaping process.
Key Takeaways
- Wait until the dough has doubled in size and shows visible bubbles before shaping.
- Use the finger poke test: gentle indentation should slowly spring back to indicate readiness.
- Ensure the dough reaches an ideal temperature of 75-78°F (24-26°C) for consistent proofing.
- Avoid shaping too early to prevent underdeveloped gluten and dense texture.
- Do not over-proof; wait until the dough is slightly domed and resists collapse when touched.
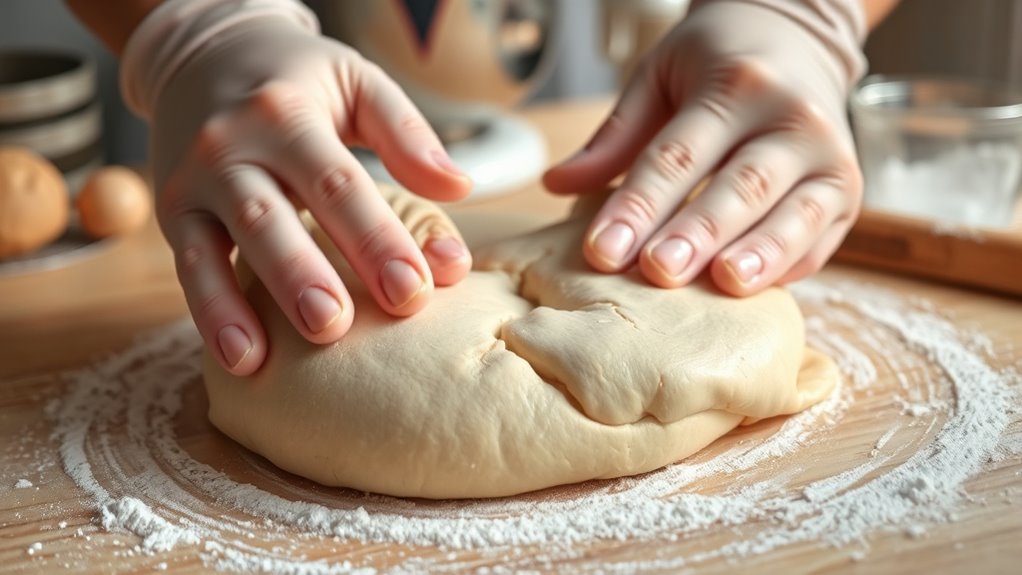
Timing is vital when shaping dough, as it directly affects the final texture and rise of your baked goods. Knowing the right moment to ball your dough hinges on understanding proofing timing and dough temperature. These factors work together to guarantee your dough is at its best stage for shaping, leading to a better rise and a more desirable crumb.
First, pay close attention to proofing timing. After mixing and initial fermentation, your dough needs to rest and rise until it reaches the right level of fermentation. Typically, this means the dough should have doubled in size and developed some visible bubbles. If you shape it too early, the gluten structure may not be fully developed, resulting in a denser loaf. Conversely, waiting too long can cause over-proofing, where the dough becomes overly airy and fragile, making it difficult to handle. To gauge the right moment, perform the “finger poke test”: gently press your finger into the dough, and if the indentation slowly springs back, it’s ready to be shaped. If it springs back quickly, it needs more time; if it stays indented, it’s over-proofed.
Watch for doubled size and bubbles; perform the finger poke test to determine the perfect shaping moment.
Dough temperature plays an important role in proofing timing. Ideally, your dough should be maintained at a warm, consistent temperature—around 75-78°F (24-26°C)—to promote steady fermentation. If your environment is cooler, proofing takes longer, so you’ll need to be patient and allow the dough extra time to rise. Conversely, warmer conditions accelerate fermentation, so keep an eye on your dough to prevent over-proofing. Using a thermometer to monitor dough temperature can help you make precise adjustments, especially when proofing in cooler or warmer spaces. If the dough is too cold, fermentation slows, and proofing takes longer; if it’s too warm, yeast activity speeds up, and you risk over-proofing. To regulate dough temperature, you can adjust the amount of warm water in your initial mix or let the dough rest in a warm, draft-free spot.
Timing for shaping also involves understanding how the dough responds to your environment and ingredients. If your dough is properly proofed, at the right temperature, and shows visual cues like doubled size and visible bubbles, it’s ready for shaping. Shaping too early can compromise the final structure, while waiting too long can weaken it. The key is to observe the dough’s behavior carefully, use your finger poke test, and keep track of proofing times relative to dough temperature. When these elements align—proofed sufficiently without overdoing it—you’ll be able to shape your dough confidently, setting the stage for a beautiful, well-risen loaf. Additionally, understanding proofing timing can help optimize fermentation and improve texture in your baked goods.
Frequently Asked Questions
Can I Over-Proof My Dough Before Shaping?
Yes, you can over-proof your dough before shaping. Over-proofing risks weakening dough elasticity, making it too slack and difficult to shape properly. It also causes the dough to lose its structure, resulting in a flat or dense final product. To prevent this, keep an eye on your dough’s rise, and shape it promptly once it has doubled in size. Proper timing ensures better dough elasticity and a perfect bake.
How Does Dough Temperature Affect Shaping Timing?
Dough temperature markedly influences shaping timing because warmer dough becomes more elastic and ferments faster. If your dough is too warm, it may over-ferment, making it sticky and difficult to shape, so you should shape it sooner. Cooler dough maintains better fermentation control, giving you more flexibility. Always monitor dough temperature, aiming for a balanced warmth to guarantee ideal elasticity and easier shaping without risking over-proofing.
Is It Better to Shape Immediately or After Resting?
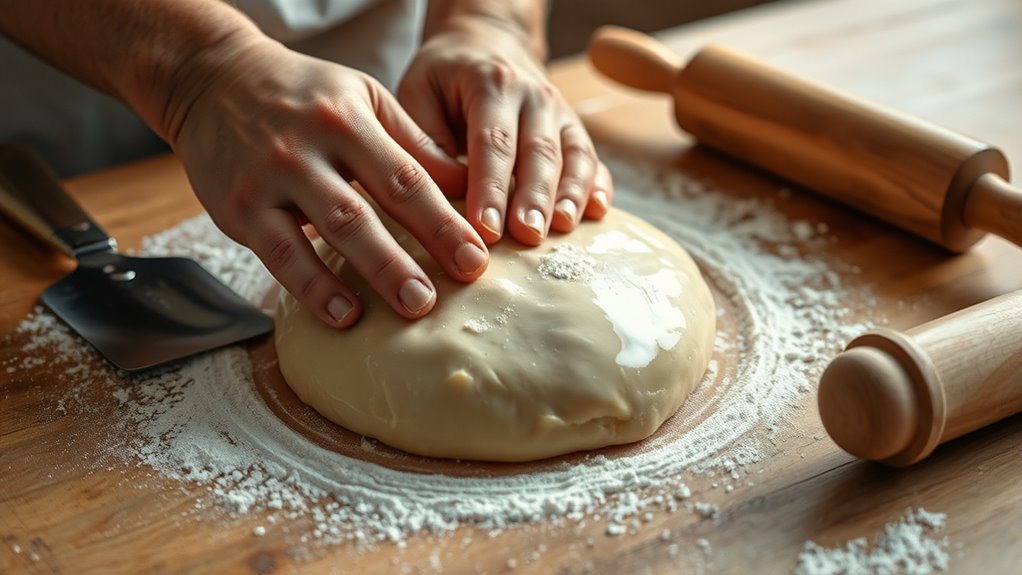
You should shape your dough after resting, as it allows the dough to relax and enhances dough elasticity. Resting also helps gluten development, making the dough easier to handle and shape without tearing. Shaping immediately after mixing can result in a tough, elastic dough that’s hard to work with. So, give it time to rest, and you’ll find shaping much smoother and more effective, leading to better final results.
What Signs Indicate Dough Is Ready for Shaping?
You’ll know your dough is ready for shaping when it shows good gluten development, meaning it feels elastic and slightly tacky, and it has risen noticeably. Look for fermentation signs like bubbles on the surface and a slight puffiness. These signs indicate proper fermentation, making the dough easier to shape without tearing. Wait until these cues appear to make sure your dough is perfectly prepared for shaping and baking.
How Does Dough Hydration Influence Shaping Timing?
Think of dough hydration as the secret recipe for perfect shaping—too high, and it’s like trying to mold a water balloon; too low, and it’s like kneading concrete. Hydration consistency directly impacts dough elasticity, making it easier or harder to handle. When the dough’s hydration is just right, it’s supple and elastic, signaling it’s ready for shaping. Pay attention to these cues to master your dough’s rhythm.
Conclusion
Now that you know the right timing for shaping your dough, you’ll be able to tackle each step with confidence. Remember, patience is a virtue—rushing can lead to less-than-perfect results. When you let the dough rest and develop, you’re setting yourself up for success. So don’t be afraid to give it the time it needs; after all, good things come to those who wait. Happy baking!