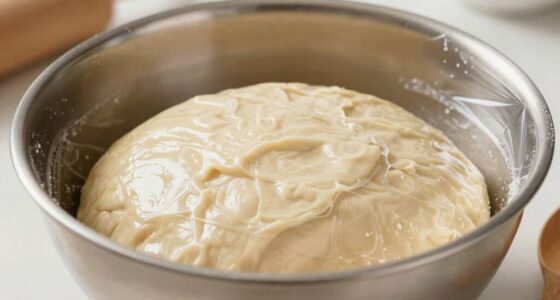

To make same-day dough that works, choose high-protein flours like bread flour and activate quick-rise yeast in warm water with a pinch of sugar. Measure everything precisely, keep the dough in a warm environment, and use gentle folding to develop gluten fast. Preheat your oven well and steam during baking for a better rise. Want to master these simple tips for perfect bread today? Keep exploring for more effective techniques.
Key Takeaways
- Use high-protein bread flour and warm water to ensure quick gluten development and fast fermentation.
- Activate instant or rapid-rise yeast properly in warm water with a touch of sugar for immediate dough rise.
- Measure ingredients precisely and keep dough in a warm environment to shorten proofing time effectively.
- Incorporate folding and gentle kneading techniques to develop gluten quickly without overworking the dough.
- Preheat oven thoroughly, use steam, and score the dough for optimal oven spring and a crisp, airy crust.

Amazon Basics Silicone Rectangular Baking Mat, Non-Stick, Reusable, Dishwasher Safe, Food Safe, Heat Resistant, 16.5" x 11.6", Beige/Gray, 2-Pack
Baking mat (2-pack) for easy and convenient baking, roasting, or food prep
As an affiliate, we earn on qualifying purchases.
Selecting the Right Flour for Quick-Rising Dough
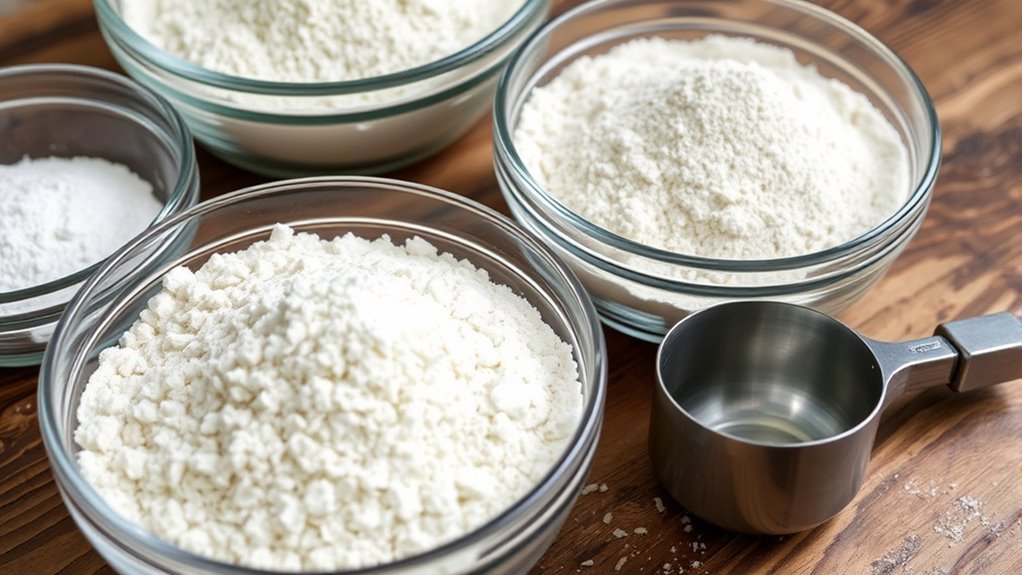
Choosing the right flour is crucial for quick-rising dough because it directly impacts gluten development and fermentation speed. High-protein flours, like bread flour, promote better gluten structure, which helps the dough trap gases more effectively, leading to a rise that’s both quicker and more stable. This improved gluten development also enhances flavor, as a well-structured dough develops richer, deeper notes during fermentation. If you opt for all-purpose flour, consider adding vital wheat gluten to boost its strength. Some flours, such as those with a lower protein content, may produce a softer texture but might require longer rising times. Selecting the appropriate flour ensures your dough rises fast, maintains good texture, and boasts a more complex, satisfying flavor. Additionally, understanding energetic alignment can help you create a positive environment that supports your baking intentions and results.

Amazon Basics Non-Stick Silicone Baking Mat, Food Safe, Dishwasher Safe, Heat Resistant, 16.5" x 11.6", Beige/Gray, Rectangular, 4-Pack
Baking mat (4-pack) for easy and convenient baking, roasting, or food prep
As an affiliate, we earn on qualifying purchases.
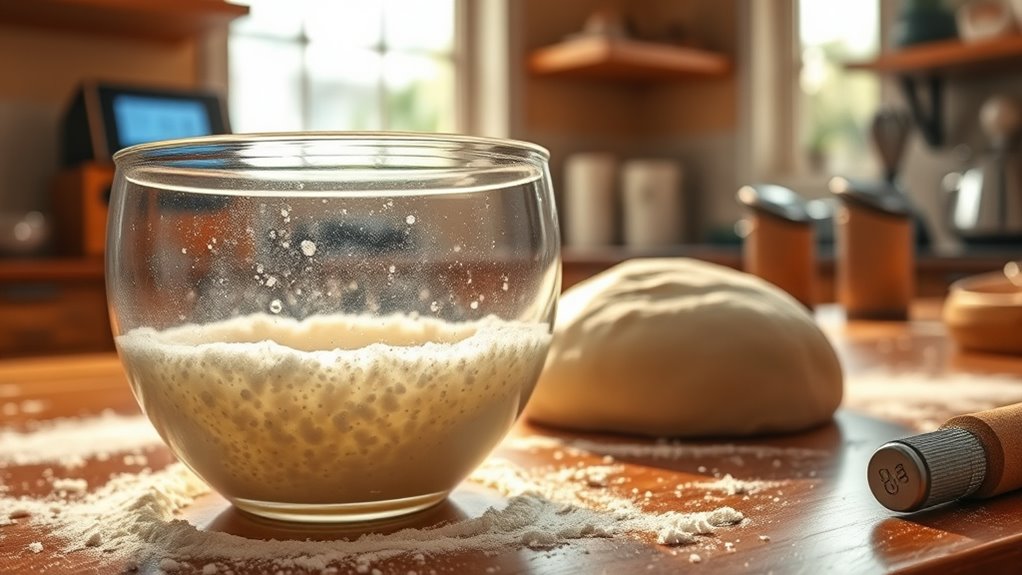
Mastering the Perfect Yeast Activation Technique
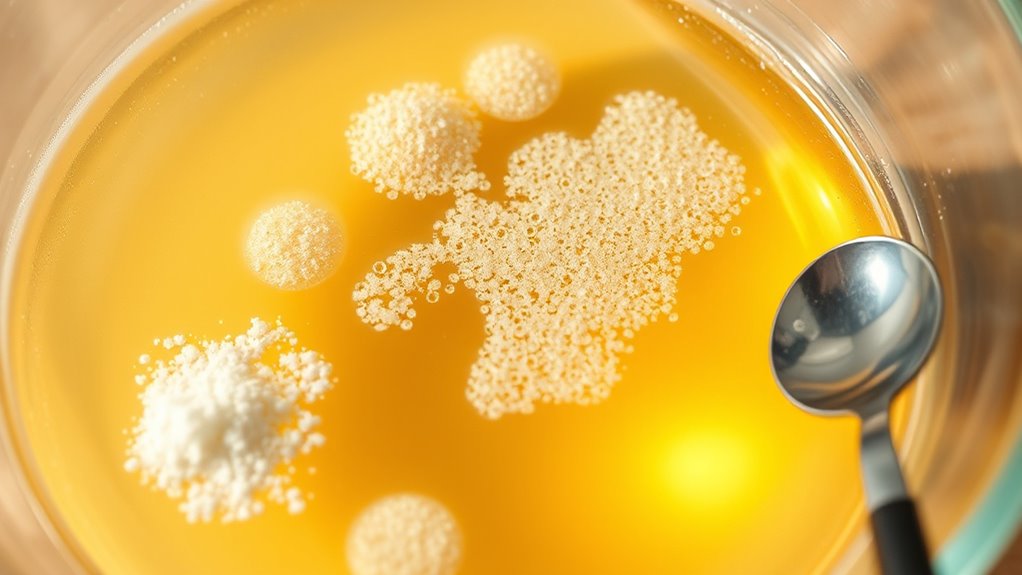
Once you’ve selected the right flour to support quick fermentation, the next step is guaranteeing your yeast is activated properly. Start by proofing your yeast in warm water with a pinch of sugar. This kicks off yeast fermentation, signaling it’s alive and ready. Wait about 5–10 minutes until the mixture becomes frothy and bubbly—that’s your cue that activation is successful. Proper yeast activation promotes even gas production, which enhances dough elasticity. When yeast is active, it creates the carbon dioxide needed for rise, resulting in a light, airy texture. Skipping or rushing this step can lead to dense dough. Mastering this technique ensures consistent, reliable results for your same-day dough, giving you the perfect foundation for a quick, delicious bake every time.

whisrvival 4 Pcs Silicone Baking Mat, Non-Stick Baking Mat, Food Safe Silicone Mats for Baking Cookies, Macarons, Vegetables, 480℉ Heat Resistant (Grey)
2 Half (16.53 x 11.61 inches) & 2 Quarter sheet (11.81'' x 8.26'')Silicone Baking Mats, perfect for keeping...
As an affiliate, we earn on qualifying purchases.
Using Warm Water and Proper Hydration for Fast Proofing
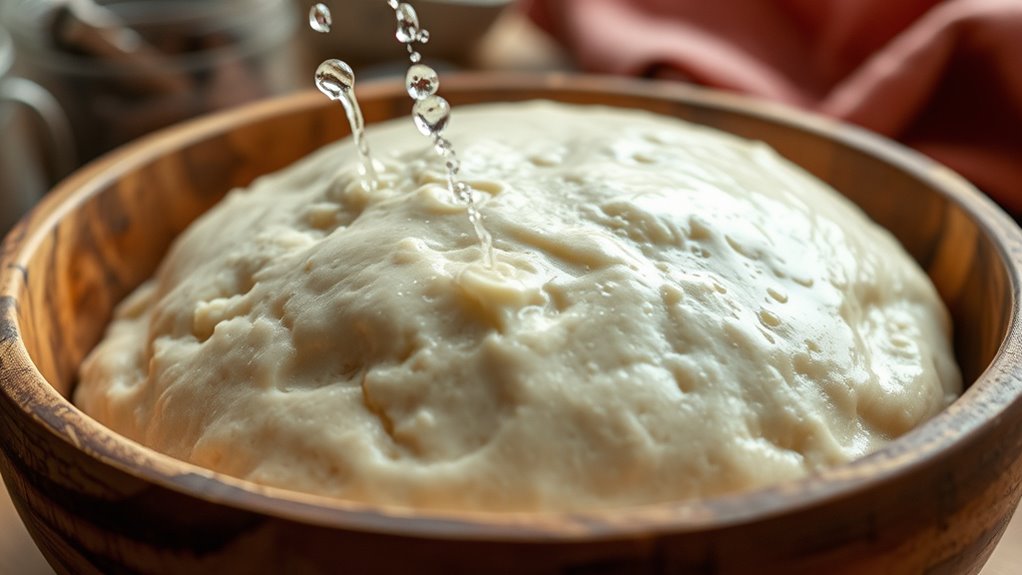
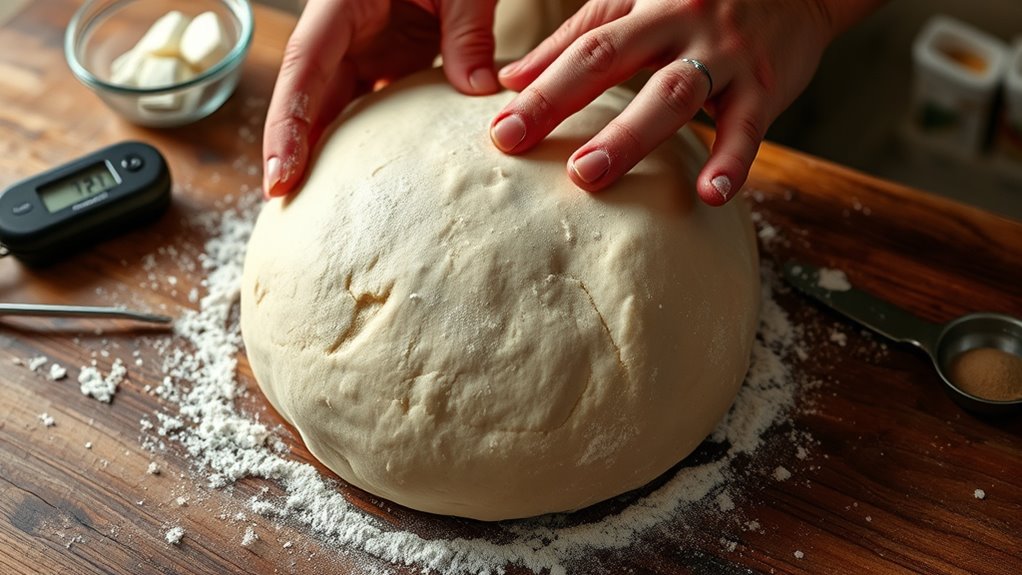
Using warm water helps activate the yeast quickly, but it’s essential to find the right temperature—around 100°F to 110°F—to avoid killing the yeast or slowing proofing. Proper hydration ensures the dough develops strength and elasticity, leading to faster rising times. Keep these points in mind to optimize your dough’s proofing process effectively. Additionally, maintaining a warm bedroom environment can further promote consistent fermentation and rising.
Optimal Water Temperature
Warm water plays a crucial role in achieving fast proofing because it helps activate the yeast more efficiently. The ideal water temperature for yeast activation is around 100°F to 110°F (38°C to 43°C). Too hot, and you’ll kill the yeast; too cold, and it won’t activate properly. Using water within this range ensures the yeast becomes lively and starts producing carbon dioxide quickly. Always use a thermometer to check the water temperature; guesswork can lead to inconsistent results. Proper water temperature helps jump-start fermentation, reducing proofing time considerably. Remember, the goal is to create an environment where yeast can thrive without overheating. yeast activation is essential for a consistent rise. By paying attention to water temperature, you’ll set the foundation for a faster, more reliable rise in your dough.
Ensuring Adequate Hydration
Proper hydration is essential for fast proofing because it guarantees the yeast has enough moisture to activate quickly and produce carbon dioxide efficiently. Maintaining correct hydration levels depends on the right water ratios, ensuring your dough isn’t too dry or too sticky. Using warm water helps activate the yeast faster, but it’s crucial to measure water precisely to achieve ideal hydration. Too little water results in dense dough, while too much can weaken gluten development. Adjust your water ratios based on your flour type and batch size, aiming for a smooth, elastic dough that feels slightly tacky but not sticky. Consistently monitoring hydration levels during mixing ensures steady fermentation and faster proofing, giving you reliable, no-nonsense results every time. Additionally, understanding projector technology can help you make better choices when setting up a home theater for optimal viewing.

Vtopmart 2 Pcs Pizza Dough Proofing Box with Lids and Latches for 4-6 Balls
【Suitable Size】 Vtopmart Pizza Dough Proofing Box (14.96"L x 10.43"W x 5.31"H) with increased internal height fits most...
As an affiliate, we earn on qualifying purchases.
Incorporating Instant or Rapid-Rise Yeast for Speed
Incorporating instant or rapid-rise yeast can considerably cut down your dough’s proofing time, making same-day baking more achievable. You’ll want to adjust your recipe timing and ingredient ratios to get the best results. Knowing how to use these yeasts properly ensures your bread turns out perfect every time. Additionally, high-pressure application techniques can further accelerate fermentation and rising processes.
Rapid-Rise Yeast Benefits
Using instant or rapid-rise yeast can substantially cut down your baking time, making it easier to enjoy fresh bread without waiting hours for it to rise. These yeasts speed up yeast fermentation, allowing your dough to develop quickly and efficiently. Because rapid-rise yeast activates faster, your dough achieves good elasticity sooner, resulting in a lighter, more consistent texture. You won’t need to proof the yeast separately or wait through long rising periods, saving you valuable time. This type of yeast is ideal for same-day baking because it produces reliable results with minimal fuss. Plus, its quick action means you can go from mixing to baking in a fraction of the usual time, giving you fresh bread faster and with less effort. Proper storage of yeast is also crucial to maintain its potency and ensure consistent results.
Adjusting Recipe Timing
Adjusting your recipe timing becomes straightforward when you opt for instant or rapid-rise yeast. These yeasts cut fermentation time, allowing you to prepare dough quickly without sacrificing flavor. To maximize flavor enhancement, consider proofing the yeast with a small amount of warm liquid before mixing. Keep storage tips in mind: store unused yeast in an airtight container in a cool, dry place to maintain freshness. When adjusting timing, remember that rapid-rise yeast may require slightly less liquid or sugar to activate properly. You can also experiment with shorter rising periods to suit your schedule. This method helps you produce fresh, flavorful dough fast, making same-day baking more practical and satisfying. Additionally, understanding the yeast activation process can help you achieve a better rise and improved texture in your baked goods.
Best Usage Practices
To get the best results with instant or rapid-rise yeast, you should prioritize proper mixing and activation techniques. Confirm the yeast is evenly distributed in your ingredients to promote consistent fermentation. Using warm water (around 100–110°F) helps activate the yeast quickly, boosting dough flavor and rising speed. When substituting ingredients, remember rapid-rise yeast works best with sugar and salt balanced correctly; too much salt can inhibit fermentation. Avoid adding extra liquids that could dilute yeast activity. Keep your dough covered to maintain warmth and humidity. Additionally, selecting appropriate ingredients can further optimize the fermentation process.
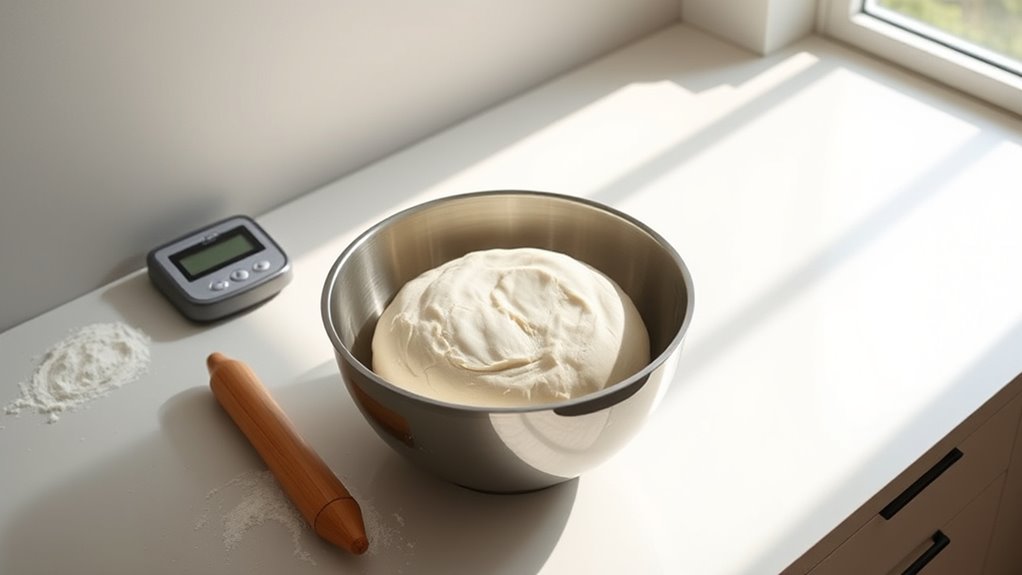
The Importance of Accurate Measurements and Mixing
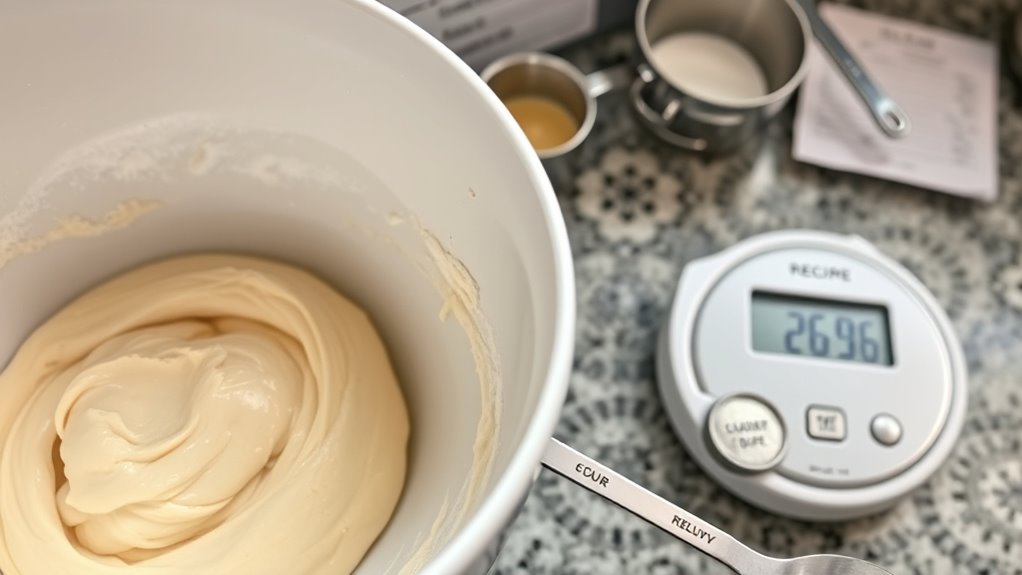
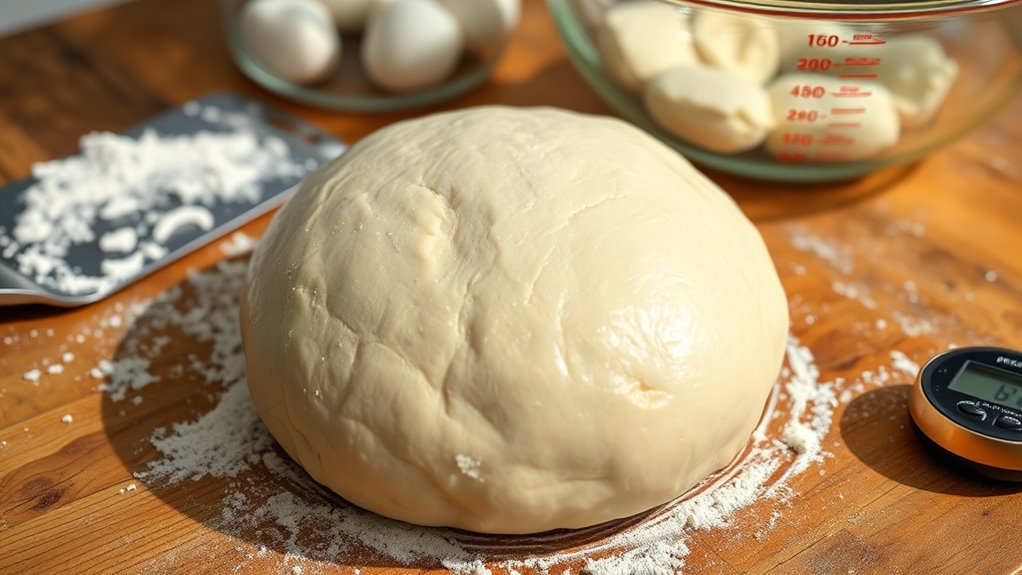
Accurate measurements and proper mixing are essential to ensuring your dough turns out just right. Using reliable measuring tools like digital scales and measuring cups helps you get the right ingredient amounts every time. Precise measuring prevents issues like dense or overly airy dough. When mixing, employ proper techniques—scraping the sides of the bowl and folding ingredients gently—to develop the right gluten structure. Keep in mind:
- Always level off dry ingredients for accuracy
- Use the correct measuring tools for liquids and solids
- Mix thoroughly but avoid overworking the dough
- Follow recipe instructions carefully for timing and order
Shortening Proofing Time Without Sacrificing Quality
By optimizing your proofing environment, you can shorten the rising time without sacrificing the dough’s texture or flavor. Fermentation control is key—keep the temperature warm but not hot, around 75–80°F, to speed up yeast activity. Using a proofing box or warm spot helps achieve consistent results quickly. Ingredient substitutions can also accelerate fermentation; for example, adding a small amount of sugar or honey provides extra food for the yeast, boosting activity. Keep an eye on the dough’s appearance instead of relying solely on time, ensuring it’s risen adequately. Properly managing these factors allows you to cut down proofing time while maintaining a light, airy crumb and rich flavor—perfect for same-day baking. Additionally, understanding the signs and symptoms of proper fermentation helps you judge when the dough is ready without over- or under-proofing.
Tips for Achieving a Fluffy, Well-Structured Crust
A well-structured, fluffy crust starts with proper dough handling and baking techniques. To achieve this, focus on developing good dough flavor by balancing ingredients and avoiding overmixing. Proper oven temperature helps you get the right crust color—golden and appealing without burning.
Here are some tips:
- Use the right amount of hydration for a tender, airy crust
- Handle the dough gently to preserve gluten structure
- Preheat your oven thoroughly for even baking
- Brush with a little oil or butter to enhance crust color and flavor
These steps ensure your crust is both light and well-formed, giving you a satisfying, professional-looking result every time.
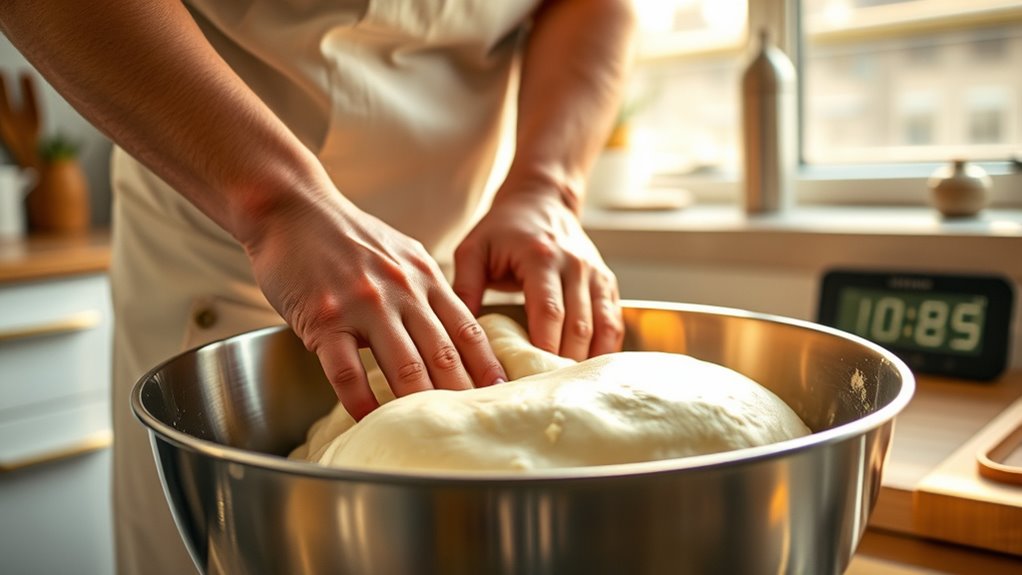
Quick-Kneading and Folding Methods to Develop Gluten
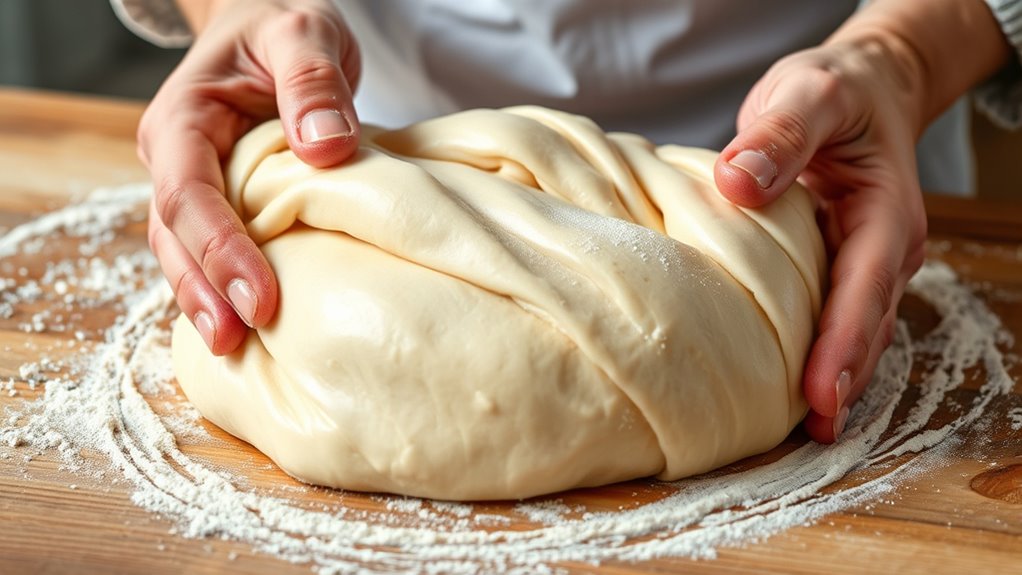
When you’re short on time but still want to develop strong gluten structure, quick-kneading and folding methods can be highly effective. These techniques enhance gluten development and boost dough elasticity without lengthy kneading. With quick kneading, you work the dough for just a few minutes until it begins to feel smooth and slightly elastic. Folding involves gently stretching and folding the dough during resting periods, encouraging gluten networks to strengthen. This process improves dough elasticity, making it more resilient and capable of trapping gases for a better rise. Both methods save time while ensuring your dough develops the necessary gluten structure for a chewy, well-formed crust. Incorporating these techniques into your routine can be a powerful marketing strategy to achieve consistent results with less effort.
Baking Techniques for Optimal Rise and Texture
Achieving the perfect rise and texture in your baked bread requires precise techniques that optimize oven conditions and dough handling. Proper baking ensures gluten development continues smoothly, giving you a good structure, while also enhancing flavor. To get the best results, preheat your oven thoroughly and use steam during initial baking to improve oven spring. Keep an eye on oven temperature—too hot or too cool can compromise your bread’s rise. Use a baking stone or steel for even heat distribution and better crust. Additionally, scoring the dough allows controlled expansion and prevents cracks. These techniques help maximize gluten development and flavor enhancement, resulting in a light, airy crumb with a rich flavor. Consistent method and attention to detail are key to perfecting your bread’s rise and texture.
Frequently Asked Questions
Can I Make Same-Day Dough Without Using Yeast?
Making same-day dough without yeast is like finding a shortcut through a maze. Yes, you can create instant doughs using yeast alternatives like baking powder or baking soda, which act quickly. These substitutes provide the rising power needed for your dough, making it perfect for a speedy bake. Just remember, while they don’t offer the same flavor as yeast, they can still give you a light, fluffy result in a pinch.
How Does Altitude Affect Quick Dough Preparation?
Altitude affects quick dough preparation by requiring altitude adjustments, as higher elevations can cause dough to rise too quickly or unevenly. You might need to decrease the amount of leavening agents or increase liquid content. Additionally, baking time may need to be shortened to prevent over-baking or dryness. Make small adjustments and monitor your dough closely to achieve the perfect rise and texture at your specific altitude.
Are There Gluten-Free Options for Fast Dough Recipes?
Ever wondered if you can whip up quick, gluten-free dough? Absolutely! You just need to choose the right gluten-free flours like rice, almond, or tapioca to craft speedy dough alternatives. These flours help you skip traditional gluten, saving time without sacrificing quality. With a little experimentation, you’ll discover fast, delicious gluten-free options that fit right into your busy schedule — no waiting required!
What’s the Best Storage Method for Leftover Quick Dough?
You should store leftover quick dough in an airtight container to keep it fresh and prevent it from drying out. Place the container in the refrigerator, where it can stay good for up to 24 hours. Before using it again, let the dough come to room temperature and give it a quick knead to restore its texture. This method guarantees your dough remains soft and ready for your next baking session.
Can I Substitute Baking Powder for Yeast in Same-Day Recipes?
Imagine baking as a race—baking powder is like a quick sprinter, giving you fast rise, while yeast is a marathon runner, taking longer but developing richer flavor. You can substitute baking powder for yeast in same-day recipes, but it’s not a perfect match. Use baking powder for a quick lift, but don’t expect the same depth of flavor or texture that yeast provides. Adjust your expectations accordingly.
Conclusion
With these no-nonsense tips, you can whip up delicious, quick-rising dough in no time. Choosing the right ingredients, mastering activation, and proper techniques make all the difference. Remember, haste makes waste—so don’t skip steps or rush the process. Practice patience with precision, and your crust will rise perfectly, delivering that fluffy, well-structured result every time. Trust the process, and you’ll master the art of same-day dough with ease.