
When planning rain-day pizzas as a beginner, focus on calculating your dough thickness to get the right crust size and elasticity. Measure toppings carefully to guarantee even coverage, and divide slices evenly for consistent servings. Adjust your recipe for different pizza sizes to keep proportions just right, and monitor oven time and temperature to bake perfectly. Keep these calculations in mind to craft a delicious pizza—more tips are just ahead to help perfect your process.
Key Takeaways
- Calculate dough thickness to ensure optimal stretchability and prevent tearing in rainy conditions.
- Measure toppings precisely to ensure even coverage despite potential moisture challenges.
- Divide pizza into equal slices for consistent servings and better presentation on damp days.
- Adjust recipe quantities based on pizza size to achieve balanced flavor and texture in rainy weather.
- Preheat oven thoroughly and monitor baking time for perfect crust and toppings, considering humidity effects.
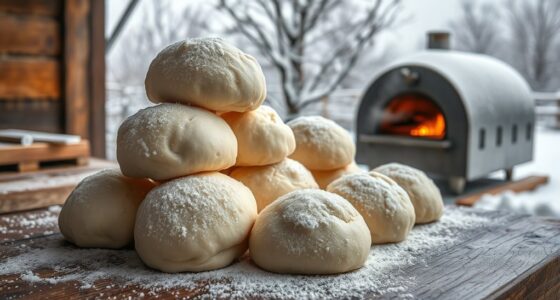
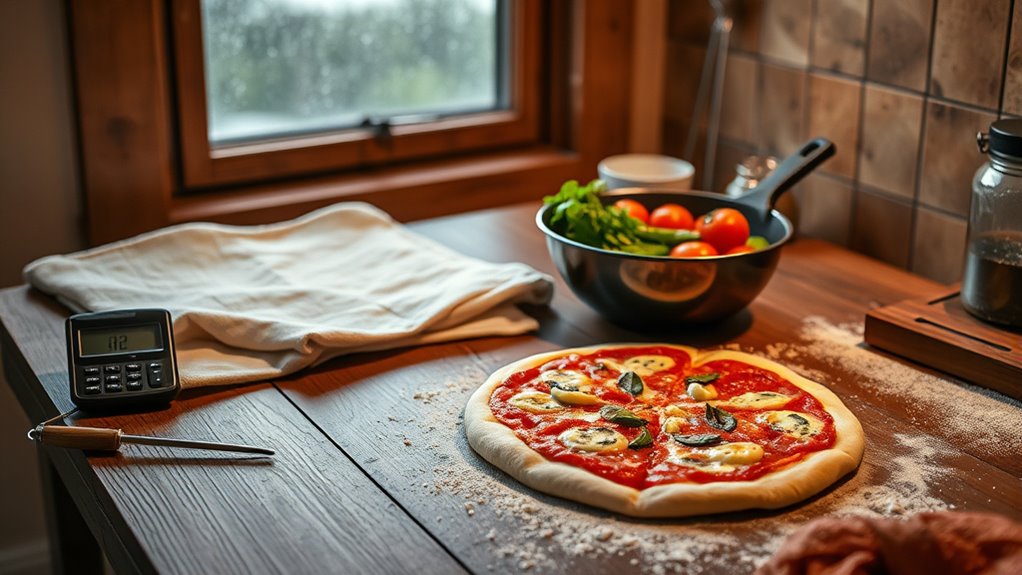
Understanding Dough Thickness and Crust Size
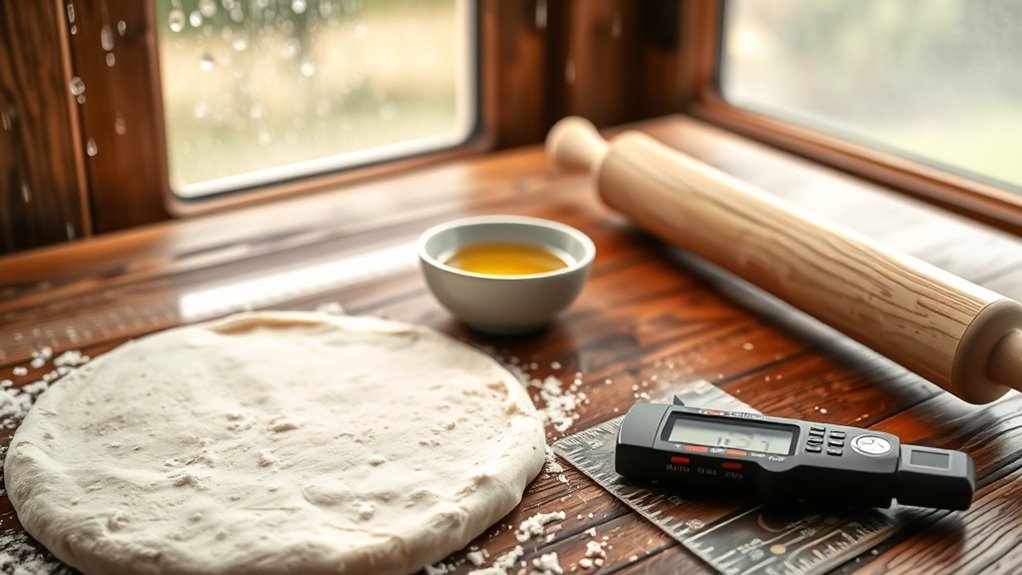
Have you ever wondered how the thickness of your dough affects your pizza’s overall look and taste? Thicker dough creates a heartier crust, adding more dough elasticity, which influences how well it stretches and holds toppings. A thicker crust tends to be softer inside but can still develop a crispy edge if baked properly. Conversely, a thinner crust offers less dough elasticity, resulting in a crunchier, more delicate bite. Your choice of thickness impacts crust crispiness and overall texture, so consider what kind of pizza you want. For a balanced crust with good elasticity and crispiness, aim for a dough thickness that allows it to stretch without tearing, ensuring your pizza is both flavorful and visually appealing. Additionally, controlling dough thickness can help optimize the baking process and achieve your desired crust texture.
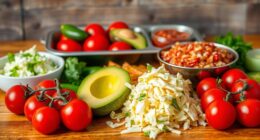
Calculating Topping Quantities for Even Coverage
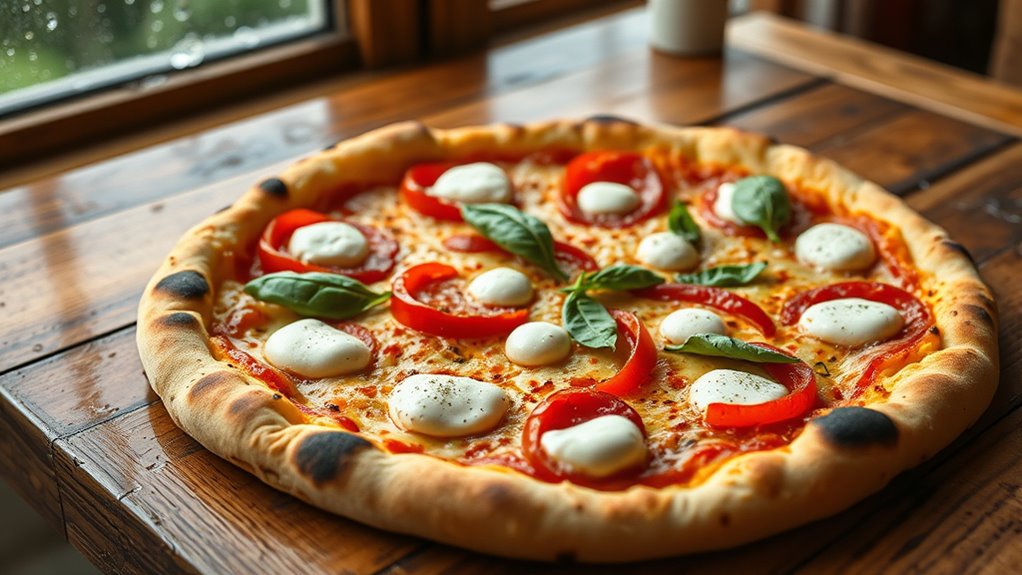
To achieve evenly distributed toppings on your pizza, you need to calculate the right amount of each ingredient based on your crust size. Proper cheese distribution and topping layering prevent sparse spots or overloaded sections. Start by estimating the total topping weight needed for your pizza’s surface area. Keep in mind that larger pizzas require proportionally more toppings. Visualize your toppings as layers: cheese first, then vegetables, meats, or herbs. Incorporate rustic decor elements into your presentation by arranging toppings in a way that complements the farmhouse aesthetic, creating a charming and inviting appearance.
- Visualize the entire surface to avoid thin spots or clumps
- Use a scale to measure cheese and toppings for consistency
- Spread toppings evenly from the center outward
- Adjust quantities if toppings tend to slide off or bunch up
- Remember, even coverage guarantees balanced flavor and looks appealing
Portioning Your Pizza for Perfect Servings
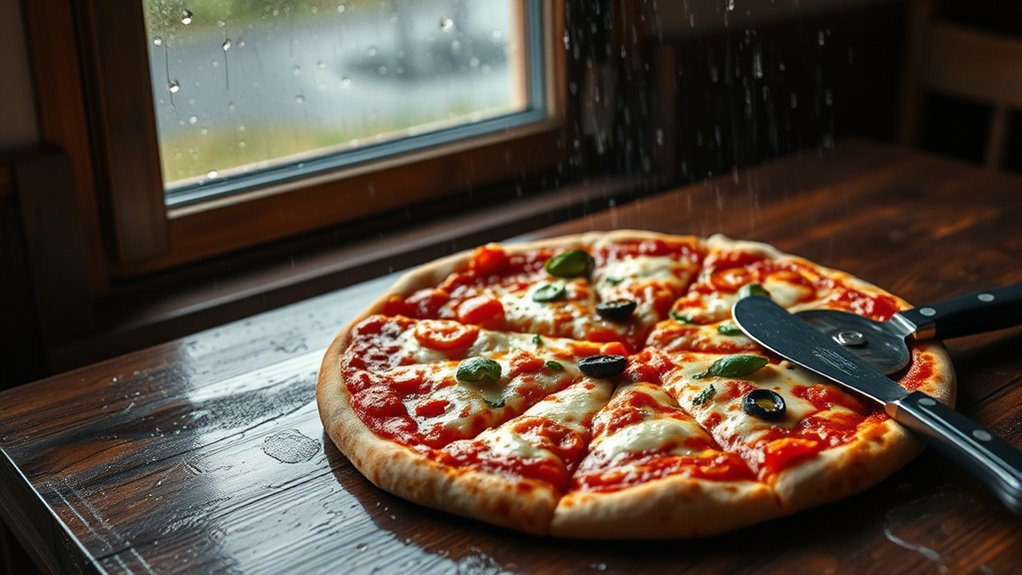
Once you’ve evenly distributed your toppings, the next step is to portion your pizza into servings that are both fair and manageable. To achieve this, consider your pizza’s size and division lines, keeping in mind how cheese melting and sauce distribution affect each slice. Proper portioning guarantees each piece has a balanced amount of cheese, sauce, and toppings, preventing over- or under-loaded slices. Use a pizza cutter or sharp knife to cut straight lines, starting from the center outward, creating equal wedges. This method helps maintain consistent cheese melting across slices and ensures sauce is evenly spread. Clear, even portions make serving easier and guarantee everyone gets a fair share of toppings, cheese, and flavor on every slice. Even division is essential for ensuring that each slice has a balanced amount of toppings and flavors, enhancing the overall pizza experience.
Adjusting Recipes Based on Pizza Diameter
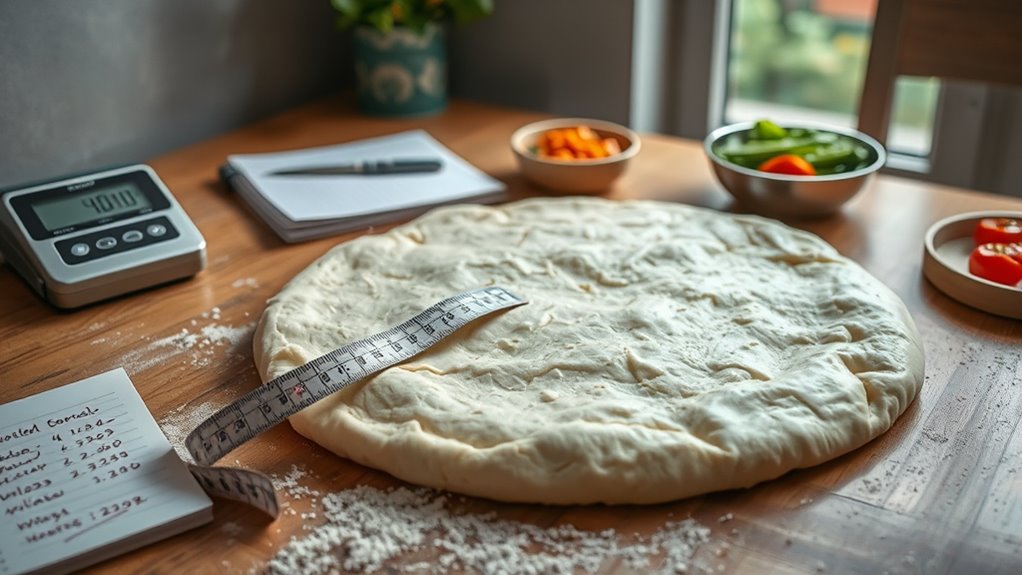
Adjusting your pizza recipe based on the diameter guarantees each slice has the right balance of toppings, cheese, and sauce. When you increase or decrease the size, consider dough elasticity to make certain it stretches without tearing. Larger pizzas need more dough, but maintain the right thickness for even cooking. Keep the cheese melt point in mind; a bigger pizza requires uniform cheese coverage to melt properly. Additionally, understanding the contrast ratio of your oven or baking environment can influence how well the cheese and toppings melt and brown during baking.
- Visualize a wider surface, requiring more sauce and toppings for consistency
- Use a scale to adjust dough weight precisely
- Remember that thinner crusts cook faster, affecting cheese melt and crust crispiness
- Consider how dough elasticity impacts stretching for larger sizes
- Ensure toppings are spread evenly to prevent soggy spots or undercooked areas
Estimating Baking Time and Temperature for Optimal Results
Estimating the right baking time and temperature guarantees your pizza comes out perfectly cooked, with a crispy crust and evenly melted cheese. Start by preheating your oven thoroughly—this guarantees consistent heat and prevents undercooking. When considering ingredient substitution, keep in mind that different toppings or cheese types may affect baking time; adjust accordingly. For example, thicker toppings or dense cheese may require a slightly longer bake. A common rule is to bake at 475°F (245°C) for 12-15 minutes, but monitor your pizza closely. Using a pizza stone or steel can help achieve a crispier crust. Always check your pizza a few minutes before the estimated time, and rely on visual cues to prevent burning or undercooking. Regular use of proper baking techniques can also enhance overall pizza quality.
Frequently Asked Questions
What Are the Best Types of Flour for Beginner Pizza Dough?
For beginner pizza dough, you should stick with bread flour or all-purpose flour. Bread flour gives you a chewy, crispy crust, while all-purpose is more forgiving and easier to work with. When experimenting, try different pizza sauce variations to find your favorite flavor combo and cheese pairing tips to enhance your pizza. Both flours are accessible, affordable, and perfect for mastering your dough skills before moving on to more complex recipes.
How Do Altitude Changes Affect Pizza Baking Times?
Altitude changes can impact your pizza baking times considerably. When you adjust for altitude, you’ll need to modify your baking temperature and time accordingly. Typically, at higher elevations, you should increase your baking temperature slightly and reduce baking time to prevent overcooking. An altitude adjustment ensures your crust cooks evenly, preventing underbaked centers or overly crisp edges. Keep experimenting with small adjustments to perfect your pizza at your specific elevation.
Can I Substitute Gluten-Free Ingredients Successfully?
Yes, you can substitute gluten-free ingredients successfully, but expect some surprises. When substituting gluten-free flours, you’ll need to incorporate gluten-free flavor enhancements and adjust your techniques. The key is to experiment and fine-tune your recipes, balancing moisture and binding agents. With patience, you’ll discover how to craft a delicious gluten-free pizza that rivals traditional versions, keeping your taste buds guessing and your pizza game strong.
What Tools Help Achieve Consistent Pizza Portion Sizes?
You can achieve consistent pizza portion sizes by using portion control tools like dough scoops, scales, and dividers. These tools help you measure the perfect amount of pizza dough, considering factors like pizza dough hydration. By accurately portioning your dough, you’ll guarantee each pizza is uniform in size and quality, making your pizza-making process more efficient and professional-looking. Always double-check your measurements for the best results.
How Do I Store Leftover Pizza Dough Safely?
You should store leftover pizza dough in airtight storage containers to keep it fresh. Before storing, let the dough undergo proper fermentation by allowing it to rise and develop flavor. Once ready, place it in a container, ensuring it’s sealed tightly to prevent air exposure. Keep it in the refrigerator for up to 3 days or freeze for longer storage. When ready to use, bring it to room temperature for best results.
Conclusion
Just like a master painter carefully plans each stroke, your pizza-making journey relies on these simple calculations. With a bit of practice, you’ll craft perfect pies even on rainy days—no storm can dampen your culinary skills. Remember, every great chef started with small, precise steps. So, embrace the process, trust your measurements, and soon you’ll be creating pizza masterpieces that would make even Michelangelo proud. Rain or shine, your pizza adventure awaits!