In cold weather, you can manage your dough by using warm water between 100-110°F to activate yeast without killing it, and by creating a warm, draft-free environment for proofing. Place your dough in an oven with just the light on, in a proofing box, or on a warm spot in your kitchen. Monitoring the dough’s progress and adjusting proofing times will help you get perfect results—stay with us to learn more tips.
Key Takeaways
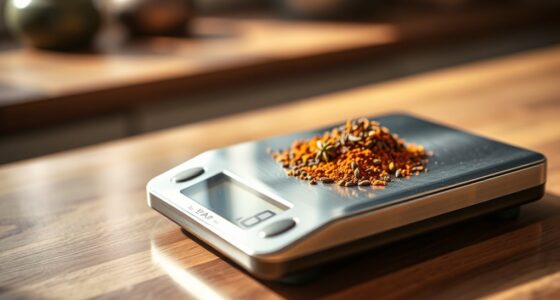
- Use water heated to 100-110°F to activate yeast effectively without risking death.
- Create a warm proofing environment at 75-80°F using proofing boxes or inside an oven with the light on.
- Place dough in draft-free, consistently warm spots to ensure steady fermentation.
- Allow for extended proofing times, 50% longer or more, monitoring dough for puffiness and bubbles.
- Avoid rushing fermentation; patience and proper warmth improve dough texture and flavor in cold weather.
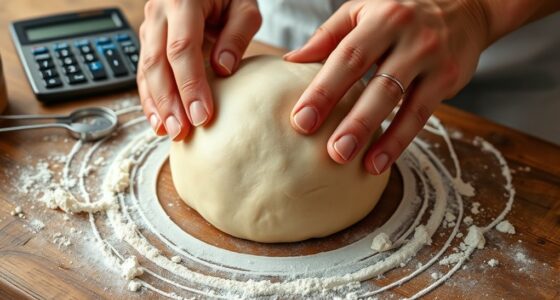
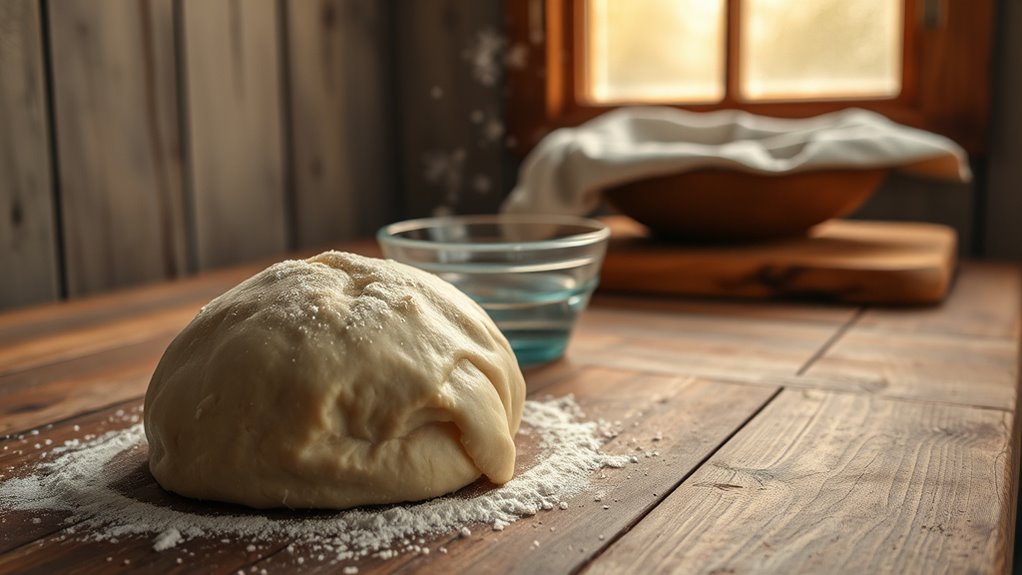
Cold weather can slow down yeast activity and make dough more difficult to work with, but with a few adjustments, you can still achieve perfect results. When temperatures drop, yeast fermentation slows, affecting both hydration levels and fermentation timing. To keep your dough rising properly, you need to optimize these factors. Using warmer water when mixing your dough is one of the simplest ways to boost yeast activity. Warm water, ideally around 100-110°F, helps create the ideal environment for fermentation, ensuring your dough develops the right structure and flavor. Be careful not to go too hot, as exceeding 120°F can kill the yeast. By adjusting hydration levels with warm water, you allow the dough to hydrate evenly, promoting better gluten development and a more manageable consistency.
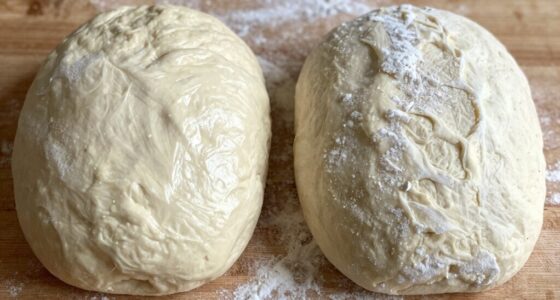
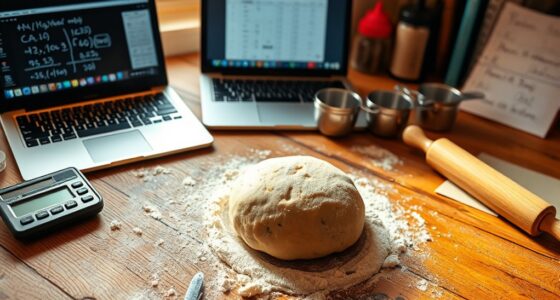
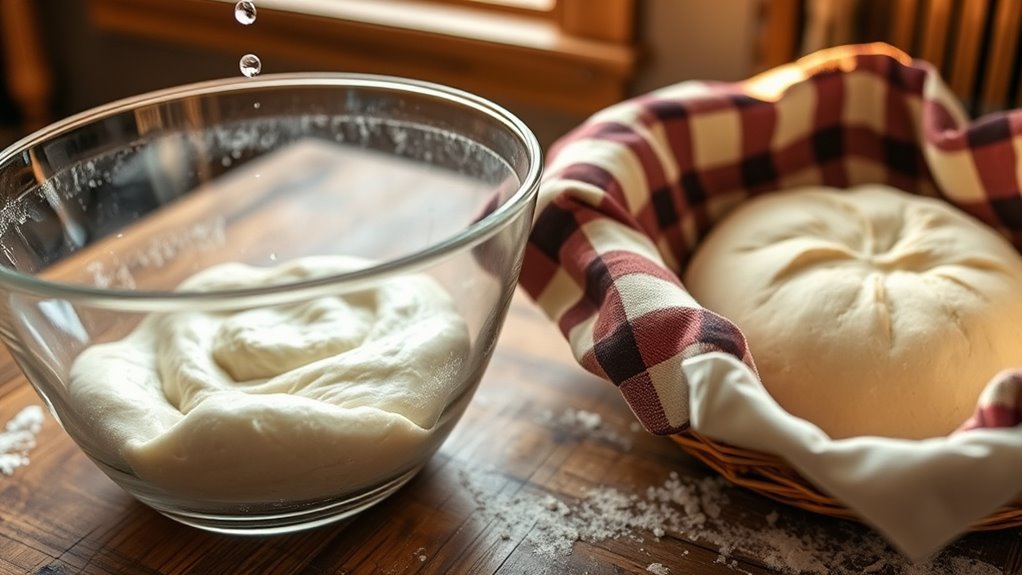
Temperature plays a key role in fermentation timing. When working in cold conditions, expect the fermentation process to take longer than usual. This means you should plan for extended proofing times, whether you’re doing a bulk ferment or proofing individual loaves. Rushing the process by increasing temperature can lead to overproofing or uneven fermentation, so patience is essential. To manage this, consider using a proofing spot that maintains a consistent, slightly warmer temperature—around 75-80°F. Placing your dough in a warm, draft-free corner or inside an oven with the light on can create a controlled environment that encourages steady fermentation without overheating.
Another effective tactic is to use proofing boxes or warming drawers if you have them. These tools provide a stable, warm environment that keeps your dough rising at a consistent pace. Keep in mind that colder environments slow down fermentation, so you might need to extend proofing times by 50% or even double, depending on how cold your space is. Monitoring your dough closely and trusting visual cues—like puffiness and surface bubbles—helps prevent overproofing. Remember, it’s better to give your dough more time than to rush the process, as this ensures a better rise, improved texture, and flavor.

Silicone Baking Mats for 3/4 Size Cookie Sheets for Baking - 3 Pack - Non-Stick, Food Safe Oven Safe Liners for baking sheets - Easy Clean, Mess-Free Baking Sheet Liners, 13.5 x 19.5 Inches
BAKING MADE EASY: Non-stick silicone baking mats line sheet pans, allowing foods to bake directly on the mats...
As an affiliate, we earn on qualifying purchases.
Frequently Asked Questions
How Does Cold Weather Affect Yeast Activity?
Cold weather slows down yeast fermentation, so your dough rises more slowly. You might notice less activity, and it takes longer for your dough to double in size. To keep things moving, you can warm the environment or use warm water when mixing. This helps yeast stay active, ensuring your dough rises properly and your baked goods turn out perfect. Stay patient and adjust your proofing times accordingly.
Can Using Warm Water Harm Gluten Development?
Warm water is like a gentle kickstart for your dough, but it can threaten gluten strength if it’s too hot. Excessively hot water may weaken the gluten network, reducing dough elasticity and making it less able to rise properly. To keep your dough resilient and stretchy, use warm water that’s just comfortably warm—around 100°F. This way, you support active yeast without compromising the gluten structure.
What Are Alternative Proofing Spots in Winter?
In winter, you can use alternative locations like a turned-off oven with the light on, near a radiator, or inside a warm closet. Indoor heating helps maintain a steady temperature, making these spots ideal for proofing. You might also cover your dough with a damp towel or plastic wrap to retain warmth. These methods assure your dough proofs well, even in cold weather, without relying solely on traditional warm spots.
How Long Should Dough Rest in Cold Conditions?
In cold conditions, you should let your dough rest for about 1.5 to 2 hours, or until it reaches a warm, room-temperature dough temperature of around 75-80°F. Keep an eye on the dough’s temperature and avoid rushing the process. Resting longer isn’t necessary, but if it’s very cold, you might need to extend the resting duration slightly to guarantee proper fermentation and gluten development.
Does Cold Weather Change Baking Times or Temperatures?
They say “a watched pot never boils,” but in baking, cold weather definitely affects your process. Yes, it can change baking times and temperatures, so you should guarantee temperature consistency by preheating your oven thoroughly. Keep an eye on your dough’s rise and adjust baking times if needed. Cold environments slow down heat transfer, so you may need to increase oven temperature slightly or extend baking time for perfect results.

Mrs. Anderson's Baking Non-Stick Silicone Baking Mat - Reusable Oven Liner & Pastry Mat - For Breads, Cookies, Roasting & More - Baker’s Essentials - Heat-Resistant to 480°F - Toaster Oven Baking Mat
Mrs. Anderson’s Non-Stick Silicone Toaster Oven Baking Mat for toasting, reheating, and baking directly on toaster oven racks...
As an affiliate, we earn on qualifying purchases.
Conclusion
As you adapt to cold weather, using warm water and finding cozy proofing spots can make all the difference. Did you know that dough rises up to 50% slower at lower temperatures? By maintaining the right warmth, you guarantee your bread develops the perfect texture and flavor. So, don’t let the cold hinder your baking — with a few simple tricks, you’ll keep your dough happy and your baking successful all season long.
LYCIAN WAY Silicone Baking Mats Set of 2, Half Sheet Nonstick Reusable Extra Thick Baking Sheet Liners for Cookies, Macarons, Bread, Pizza, Pastry, Red
FOOD GRADE AND HEAT RESISTANT : Made from food grade silicone for even heat distribution. Oven safe from...
As an affiliate, we earn on qualifying purchases.

KitchenAid Artisan Series 5 Quart Tilt Head Stand Mixer with Pouring Shield KSM150PS, Milkshake
Built to take it all on with the durable and built-to-last metal construction, and 59 touchpoints around the...
As an affiliate, we earn on qualifying purchases.