
To troubleshoot dough sticking issues, focus on adjusting hydration by slowly adding water and balancing with flour to achieve a smooth, elastic texture. Use proper surface prep with flour, oil, or non-stick sprays to prevent sticking, and choose the right flour for your recipe. Rest and proof your dough adequately to improve elasticity, and maintain correct oven temperatures for clean release. For more tips and solutions, explore proven techniques that make baking hassle-free and successful.
Key Takeaways
- Adjust dough hydration gradually and knead in flour to achieve a smooth, elastic, slightly tacky texture.
- Lightly flour surfaces and use fats like butter or non-stick sprays to prevent dough from sticking during handling and baking.
- Allow adequate resting and fermentation to develop gluten, reducing dough stickiness and improving elasticity.
- Ensure oven temperature is correct and use parchment or non-stick coatings to prevent sticking during baking.
- Maintain clean baking tools and monitor proofing times to avoid over-proofing, which weakens dough and causes sticking.

Reynolds Kitchens Unbleached Parchment Paper Roll, Non Stick Parchment Paper for Cooking and Baking, Oven Safe up to 425 Degrees, Chlorine-Free, 45 Feet x 12 Inches, 45 Total Sq. Ft.
Package Includes: One (1) Reynolds Kitchens Unbleached Parchment Paper Roll measuring 45 feet long by 12 inches wide…
As an affiliate, we earn on qualifying purchases.
As an affiliate, we earn on qualifying purchases.
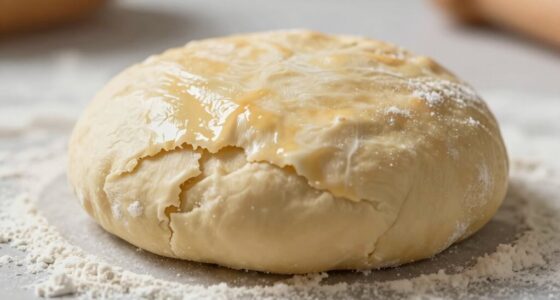
Assessing Dough Moisture and Consistency
When dough sticks, it’s often because its moisture level and consistency are off. To troubleshoot, check your dough’s hydration — how much water or liquid it contains. If it feels too dry or crumbly, you need to increase moisture retention by adding small amounts of water gradually. Conversely, if it’s too sticky, it may have excessive dough hydration, so you should knead in a bit more flour to balance the moisture. Feel the dough’s texture; it should be smooth and elastic without being overly sticky. Adjusting moisture content helps achieve the ideal consistency, making it easier to work with and preventing sticking. Remember, consistent moisture retention is key to controlling dough behavior and avoiding future sticking issues.

OXO Good Grips Stainless Steel Multi-Purpose Scraper & Chopper, Dough Cutter for Pizza, Bread and Cookie Dough, Multi-Purpose Vegetable Chopper, Dishwasher-Safe Kitchen Essential
Versatile kitchen essential: This stainless steel scraper, dough cutter and vegetable chopper makes portioning pizza dough, cutting cookie…
As an affiliate, we earn on qualifying purchases.
As an affiliate, we earn on qualifying purchases.
Choosing the Right Flour and Surface Preparation
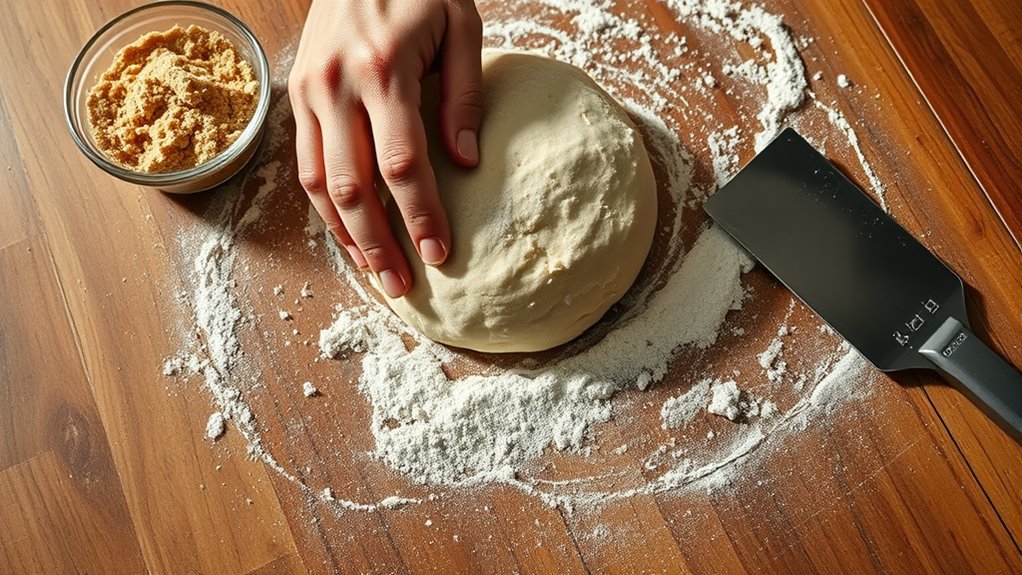
Choosing the right flour and preparing your surface properly can prevent sticking issues. Make certain to select a flour suited for your dough type and coat your work surface lightly with flour or other non-stick methods. Also, keep your ingredients fresh and stored correctly to guarantee peak performance during baking. Incorporating sound vibrations into your routine can also help create a more relaxed environment, making the baking process more enjoyable.
Proper Flour Selection
Selecting the right flour is essential to prevent dough from sticking, as it directly affects its texture and workability. For preferable gluten development, choose high-protein flours like bread flour, which provide better structure and elasticity. This helps the dough hold its shape and reduces stickiness during handling. If you’re working with yeast, guarantee the flour supports yeast activation by providing the necessary nutrients and a stable environment. For softer doughs, such as pastries, lower-protein flours like all-purpose or cake flour can be ideal, but watch for stickiness. Proper surface preparation also matters; lightly flour your work surface to prevent sticking without overdoing it, which could hinder gluten development. Selecting the right flour and preparing your surface properly set the foundation for successful dough handling. Additionally, understanding the role of natural materials like linen and wood in farmhouse decor can inspire a rustic ambiance that complements your baking space.
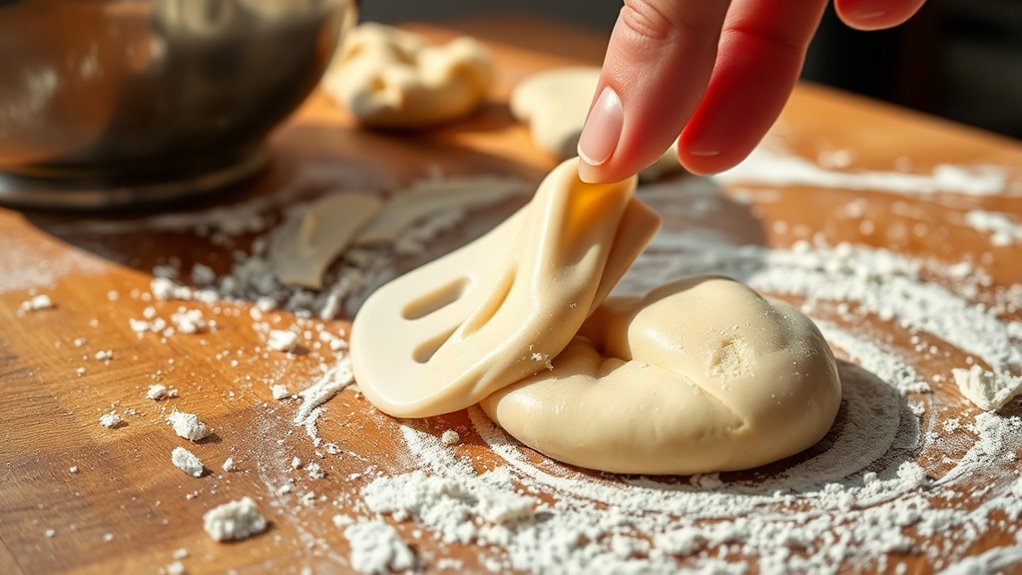
Surface Coating Techniques
Proper surface coating techniques start with the right flour. Use a light dusting of flour to prevent sticking, but don’t overdo it—excess flour can alter your dough’s texture. For more consistent results, consider artificial coatings like non-stick sprays, which create a thin barrier between the dough and the surface. These sprays are easy to apply evenly and are particularly helpful when working with sticky doughs. Non-stick sprays can also reduce the need for excessive flour, keeping your dough tender. If you prefer natural options, a fine layer of flour or cornstarch works well. Always prepare your work surface before starting, ensuring it’s clean and dry. Properly coated surfaces will make handling and transferring your dough smoother and more efficient. Additionally, understanding lifestyle techniques can help you create a more organized and efficient workspace, reducing stress and improving your overall baking experience.
Storage and Freshness
Have you ever noticed how the freshness of your flour impacts your dough’s texture and workability? Proper dough storage is essential for maintaining freshness preservation and preventing dough from becoming dry or sticky. Store your flour in an airtight container in a cool, dark place to extend its shelf life. Be mindful of humidity, as excess moisture can compromise dough quality. Before working, sift or lightly dust your surface with fresh flour to reduce sticking. Using fresh flour and a clean, well-prepared surface ensures consistent results. Remember, the right storage practices not only preserve dough freshness but also make handling easier, minimizing sticking issues and improving your baking experience. Additionally, selecting the appropriate flour type can influence dough elasticity and stickiness, aiding in better handling.

King Arthur 100% Organic Bread Flour, Unbleached, 5 lb (Pack of 1) – Non-GMO Project Verified, No Preservatives
High Protein Flour: 12.7% protein – a full point more than other national brands, King Arthur flour ensures…
As an affiliate, we earn on qualifying purchases.
As an affiliate, we earn on qualifying purchases.
Proper Kneading Techniques to Minimize Sticking
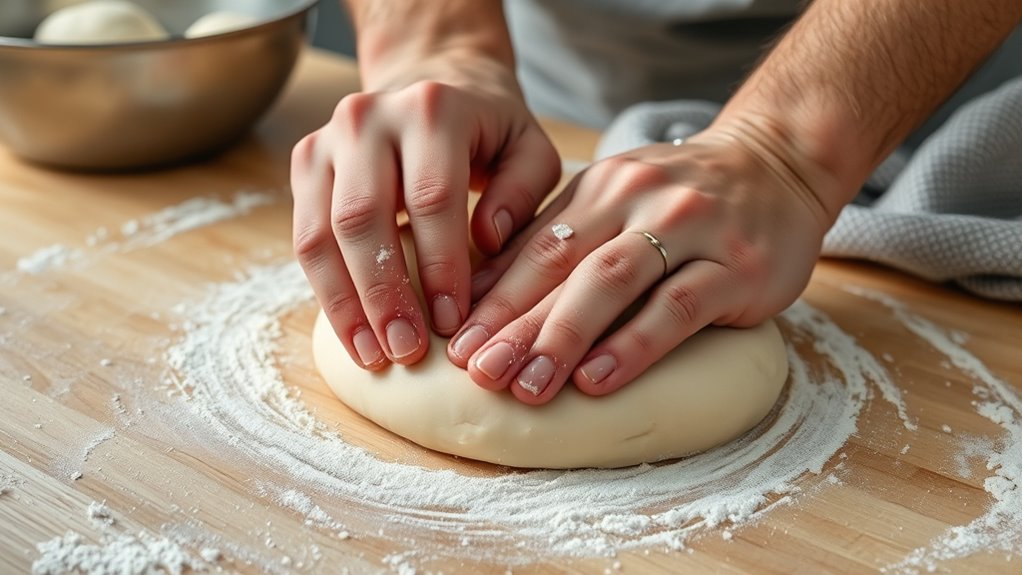
To prevent your dough from sticking, guarantee it has the right consistency—neither too wet nor too dry. Use proper hand positioning to keep the dough moving smoothly without adding excess flour. Mastering these techniques helps you knead effectively while minimizing sticking issues. Additionally, understanding proper temperature control can influence how the dough responds during kneading.
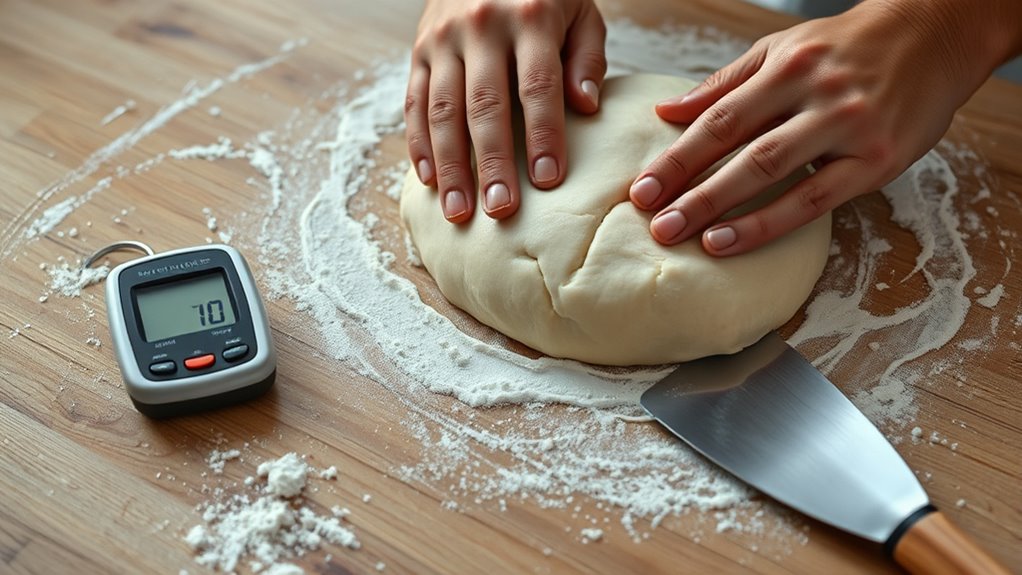
Correct Dough Consistency
Achieving the right dough consistency is essential for preventing sticking, and proper kneading plays a key role in this process. When you knead correctly, you promote dough elasticity and ideal gluten development, resulting in a smooth, manageable dough. A well-balanced dough isn’t sticky or overly dry, making shaping easier and reducing tearing. To guarantee proper consistency, focus on:
- Monitoring dough texture during kneading
- Incorporating flour gradually to avoid over-hydration
- Kneading until the dough is elastic and slightly tacky
- Resting the dough to allow gluten to fully develop
Proper Hand Position
Using the correct hand position while kneading is crucial for minimizing dough sticking. Keep your hands relaxed with your fingers slightly spread, using the heel of your palms to push and fold the dough. This technique encourages proper dough elasticity, making it easier to work with and reducing the tendency to stick. Avoid pressing down too hard, which can cause the dough to tear or stick excessively. Adjust your kneading speed based on the oven temperature, as warmer environments can make dough more sticky. Regularly sprinkle a little flour on your work surface and your hands, but don’t overdo it—this helps maintain ideal dough elasticity without drying it out. Proper hand positioning combined with these tips ensures a smooth, less sticky kneading process. Additionally, paying attention to dough hydration levels can significantly impact how sticky the dough becomes during kneading.

Amazon Basics Silicone Rectangular Baking Mat, Non-Stick, Reusable, Dishwasher Safe, Food Safe, Heat Resistant, 16.5" x 11.6", Beige/Gray, 2-Pack
Baking mat (2-pack) for easy and convenient baking, roasting, or food prep
As an affiliate, we earn on qualifying purchases.
As an affiliate, we earn on qualifying purchases.
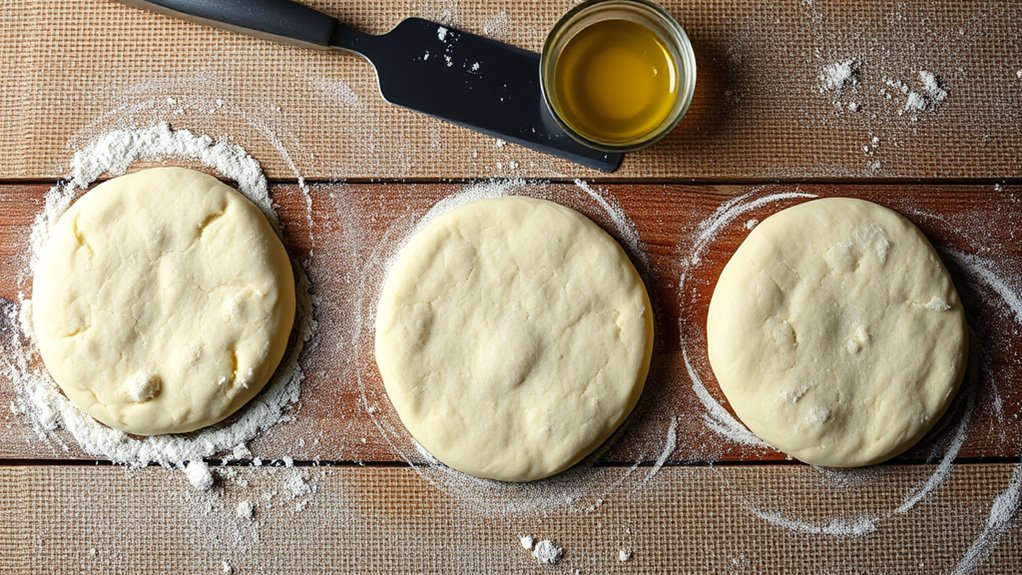
Using Appropriate Fats and Oils for Non-Stick Results

Choosing the right fats and oils is essential for preventing dough from sticking. The type of oil or fat you select can make a noticeable difference in your baking results. Consider using alternative fats like butter, margarine, or specialized non-stick sprays for better release. Oil types such as vegetable, canola, or olive oil offer varying non-stick properties, so choosing the right one depends on your recipe and flavor preference. Proper application ensures even coverage, reducing adhesion.
- Use a light coating of oil or fat to prevent sticking without altering texture
- Opt for oils with high smoke points for better durability during baking
- Experiment with alternative fats for unique flavors and improved non-stick performance
- Apply fats evenly on surfaces and dough for consistent results
Optimal Resting and Proofing Times to Reduce Adhesion
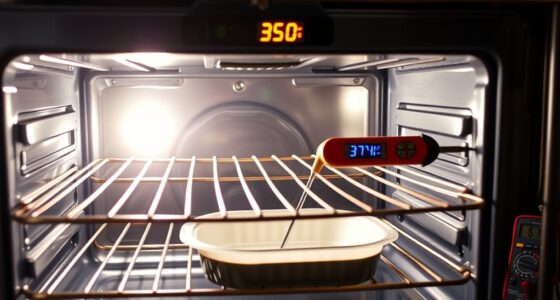
Proper resting and proofing times play a key role in preventing dough from sticking during shaping and baking. When you allow enough fermentation time, the gluten relaxes, making the dough more manageable and less prone to sticking. Over-proofing can weaken the dough’s structure, increasing adhesion, so monitor fermentation timing carefully. Resting the dough adequately also helps develop flavor and improves elasticity. Additionally, ensuring the oven temperature is correct during baking helps set the crust quickly, reducing the chances of sticking. If you rush proofing or bake at too low a temperature, the dough remains sticky longer, making removal difficult. By balancing fermentation timing with proper resting and proofing, and baking at the right oven temperature, you minimize sticking and achieve cleaner releases. Proper dough handling techniques are also essential to prevent sticking issues during preparation and baking.
Troubleshooting Common Sticking Problems During Baking
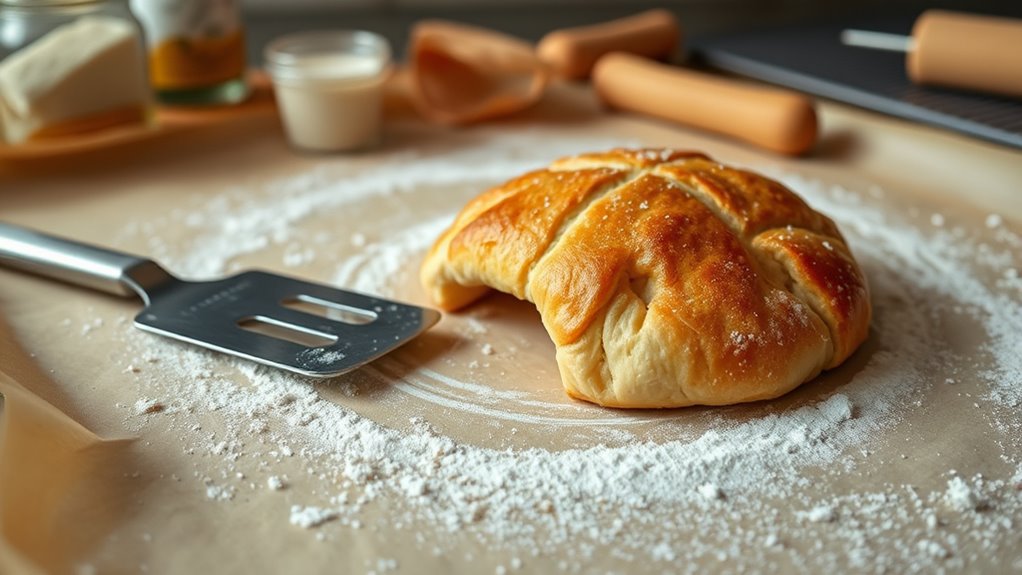
When baking, sticking issues often occur despite proper dough preparation, but many problems can be traced to specific causes during the baking process. Poor dough elasticity or incorrect oven temperature can cause sticking to baking surfaces or pans. To troubleshoot, consider these factors:
- Ensure your dough is properly rested to improve elasticity and reduce stickiness.
- Check oven temperature accuracy; an oven that’s too hot can cause sticking, while too low may fail to set the crust.
- Use a light coating of parchment paper or non-stick spray to prevent adhesion.
- Avoid over-handling the dough, which can compromise elasticity and lead to uneven sticking.
- Being aware of toilet maintenance and ensuring your oven and baking tools are clean can also prevent residue buildup that causes sticking.
Frequently Asked Questions
Can I Use Alternative Flours to Prevent Dough Sticking?
Yes, you can use alternative flours like gluten-free options or rice flour to prevent dough from sticking. These flours have different textures and absorbencies, helping you attain a non-stick surface. Just keep in mind that gluten-free flours may alter the dough’s elasticity, so you might need to adjust your recipe. Experimenting with small batches ensures you find the perfect balance for your specific dough type.
How Does Humidity Affect Dough Sticking During Preparation?
Did you know that humidity impact can increase dough sticking by up to 30%? You’ll notice during high humidity, moisture control becomes vital, as excess moisture softens the dough’s surface, making it stickier. To combat this, keep your environment dry or add just enough flour during preparation. Proper moisture management helps guarantee your dough stays manageable, preventing sticking issues and ensuring consistent results every time.
Are There Specific Tools Best for Minimizing Dough Adhesion?
You should use silicone mats and apply non-stick sprays to minimize dough adhesion effectively. Silicone mats create a smooth, non-porous surface that prevents sticking, making your work easier and cleanup faster. Non-stick sprays, when applied evenly, help reduce dough’s tendency to stick to hands or surfaces. Combining these tools guarantees your dough stays manageable, especially in humid conditions, and helps you achieve consistent results every time.
What Temperature Should the Dough Be During Resting for Optimal Results?
For ideal results, keep your dough temperature between 75-78°F during the resting period. This range allows the dough to relax properly, improving elasticity and workability. Too cold, and the gluten tightens, making it difficult to shape; too warm, and it may over-ferment. Use a thermometer to monitor dough temperature consistently during resting. Maintaining this ideal temperature ensures your dough develops the right texture and flavor.
How Do I Store Dough to Prevent It From Sticking Over Time?
You should store your dough in airtight containers or wrap it tightly with plastic wrap to prevent sticking. For longer storage, consider freezing the dough, which keeps it fresh and minimizes sticking when thawed. Make sure to label the container with the date. When you’re ready to use it, thaw it in the fridge and give it a quick knead to restore its texture. This method keeps your dough manageable and sticky-free over time.
Conclusion
By applying these tried-and-true methods, you’ll find your dough less sticky and your baking more successful. Notably, some bakers swear that resting dough properly truly reduces sticking, and science backs this up—rest allows gluten to relax, making it easier to handle. So, next time you face a sticky situation, remember: patience and the right techniques make all the difference. Trust the process, and your baked goods will turn out flawless every time.