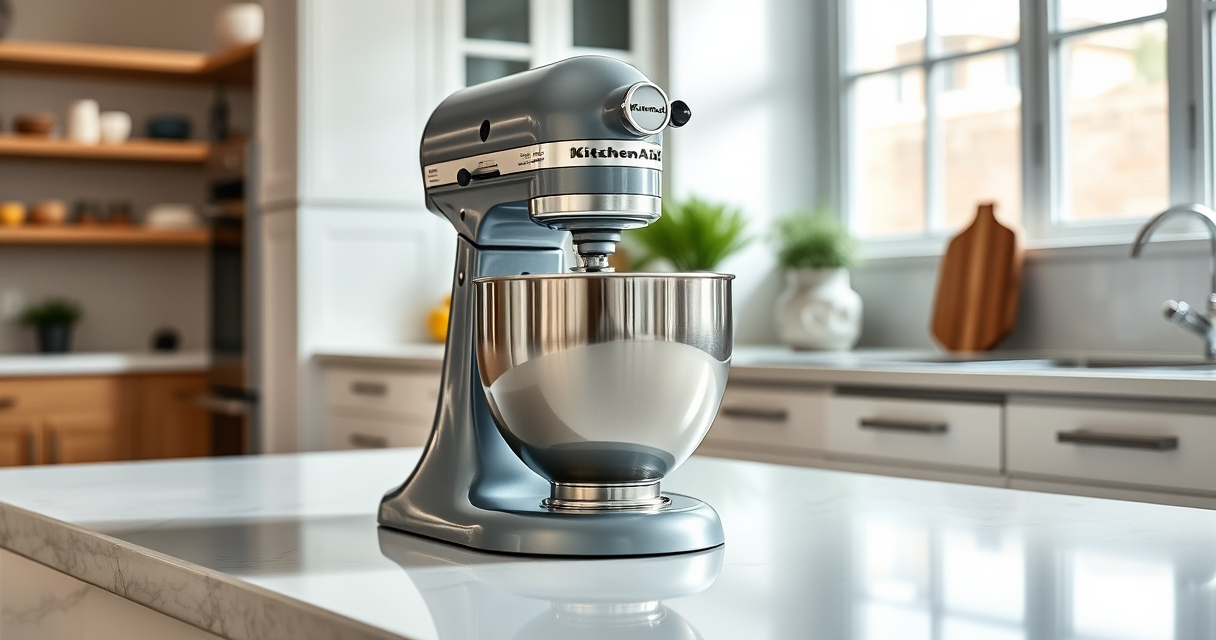
Maintaining a clean KitchenAid Mini mixer is essential for ensuring its longevity and optimal performance. Regular cleaning prevents buildup of food residues and keeps your appliances hygienic. This guide provides practical, step-by-step instructions to clean your KitchenAid Mini safely and effectively, using appropriate methods and avoiding common pitfalls.

Get baking supplies delivered free with Prime
- Fast, free delivery on millions of items
- Prime Video, Amazon Music and more included
- Member-only deals all year
Whether you’re cleaning after baking or routine maintenance, following these steps will help you keep your mixer in excellent condition for years to come.
Key Takeaways
| Use gentle cleaning methods | Avoid harsh abrasives that can damage the mixer. |
| Disassemble carefully | Remove detachable parts before cleaning. |
| Clean attachments thoroughly | Wash with warm, soapy water and dry completely. |
| Regularly wipe the body | Use a damp cloth to keep the mixer exterior spotless. |
| Avoid water in the motor housing | Keep water away from the motor to prevent damage. |
Gather Your Cleaning Supplies
- Soft, damp cloth
- Warm, soapy water
- Non-abrasive sponge
- Dry towel
- Optional: Mild vinegar solution for stubborn stains
Disassemble the Mixer
- Turn off and unplug the mixer.
- Remove all detachable parts, including the stainless steel flat beater.
- Check the manufacturer instructions for specific disassembly steps.
Clean the Attachments
- Wash the stainless steel flat beater with warm, soapy water.
- Use a non-abrasive sponge to scrub away any stuck-on batter or residue.
- If needed, soak the beater briefly in a vinegar solution to loosen grime.
- Rinse thoroughly and dry completely before reattaching.
Clean the Mixer Body
Wipe the exterior with a damp cloth. Avoid getting water near the motor housing or electrical components. For stubborn spots, use a mild vinegar solution. Dry with a soft towel to prevent water spots.
Reassemble and Maintain
- Ensure all parts are dry before reattaching.
- Reassemble the mixer carefully, following the disassembly steps in reverse.
- For routine maintenance, wipe down after each use and deep clean weekly or after heavy mixing tasks.
The Products in This Guide
Stainless Steel Flat Beater

The Stainless Steel Flat Beater is engineered for durability and compatibility with KitchenAid 4.5-5 Qt tilt-head mixers. It’s dishwasher safe and resistant to chipping, making it a reliable tool for everyday baking and cooking tasks.
Pros:
- Heavy-duty stainless steel build
- Dishwasher safe for easy cleaning
- Perfect fit for multiple KitchenAid series
- No paint chipping or coating issues
Cons:
- Requires disassembly for thorough cleaning
- Not suitable for non-tilt-head models
Best for: Heavy-duty baking, thick doughs, and versatile mixing tasks
Not ideal for: For light mixing or small batches
Bottom line: A robust, dishwasher-safe beater that handles tough mixing with ease.
KitchenAid Stand Mixer Attachment

The KitchenAid Metal Food Grinder attachment expands your mixer’s capabilities, allowing you to grind meats, vegetables, and more with precision. It’s built to last and easy to clean, making it a great addition for home cooks who want fresh, homemade results.
Pros:
- Multiple grinding plates included
- Sturdy metal construction
- Easy to attach and detach
- Enhances the functionality of your mixer
Cons:
- Requires additional storage space
- Separate purchase from the mixer
Best for: Grinding meats, vegetables, and making sausages
Not ideal for: For small quantities or occasional use
Bottom line: A durable attachment that turns your mixer into a versatile food processor.
Frequently Asked Questions
Can I put the mixer body in water?
No, only wipe the exterior with a damp cloth. Never immerse the motor housing in water.
How often should I clean the attachments?
Clean attachments after each use to prevent buildup, especially when handling sticky or raw ingredients.
Is it safe to put the beater in the dishwasher?
Yes, the stainless steel flat beater is dishwasher safe, but hand washing is also recommended for longevity.
What should I do if my beater has stubborn residue?
Soak it in a vinegar solution briefly, then scrub gently with a non-abrasive sponge before rinsing thoroughly.
Keep Your KitchenAid Mini in Top Shape
Regular cleaning and proper maintenance of your KitchenAid Mini and its attachments ensure optimal performance and a longer lifespan. By following these safe, practical steps, you can enjoy hassle-free baking and cooking for years to come.
Affiliate disclosure: As an Amazon Associate we earn from qualifying purchases. Prices and availability are accurate as of the time of publishing.
Columbus Day / Indigenous Peoples' Day Picks
long weekend sales
As an affiliate, we earn on qualifying purchases.